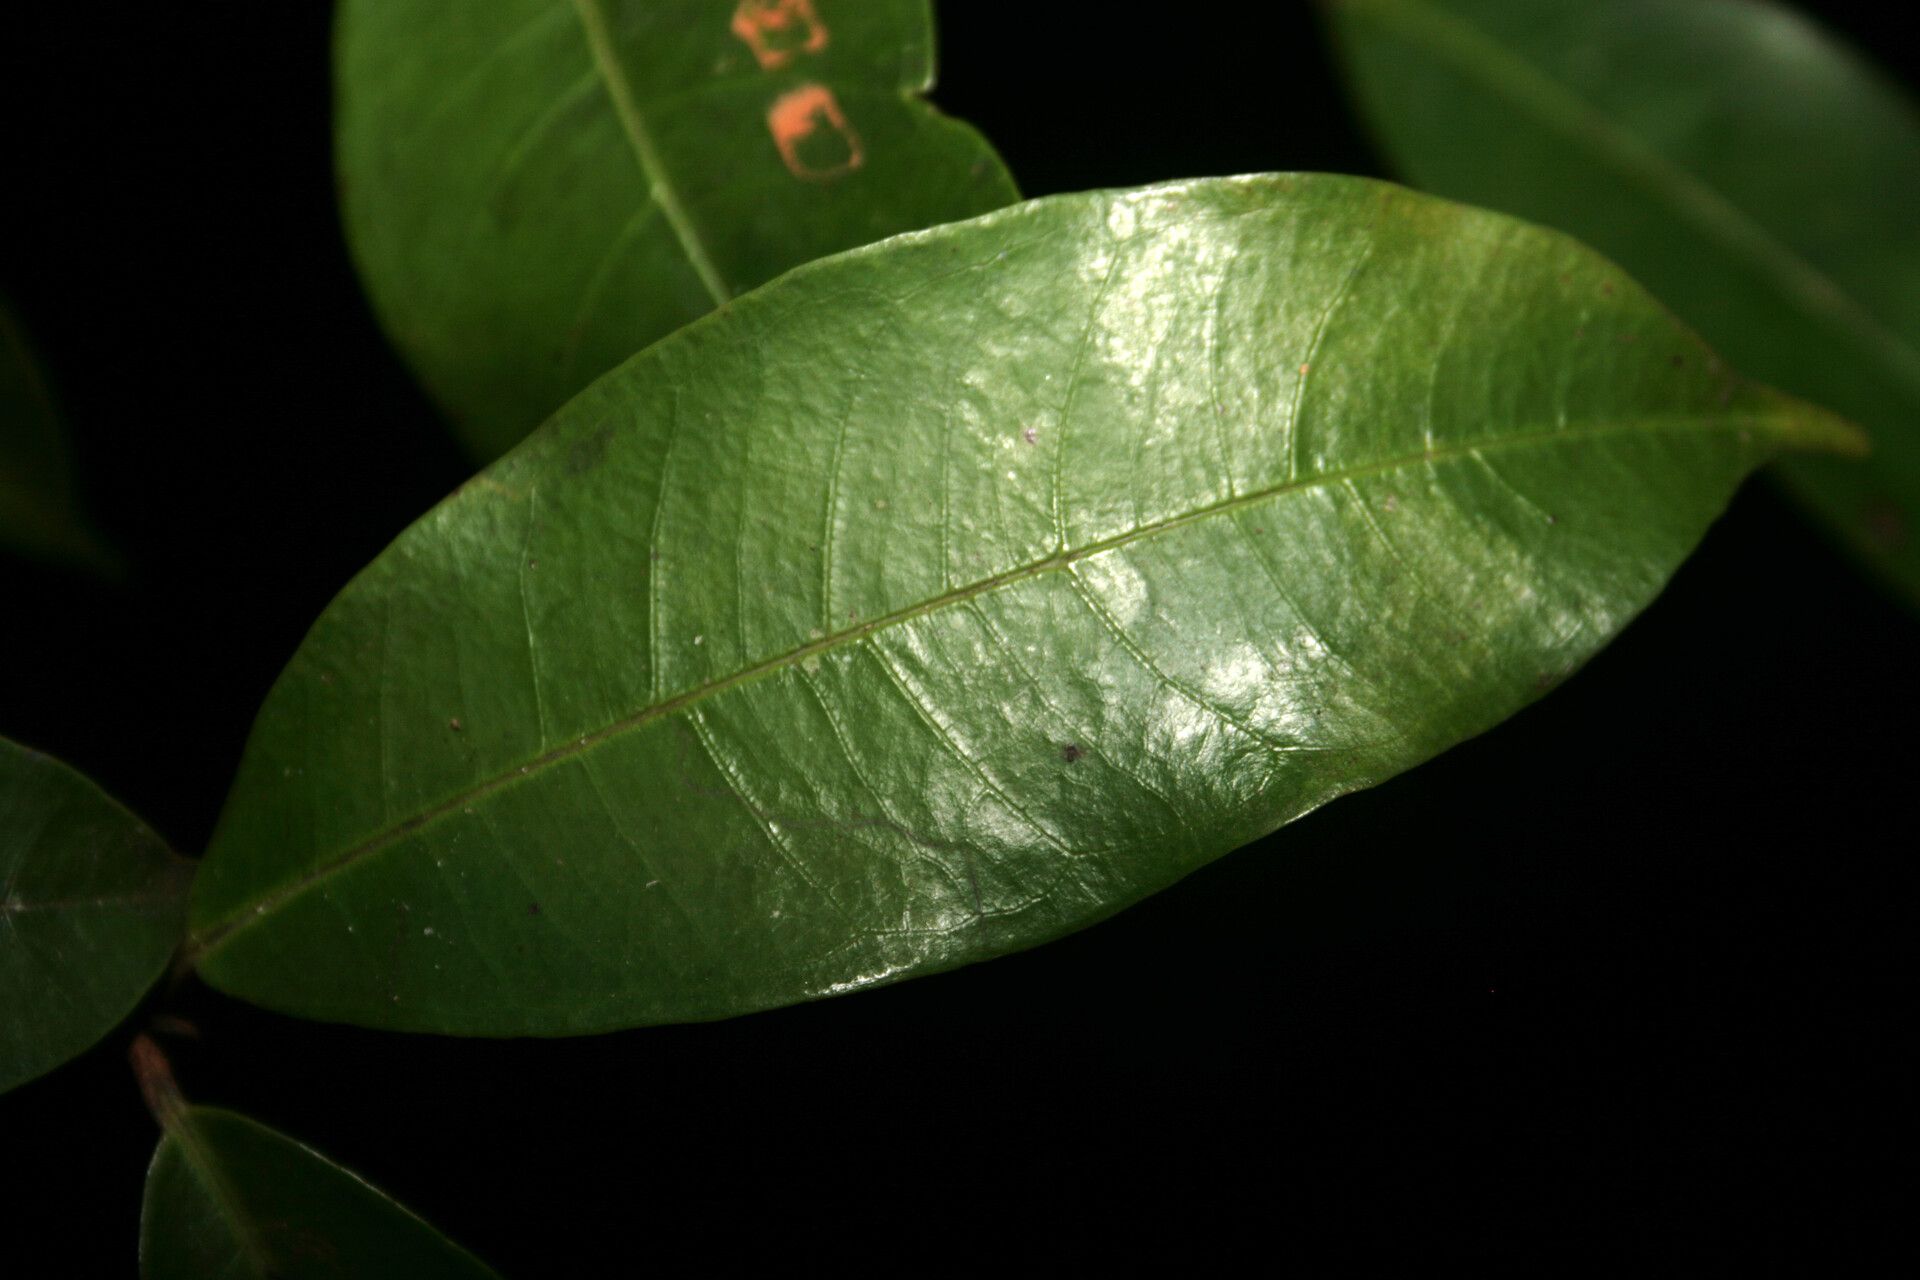
Hey fellow plant lovers! If you’ve ever admired the lush, glossy foliage of Myrcia rupta – maybe you’ve seen it gracing a garden or bringing a touch of the tropics indoors – you know it’s a truly special plant. Its resilience and vibrant green make it a standout. And honestly, there’s something incredibly satisfying about coaxing a new plant into existence from a mere snippet of the one you already cherish. It’s a little bit of horticultural magic, all in your hands!
Now, if you’re new to the whole plant-propagation game, you might be wondering if Myrcia rupta is one of those finicky divas. I’m happy to report that, with a little care and attention, it’s quite a welcoming plant for beginners eager to dive into rooting. It’s far from being an impossible task!
The Best Time to Start
For the best shot at success with your Myrcia rupta cuttings, I always recommend spring or early summer. This is when the plant is in its most vigorous growth phase. The energy it’s putting into new shoots translates beautifully into rooting. You’re essentially tapping into its natural drive to grow and reproduce. Look for new, but not too soft, stems – the kind that have started to firm up a bit.
Supplies You’ll Need
Gathering your tools beforehand makes the whole process so much smoother. Here’s what I like to have on hand:
- Sharp, clean pruning shears or a sharp knife: Essential for making clean cuts.
- Rooting hormone (optional, but recommended): A little dip can really give your cuttings a boost.
- Small pots or seedling trays: With drainage holes, of course!
- Well-draining potting mix: I often use a mix of perlite, peat moss, and a bit of coarse sand, or a good quality pre-made seed-starting mix.
- Plastic bags or a clear plastic dome: To create a humid environment for your cuttings.
- Soft water or filtered water: Tap water can sometimes contain minerals that hinder rooting.
- Labels and a marker: To keep track of which cutting is which!
Propagation Methods: Stem Cuttings
This is my go-to method for Myrcia rupta and where I’ve found the most success.
- Take your cuttings: Using your clean shears, select a healthy stem that has some new growth. You’re looking for pieces that are about 4 to 6 inches long. Make a cut just below a leaf node (where a leaf attaches to the stem). This is where the magic happens, as roots are more likely to form here.
- Prepare the cuttings: Gently remove the leaves from the bottom half of the cutting. You want to expose those nodes. If you have any leaves that are very large, you can cut them in half to reduce water loss.
- Apply rooting hormone (if using): Dip the moist, cut end of the stem into the rooting hormone powder. Tap off any excess.
- Plant your cuttings: Fill your pots with your prepared potting mix. Make a small hole in the center with your finger or a pencil, and gently insert the cutting. Firm the soil around the stem to ensure good contact.
- Water gently: Water the soil thoroughly but gently. You don’t want to disturb the cuttings.
- Create humidity: This is key! Place the pots into a plastic bag, making sure the leaves don’t touch the sides too much, or cover them with a clear plastic dome. Seal it up to trap moisture.
The “Secret Sauce” (Pro Tips)
Here are a few little tricks I’ve learned over the years that can make a big difference:
- Don’t let the leaves touch the water (if you use that method): While I prefer the soil method for Myrcia rupta, if you do try water propagation, the rule is to keep the leaves above the water. Rot is the enemy, and submerged leaves are a fast track to it.
- Bottom heat makes a world of difference: If you have a seedling heat mat, using it under your pots can dramatically speed up root development. The warmth encourages the plant to expend energy on growing roots rather than just foliage.
- Don’t be afraid to experiment with different nodes: Sometimes a cutting from higher up the stem will root better than one from lower down, or vice versa. It’s all part of the learning process!
Aftercare & Troubleshooting
Once you’ve got your cuttings planted, the wait begins! Keep the soil consistently moist but not waterlogged. Peek under the plastic every few days to check for condensation. If you see a lot, air it out for a bit to prevent mold.
You’ll start to see new growth appearing on your cuttings – that’s a very good sign! Usually, within 4 to 8 weeks, you should feel a gentle tug when you lightly pull on the cutting. This indicates that roots have formed. Once they’re established, you can gradually acclimate them to drier air by opening the plastic a little more each day. Then, transplant them into their own, slightly larger pots.
Now, what if things don’t go as planned? The most common problem is rot. If your cutting turns black and mushy, it’s a goner. This is usually due to too much moisture and not enough air circulation, or starting with a less-than-ideal cutting. Don’t get discouraged! Just clean up your pot and try again.
A Encouraging Closing
So there you have it – a pathway to multiplying your beloved Myrcia rupta. Be patient with yourself and your cuttings. Sometimes they take their sweet time, and that’s perfectly okay. Gardening is a journey, and the joy is in the nurturing, the learning, and ultimately, the green shoots of new life that emerge. Happy propagating!
Resource:
https://identify.plantnet.org/k-world-flora/species/Myrcia%20rupta%20M.L.Kawas.%20&%20B.Holst/data