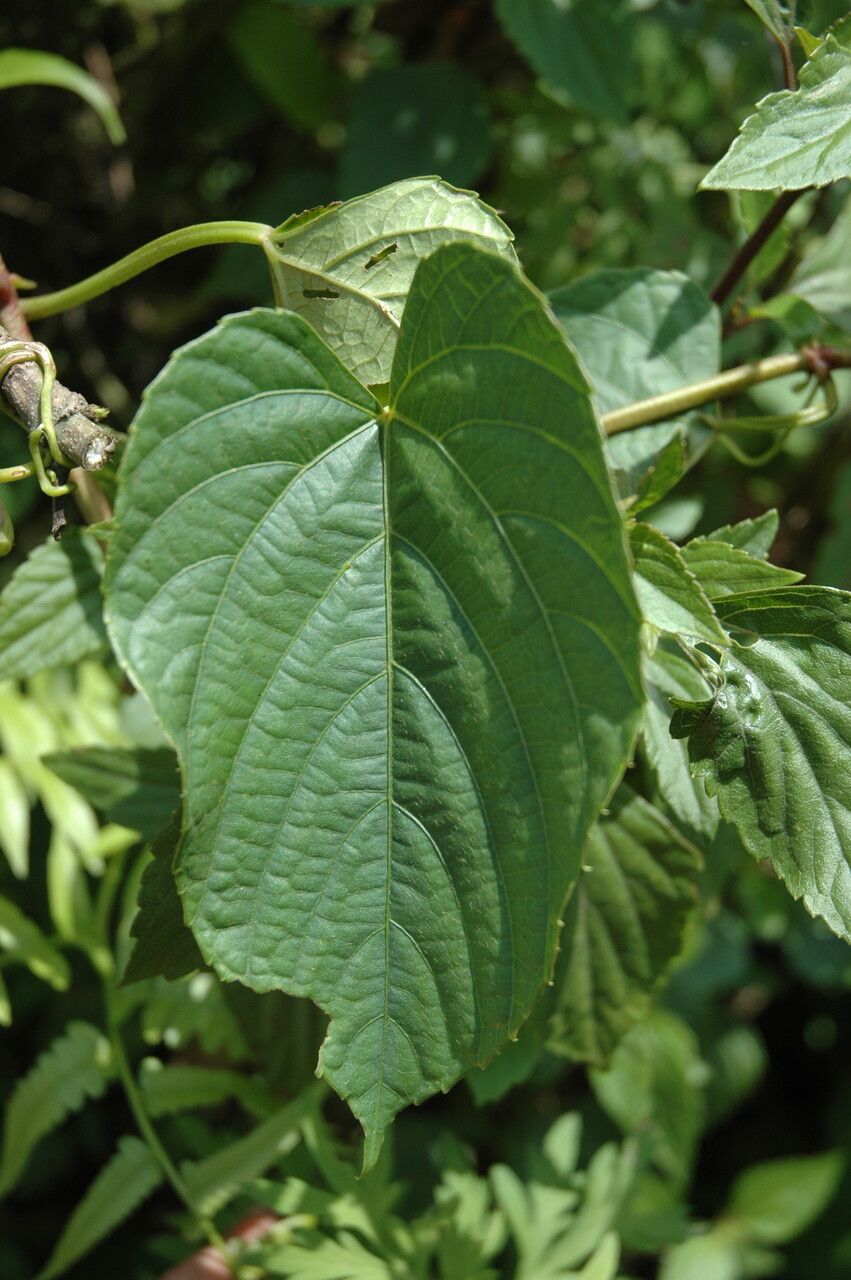
Oh, Cissus assamica! You know, I’ve always had a soft spot for this one. It’s got such beautiful, deeply lobed leaves, almost like a fancy lace draped over a wall or a trellis. And the best part? Growing more of them yourself is a wonderfully satisfying feeling. It’s not an overly fussy plant to propagate, which makes it a great choice, even if you’re just starting out on your propagation journey. You’ll get a real kick out of watching your tiny cuttings transform into established plants.
The Best Time to Start
My personal sweet spot for propagating Cissus assamica is during the active growing season. Think spring and early summer. The plant is brimming with energy then, pushing out new growth, and those cuttings will have a much better chance of rooting quickly. You can sometimes get away with it in late summer, but I find the success rate dips a little as the days shorten.
Supplies You’ll Need
Gathering your supplies beforehand makes the whole process so much smoother. Here’s what I always have on hand:
- Sharp Pruning Shears or Scissors: Clean cuts are essential.
- Rooting Hormone (Optional but Recommended): A little help can speed things up. Powders or gels work well.
- Well-Draining Potting Mix: I like a mix of about 50% peat or coco coir and 50% perlite or coarse sand. This ensures good aeration.
- Small Pots or Propagation Trays: Just big enough for a few cuttings.
- Plastic Bag or Clear Dome: To create a humid environment.
- Watering Can or Spray Bottle: For gentle watering.
Propagation Methods
Let’s get our hands dirty! Stem cuttings are definitely the most reliable and straightforward way to go with Cissus assamica.
Stem Cuttings:
- Select Your Cuttings: Look for healthy, non-flowering stems that are at least 4-6 inches long. You want stems that are semi-hardwood – not too soft and floppy, but not old and woody either. They should have at least a couple of leaf nodes (where the leaves emerge from the stem).
- Make the Cut: Using your clean shears, take a cutting just below a leaf node. This is where the magic happens, as roots will readily form from this area.
- Prepare the Cutting: Remove the lower leaves. You want to leave just a couple of leaves at the very top. This prevents the leaves from rotting when they’re buried or touching water. You can also cut larger leaves in half to reduce water loss.
- Apply Rooting Hormone (Optional): Dip the cut end of the stem into your rooting hormone powder or gel. Gently tap off any excess.
- Plant Your Cuttings: Fill your small pots or trays with your prepared potting mix. Make a small hole with your finger or a pencil and insert the cut end of the stem, ensuring at least one leaf node is below the surface of the soil. Gently firm the soil around the cutting.
- Water In: Water your cuttings gently until the soil is evenly moist but not waterlogged.
- Create a Humid Environment: Tent a clear plastic bag over the pot, or place the pot inside a propagator with a lid. This traps moisture and keeps the humidity high, which is crucial for cuttings to initiate roots.
Water Propagation (Another Great Option!):
If you prefer watching your roots grow, water propagation is a neat method.
- Prepare Your Cuttings: Follow steps 1-3 above for selecting and preparing your stem cuttings.
- Place in Water: Fill a clean jar or glass with room-temperature, filtered water. Place your cuttings in the water, making sure the leaf nodes are submerged, but crucially, do not let the leaves touch the water.
- Find a Spot: Place the jar in a bright spot with indirect light. Avoid direct sun, which can scorch the delicate cuttings.
- Change Water Regularly: Change the water every few days to keep it fresh and prevent bacterial growth. You’ll start to see little root nubs emerging from the nodes within a few weeks.
The “Secret Sauce” (Pro Tips)
Here are a couple of things I’ve learned over the years that really make a difference:
- Don’t Let Leaves Touch the Water: I can’t stress this enough if you’re water propagating. Those leaves will rot so fast, and it’ll drag your cutting down with it. Keep them high and dry.
- Bottom Heat is Your Friend: If you have a heat mat designed for seedlings, using it under your pots of cuttings can dramatically speed up rooting. Cissus assamica loves a little warmth to get things going. Just ensure the soil doesn’t dry out if you use a heat mat.
Aftercare & Troubleshooting
Once you see new leaf growth or feel resistance when gently tugging on the cutting, it’s a good sign roots have formed.
- Transitioning: If you propagated in water, wait until the roots are about an inch long before carefully transplanting them into your well-draining potting mix.
- Acclimatizing: Gradually remove the plastic bag or dome over a week or two to allow your new plant to adjust to normal humidity levels.
- Initial Care: Water them as you would a mature Cissus assamica – let the soil dry out slightly between waterings. Keep them in bright, indirect light.
Now, what if things go wrong? The most common culprit for failure is rot. If your cutting turns black or mushy, it’s usually a sign of too much moisture and not enough air circulation, or it’s sitting in stagnant water. If you see this, sadly, it’s usually best to discard the affected cutting. Overwatering is the biggest enemy here.
A Encouraging Closing
Propagating plants is a lesson in patience and observation. Don’t get discouraged if every single cutting doesn’t make it – that’s just part of the gardening dance! Celebrate the successes, learn from the failures, and most importantly, enjoy the process of growing something new. Happy propagating!
Resource:
https://identify.plantnet.org/k-world-flora/species/Cissus%20assamica%20(M.A.Lawson)%20Craib/data