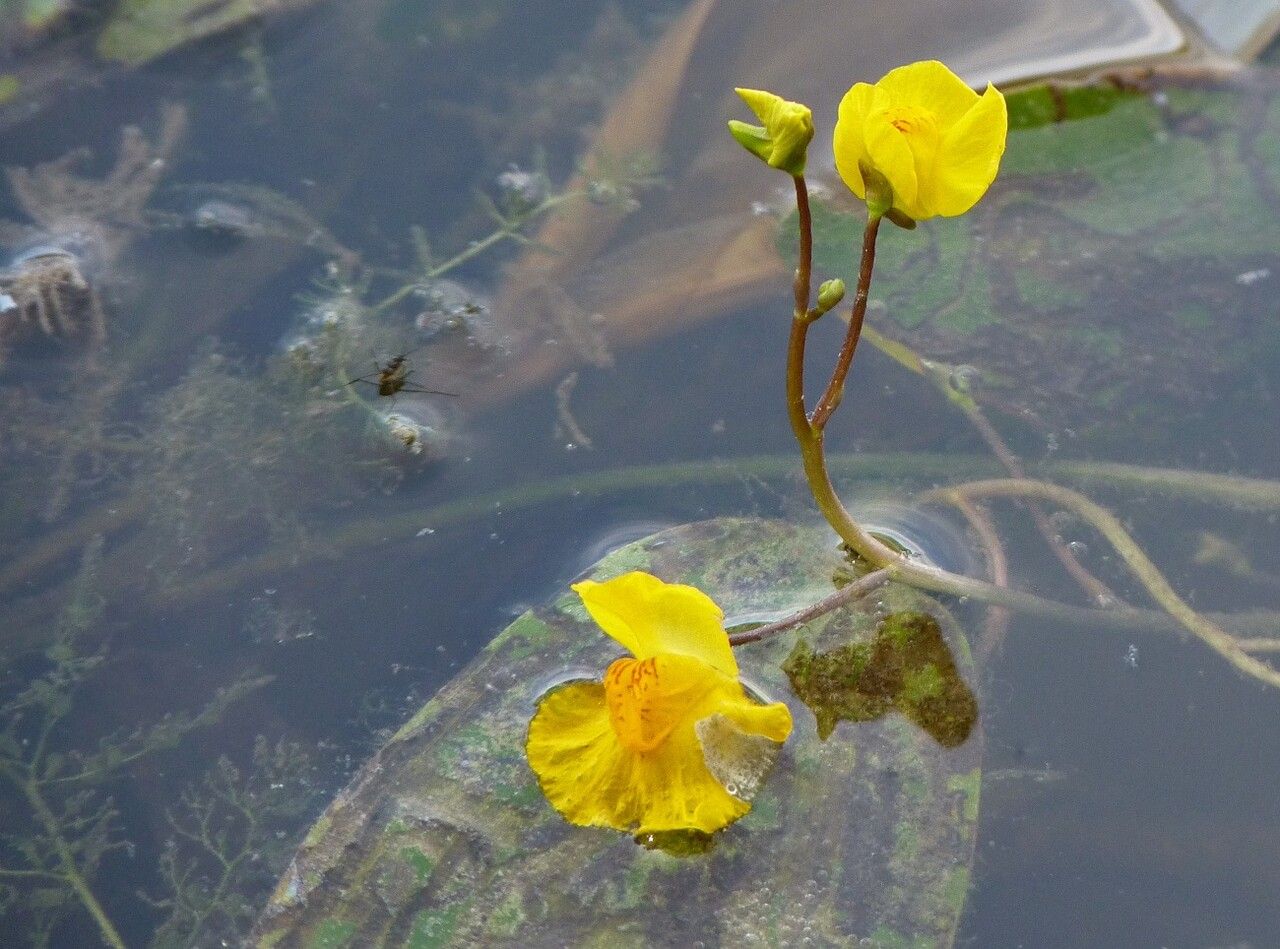
Hello, my fellow plant lovers! Today, we’re diving into the fascinating world of Utricularia australis, often called the pale butterwort. If you’re looking for a unique addition to your bog garden or even a fascinating indoor setup, this little carnivorous beauty is it. Its dainty, yellow flowers are a delightful surprise, and the way it catches tiny insects is just plain cool to watch. Propagating Utricularia australis can be incredibly rewarding, and I’m happy to say it’s not as daunting as it might seem. Even if you’re new to plant propagation, you can definitely give this a go!
When to Get Your Hands Dirty
The absolute best time to propagate Utricularia australis is during its active growing season. Think late spring through summer. This is when the plant is full of energy and producing plenty of new growth, making it much more receptive to forming new roots. You’ll see lots of fresh leaves and maybe even those lovely flowers – a sure sign it’s ready for some propagation action.
What You’ll Need
Gather these bits and bobs before you start, and you’ll be well on your way:
- Clean containers: Small pots or shallow trays work wonderfully.
- Distilled or rainwater: Absolutely no tap water for these sensitive plants!
- A good substrate: A mix of peat moss and perlite (around 50/50) is ideal. Some growers also use pure sphagnum moss.
- Sharp, clean scissors or a blade: For taking cuttings.
- Tweezers (optional but helpful): Especially for handling small plantlets.
- A spray bottle: For misting.
- A larger tray or saucer: To hold water for the pots.
Let’s Get Propagating!
There are a couple of straightforward ways to multiply your Utricularia australis. I tend to favor them for their simplicity and high success rate.
Method 1: Stem Cuttings
This is my go-to method.
- Locate healthy growth: Look for vigorous stems with several leaves and perhaps some fine, hair-like structures forming at the nodes.
- Take your cuttings: Using your clean scissors or blade, carefully snip off a piece of stem that’s about 1-2 inches long. Make sure each cutting has at least a couple of leaves.
- Prepare the cuttings: You can gently trim off any excessively long leaves if needed, but try not to disturb the plant too much.
- Plant your cuttings: Fill your small pots or trays with your peat moss and perlite mix, making sure it’s nicely damp. Use your finger or a pencil to make a small hole, and gently insert the cutting. The leafy end should be just visible above the substrate.
- Water them in: Gently water the pot from the top with your distilled or rainwater.
Method 2: Division
If your plant is already quite full and looking a bit crowded, division is a fantastic option.
- Gently remove the plant: Carefully take your Utricularia australis from its pot.
- Identify natural divisions: You’ll see where the plant naturally grows in clumps. Look for sections that have their own roots and shoots.
- Separate the clumps: Using your fingers or a blunt tool, gently tease apart the clumps. You want to ensure each piece has some roots attached.
- Repot the divisions: Pot each division into its own small container filled with your prepared substrate.
The “Secret Sauce” – My Insider Tips
Here are a few little tricks I’ve learned over the years that can really boost your success with Utricularia australis.
- Keep it moist, but not sodden: While they love water, a totally waterlogged substrate can lead to rot. I like to keep the bottom tray consistently filled with about an inch of distilled or rainwater. This allows the pot to wick up moisture as needed, and it mimics their natural boggy environment without drowning them.
- Humidity is your friend: These plants thrive in high humidity. If you’re propagating indoors, consider placing the pots inside a clear plastic bag or a propagation dome. Just make sure to open it for a bit of air circulation every day or two to prevent mold.
- Patience is key (and a touch of warmth): Utricularia can be a bit slow to show new growth, especially from cuttings. Don’t get discouraged if you don’t see roots immediately. If your space is a bit on the cooler side, placing your propagation tray on a gentle heat mat can really speed things up. Just a touch of warmth, not hot!
What Happens Next?
Once you’ve potted up your cuttings or divisions, the goal is to keep them happy.
- Maintain moisture: Continue to keep the substrate consistently moist using the tray method.
- Provide good light: Place your new plants in a bright spot, but avoid direct, hot sun, especially when they’re small and vulnerable. Bright, indirect light is perfect.
- Observe for roots: After a few weeks to a couple of months, you should start to see tiny new leaves unfurling or even those little white root filaments appearing below the substrate. You can gently try to tug on a cutting – if there’s resistance, you’ve got roots!
If you notice your cuttings looking yellow and limp, or if you see fuzzy white or grayish mold developing, it’s likely rot. This usually means the conditions are too wet and not airy enough. Don’t be too disheartened if a cutting doesn’t make it; that’s part of the learning process! Just remove the failed cutting and try again.
So there you have it! Propagating Utricularia australis is a wonderful way to expand your collection and share these unique plants with others. Remember to be patient, offer them good light and consistent moisture, and you’ll be rewarded with beautiful new butterworts before you know it. Happy growing!
Resource:
https://identify.plantnet.org/k-world-flora/species/Utricularia%20australis%20R.Br./data