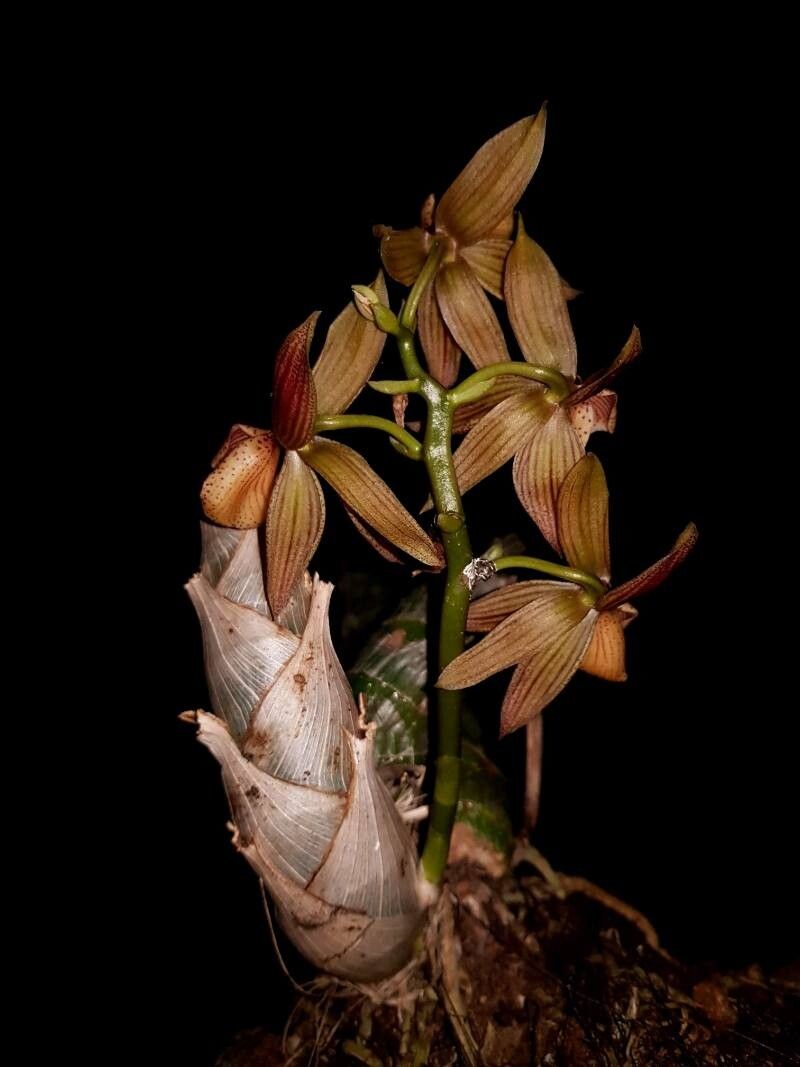
Oh, Mormodes fractiflexa! Isn’t she a stunner? Those wonderfully arching stems, often adorned with a cascade of delicate, fragrant blooms – it’s no wonder this orchid has captured so many hearts. And the joy of creating more of these beauties from your existing plants? It’s truly something special. Now, let me be upfront: while I adore my Mormodes, propagating them can be a touch more involved than, say, a spider plant. It’s not for the absolute beginner who’s never even held a watering can, but if you’ve dabbled a bit with plants and have a bit of patience, you can absolutely succeed.
The Best Time to Start
The sweet spot for propagating Mormodes fractiflexa is typically after the plant has finished blooming and is entering its active growth phase. You’ll usually see new pseudobulbs starting to form or existing ones beginning to swell. This is when the plant has the most energy to put into new growth, making your efforts much more likely to pay off. Aim for late spring or early summer if your climate allows.
Supplies You’ll Need
Gathering your supplies beforehand makes the whole process smoother:
- Sharp, sterilized pruning shears or a clean knife: For making clean cuts.
- Cinnamon or rooting hormone powder (optional but recommended): Helps prevent infection and encourages root growth.
- Well-draining orchid potting mix: I like a blend of bark, perlite, and a bit of sphagnum moss.
- Small pots or seedling trays: With good drainage holes, of course.
- Spray bottle: For gentle watering.
- Clear plastic bag or propagation dome: To maintain humidity.
- A good orchid fertilizer: Diluted, for when new growth appears.
Propagation Methods
For Mormodes fractiflexa, the most reliable method is division, as they tend to form clumps over time.
Division: Sharing the Love
This is how you’ll likely get the most success.
- Gently Remove from Pot: Carefully ease your Mormodes out of its current pot. You might need to gently squeeze the pot or use a blunt tool around the edges to loosen it.
- Inspect the Roots: Gently shake off as much of the old potting mix as you can from the root ball. You want to see where the plant naturally divides. Look for healthy, firm pseudobulbs and roots.
- Divide with Care: Using your sterilized shears or knife, carefully cut through the rhizome (the fleshy stem that connects the pseudobulbs) to separate the plant into sections. Aim for sections that have at least two or three pseudobulbs and some healthy roots.
- Treat the Wounds: If you’ve made a significant cut, you can dust the cut surfaces with cinnamon or a rooting hormone powder. This acts as a natural fungicide and can help speed things up.
- Pot Up Your New Babies: Pot each divided section into its own small pot with your fresh, well-draining orchid mix. Ensure pseudobulbs are not buried too deeply – just enough to be stable.
- Initial Watering: Water very sparingly at first. You don’t want soggy conditions, which can lead to rot. A light misting is often sufficient.
The “Secret Sauce” (Pro Tips)
Here are a couple of things I’ve learned over the years that can make a big difference:
- Don’t Over-Pot: It’s tempting to give that new division a big pot, but smaller is better! A pot that’s just big enough to accommodate the roots helps the mix dry out appropriately, reducing the risk of rot. Over-potting is a common beginner mistake.
- Humidity is Key, but Drainage is Paramount: I like to place my newly divided plants in a humid environment, maybe under a propagation dome or inside a loosely sealed plastic bag. However, always ensure there’s ample air circulation. Stagnant, wet air is the enemy. If you see condensation constantly dripping, it’s too wet in there.
Aftercare & Troubleshooting
Once your divisions are potted, give them a warm, bright spot out of direct sunlight. Keep the humidity up, but allow the potting mix to dry slightly between waterings. You’ll know it’s time to fertilize when you see new shoots or roots emerging, and then you can switch to a diluted orchid fertilizer regularly.
What if things go wrong? The most common culprit is rot. If you see pseudobulbs starting to wrinkle excessively, turn black and mushy, or if the leaves start to yellow and drop off quickly, it’s usually a sign of too much moisture and poor drainage. Catch it early! If you spot rot, you may need to remove the affected part and repot into completely dry mix, hoping the healthy tissue can recover. Patience is your best friend here.
A Encouraging Closing
Growing orchids is a journey, and propagating them adds another layer of reward. Don’t be discouraged if your first attempt isn’t perfect. Each plant and each season is a learning opportunity. Just enjoy the process of nurturing these incredible plants, and before you know it, you’ll have a delightful collection of Mormodes fractiflexa to share with friends or simply admire in your own space. Happy growing!
Resource:
https://identify.plantnet.org/k-world-flora/species/Mormodes%20fractiflexa%20Rchb.f./data