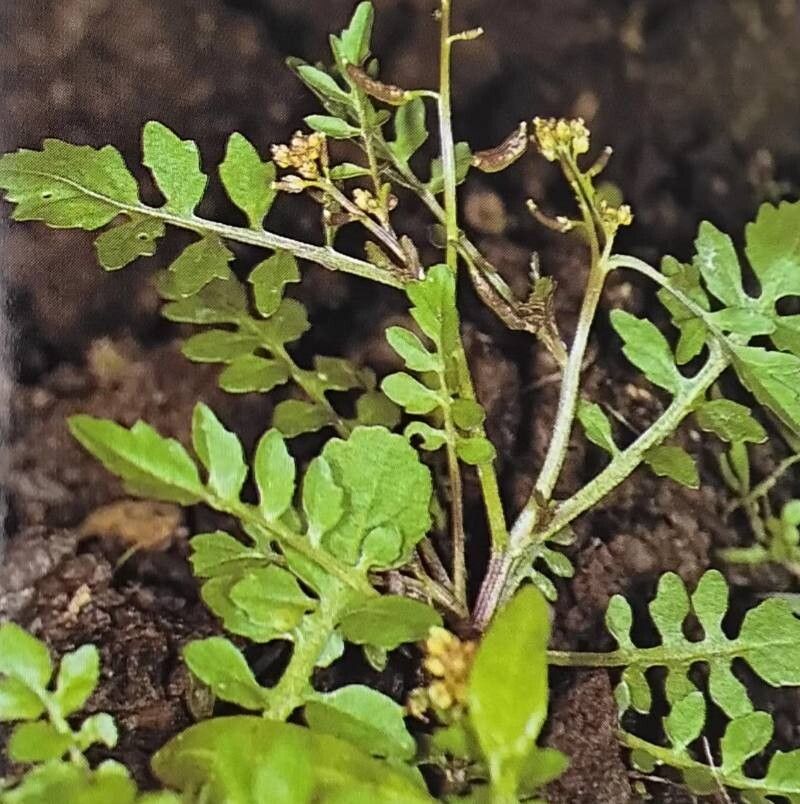
Hey there, fellow plant lovers! Today, we’re diving into the wonderful world of propagating Rorippa islandica, also known as Marsh Yellowcress. If you’ve ever admired this pretty little plant with its cheerful yellow flowers and lush foliage, you’re in for a treat. Propagating it yourself is incredibly rewarding, a fantastic way to expand your garden beyond what you’re willing to buy. And guess what? For those of you just starting out on your propagation journey, Rorippa islandica is quite forgiving. You’ll likely find it’s a satisfyingly easy plant to multiply, which is always a great confidence booster!
The Best Time to Start
Timing is everything when it comes to giving your cuttings the best shot at success. I’ve found that the late spring or early summer is absolutely prime time for propagating Rorippa islandica. This is when the plant is actively growing, full of energy, and eager to put out new roots. You want to take cuttings from healthy, vigorous stems that aren’t flowering. Look for young, supple growth rather than old, woody bits.
Supplies You’ll Need
Before we get our hands dirty, let’s gather our trusty tools. Think of this as your propagation starter kit:
- Sharp Pruning Shears or a Clean Knife: Essential for making clean cuts that heal well.
- Small Pots or Seed Trays: Drainage holes are non-negotiable!
- Propagation Mix or a Well-Draining Potting Mix: I usually use a 50/50 mix of perlite and peat moss, or even just good quality seed starting mix. The key is good aeration.
- Rooting Hormone (Optional but Recommended): This can give your cuttings a little extra boost.
- Plastic Bags or a Small Greenhouse/Cloche: To create a humid environment.
- Watering Can or Spray Bottle: For gentle watering.
Propagation Methods
Rorippa islandica is a trooper and can be propagated in a few ways. I find stem cuttings to be the most reliable and straightforward method.
Stem Cuttings: My Go-To
- Select Your Stems: Head out to your Rorippa islandica and find a healthy, non-flowering stem.
- Make the Cut: Using your clean shears, take a cutting that’s about 4-6 inches long. Make the cut just below a leaf node (where a leaf grows out of the stem). This is where the plant is most likely to form roots.
- Prepare the Cutting: Gently remove the lower leaves from your cutting. You only want to leave a couple of leaves at the very top. This prevents the leaves from rotting when they’re buried or sitting in water.
- Dip in Rooting Hormone (If Using): Lightly dip the cut end of the stem into your rooting hormone powder or gel. Tap off any excess.
- Plant Your Cuttings: Fill your small pots with your propagation mix. Make a small hole with your finger or a pencil and carefully insert the bottom end of your cutting into the hole. Gently firm the soil around it.
- Water Gently: Water your newly planted cuttings thoroughly but gently. You want the soil to be moist, not waterlogged.
- Create Humidity: Place the pots into a plastic bag, gently securing it around the rim with a rubber band, or cover them with a cloche. This traps moisture and creates that essential humid environment your cuttings need to thrive.
- Find a Sunny Spot: Place your pots in a location that receives bright, indirect light. Avoid direct sun, which can scorch those delicate new cuttings.
Water Propagation (A Simpler Option)
While I prefer potting mix, water propagation is a wonderfully simple way to see root formation.
- Take Your Cuttings: Follow steps 1 and 2 from the stem cutting method above.
- Remove Lower Leaves: Just like before, remove any leaves that will be submerged in water.
- Place in Water: Pop your cuttings into a clean glass or jar filled with fresh water. Make sure none of the leaves are touching the water.
- Position: Place the jar in a bright spot out of direct sun.
- Change Water Regularly: Change the water every couple of days to keep it fresh and prevent bacterial growth.
- Watch for Roots: You’ll start to see little white roots emerge from the cut end. Once the roots are about an inch long, you can transplant them into pots with soil.
The “Secret Sauce” (Pro Tips)
Here are a couple of little tricks I’ve learned over the years that really make a difference:
- The “Snappy” Test: When you’re taking your cuttings, try to make the cut on a stem that has a little flexibility to it. If the stem snaps easily, it’s likely too soft. If it’s too stiff and woody, it’s probably too old. You’re looking for that sweet spot of pliable but not floppy.
- Don’t Let Those Leaves Drown! This is a big one, especially with water propagation. Any leaves that sit in water are an invitation for rot. Remove them diligently! It’s better to have a slightly bare stem than a rotting leaf.
Aftercare & Troubleshooting
Once you start to see those little roots appearing, or if you’ve transplanted those water-grown cuttings, it’s time to shift focus to their care.
- Gradual Acclimatization: If you’ve kept your cuttings covered, it’s important to gradually wean them off that humidity. Start by opening the bag or cloche for a few hours each day, then increase the time until they’re fully exposed.
- Keep Them Moist: Continue to water regularly, but always check the soil moisture before watering. You don’t want them drying out, but you also don’t want them sitting in soggy conditions.
- Watch for Signs of Trouble: The most common issue is rot. If your cuttings turn mushy, black, or smelly, they’ve likely succumbed to rot. This is usually a sign of too much moisture and not enough air circulation. If you catch it early, you might be able to salvage a healthy section of the stem and try again. Another sign of stress can be yellowing leaves, which might mean they’re getting too much direct sun or the soil is too wet.
A Heartfelt Encouragement
Propagating plants is a journey, and each new seedling or cutting you nurture is a little victory. Don’t get discouraged if a few don’t make it; even experienced gardeners have their ‘failures’. Celebrate the successes, learn from the setbacks, and most importantly, enjoy the process of bringing more beauty into your garden with your own two hands. Happy propagating!
Resource:
https://identify.plantnet.org/k-world-flora/species/Rorippa%20islandica%20(Oeder)%20Borbás/data