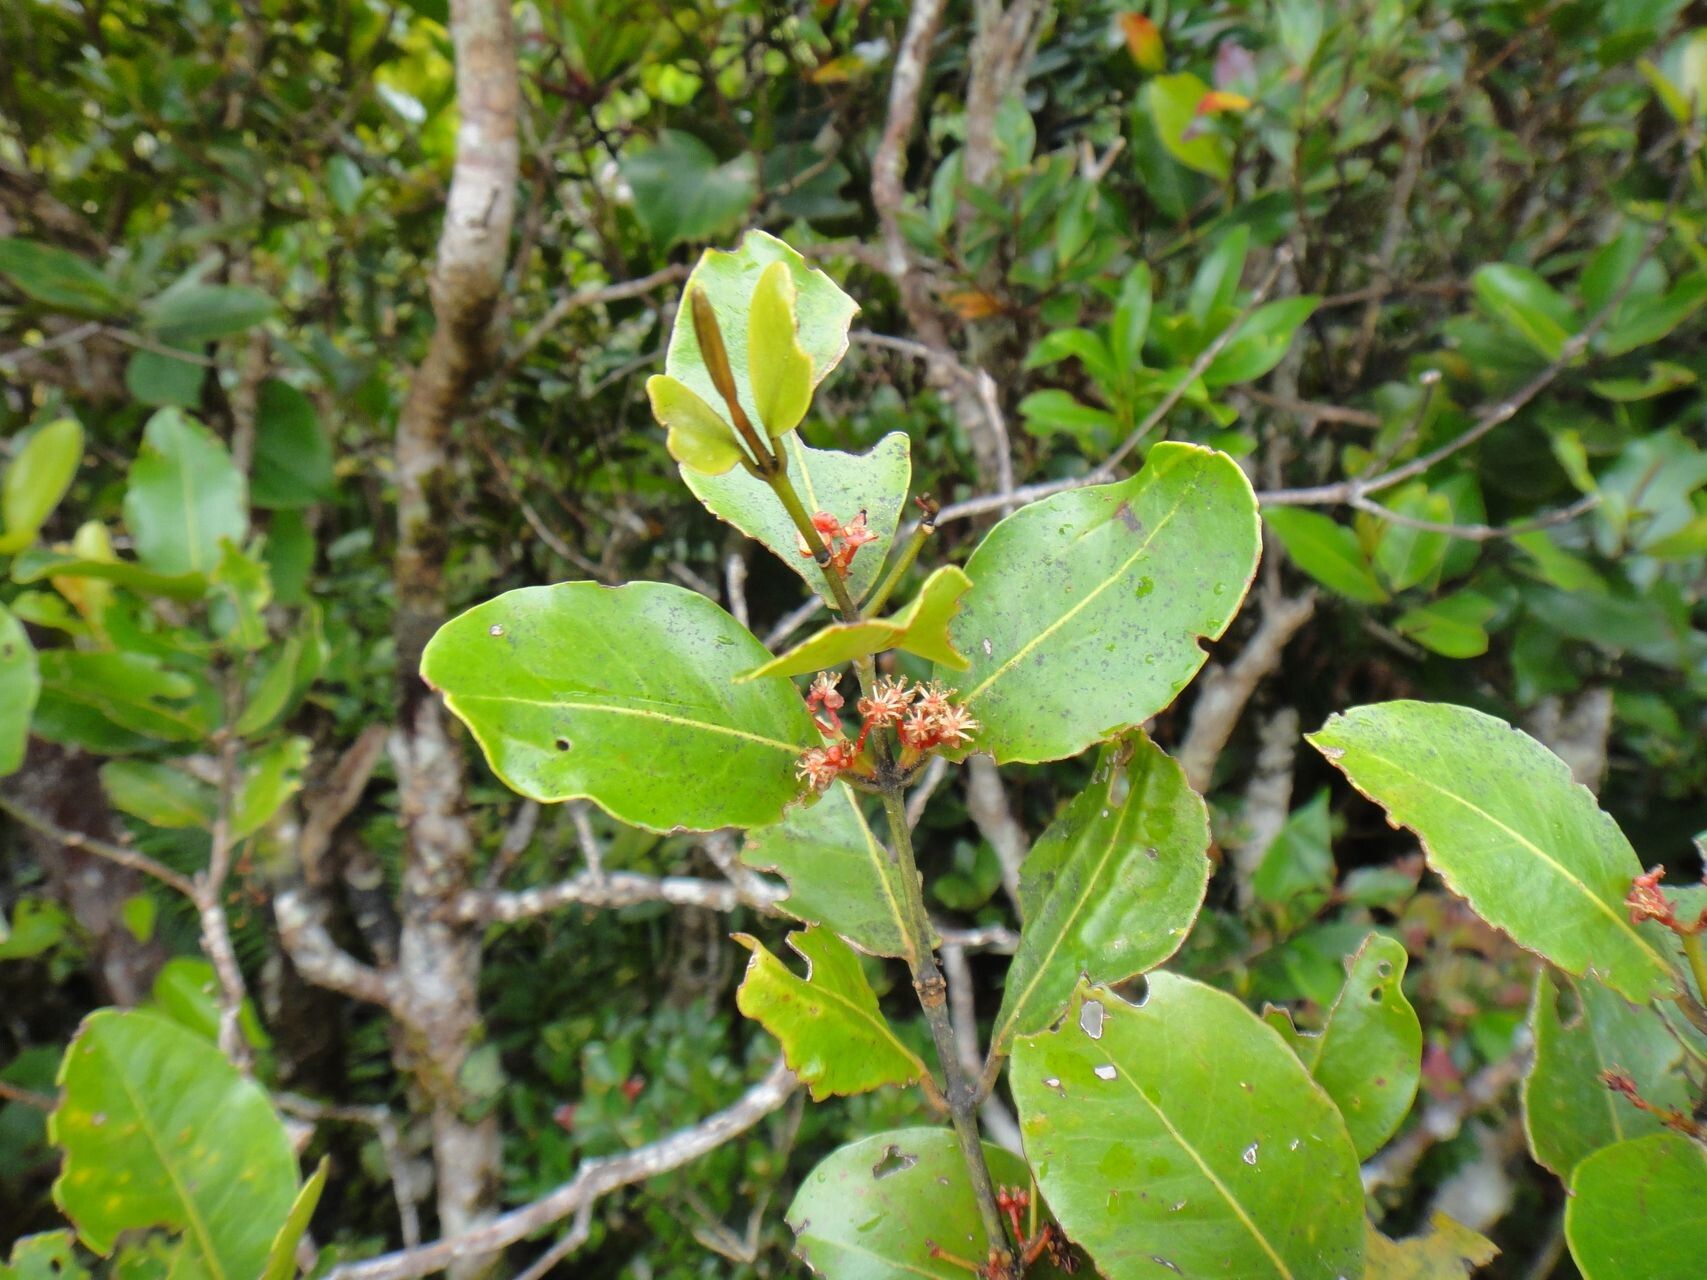
Hello, fellow plant enthusiasts! I’m so excited to chat with you today about a truly special plant: Austrobuxus alticola. If you’re looking for a bit of lush, evergreen architecture in your garden, this beauty might just be your next obsession. Its glossy leaves and naturally tidy habit make it a standout, and there’s a deep satisfaction in nurturing a new plant from a tiny cutting. Now, full disclosure: Austrobuxus alticola can be a little bit finicky for absolute beginners. It’s not difficult, mind you, but it does appreciate a bit of thoughtful care. Don’t let that deter you, though – with a few tricks up your sleeve, you’ll be well on your way!
The Best Time to Start
My favorite time to get cuttings from Austrobuxus alticola is in late spring or early summer. This is when the plant is actively growing, and those new, semi-hardwood shoots have the best energy reserves to root. You’re looking for stems that are firm but still a bit flexible. If you can bend a new shoot and it snaps cleanly rather than just flopping over, it’s likely a good candidate.
Supplies You’ll Need
Before we dive in, let’s gather our toolkit. Having everything ready makes the process much smoother.
- Sharp Pruning Shears or a Clean Knife: A clean cut is crucial for preventing disease.
- Rooting Hormone: This isn’t strictly mandatory, but it significantly boosts your success rate. I prefer a powder form for stem cuttings.
- Well-Draining Potting Mix: You want something that mimics the conditions of its natural habitat – airy and not waterlogged. A good mix is equal parts perlite, coarse sand, and peat moss or coco coir. Some fine bark mulch mixed in is also a great idea.
- Small Pots or Seed Trays: Clean containers are a must! Anything from small nursery pots to repurposed yogurt cups with drainage holes will work.
- Plastic Bags or a Propagator: This creates a humid environment, which is essential for cuttings before they develop roots.
- Spray Bottle: For misting.
Propagation Methods
While Austrobuxus alticola can be propagated by seed (though this is slow and germination can be erratic), stem cuttings are by far the most reliable and rewarding method for home gardeners.
Stem Cuttings
- Take Your Cuttings: Head out to your plant in late spring or early summer. Look for those ideal semi-hardwood shoots. Aim for cuttings that are 4-6 inches long. Use your clean shears to make a cut just below a leaf node (where a leaf attaches to the stem).
- Prepare the Cuttings: Gently remove the leaves from the bottom two-thirds of each cutting. You want to expose enough of the stem for roots to form. Leave just a couple of leaves at the very top to help with photosynthesis. If the remaining leaves are very large, you can even snip them in half to reduce water loss.
- Apply Rooting Hormone: Dip the cut end of each prepared cutting into your rooting hormone, tapping off any excess. You want a light, even coating.
- Pot Up: Fill your small pots with your prepared potting mix. Make a small hole in the center of the mix with a pencil or your finger. Insert the treated end of the cutting into the hole, ensuring the rooting hormone stays in place. Gently firm the soil around the base of the cutting.
- Create a Humid Environment: Once all your cuttings are potted, water them gently. Then, cover the pots with a clear plastic bag or place them inside a propagator. Make sure the plastic doesn’t touch the leaves of the cuttings too much! You can use small stakes to create a little tent if needed.
The “Secret Sauce” (Pro Tips)
Here are a few little secrets I’ve learned over the years that can make a world of difference:
- Bottom Heat is Your Friend: If you have the luxury, placing your pots on a gentle heat mat can dramatically speed up the rooting process. It mimics the warmth of the soil in warmer climates and signals to the plant that it’s time to get growing below the surface.
- Don’t Let Those Leaves Drip: When you mist your cuttings, ensure no water pools on the leaves. Excess moisture sitting on the foliage for extended periods can encourage fungal diseases, which is the last thing you want. A good misting is to create a slightly humid air environment, not to soak the leaves.
- Patience with the Leaf Drop: Don’t panic if some of the lower leaves start to yellow and drop off. This is normal as the cutting conserves energy. However, if the entire cutting turns yellow and floppy, it’s likely not going to make it.
Aftercare & Troubleshooting
Once you start to see signs of new growth – tiny new leaves unfurling from the tip of the cutting – that’s your cue that roots have formed! At this point, you can gradually acclimate your cuttings to less humid conditions. Start by opening the plastic bag a little each day, then remove it for longer periods.
Keep the soil consistently moist but never soggy. Overwatering is the most common killer of new cuttings; it leads to root rot. You’ll know if you have rot if the stem at the soil line turns dark and mushy, and the cutting wilts despite the soil being wet. If you suspect rot, it’s usually best to discard the affected cutting to prevent it from spreading.
Continue to care for your new plant in a bright, indirect light location. Once the roots are well-established and you see vigorous new growth, you can transplant your baby Austrobuxus alticola into a slightly larger pot, using a good quality, well-draining potting mix.
Encouraging Closing
Propagating plants is a journey of observation and a gentle dance with nature. It takes patience, sometimes a little trial and error, but the reward of seeing new life emerge from your efforts is simply magical. Don’t be discouraged if not every cutting takes. Each attempt teaches you something new. So, grab your shears, get your hands in the soil, and enjoy the wonderful process of growing your own beautiful Austrobuxus alticola. Happy gardening!
Resource:
https://identify.plantnet.org/k-world-flora/species/Austrobuxus%20alticola%20McPherson/data