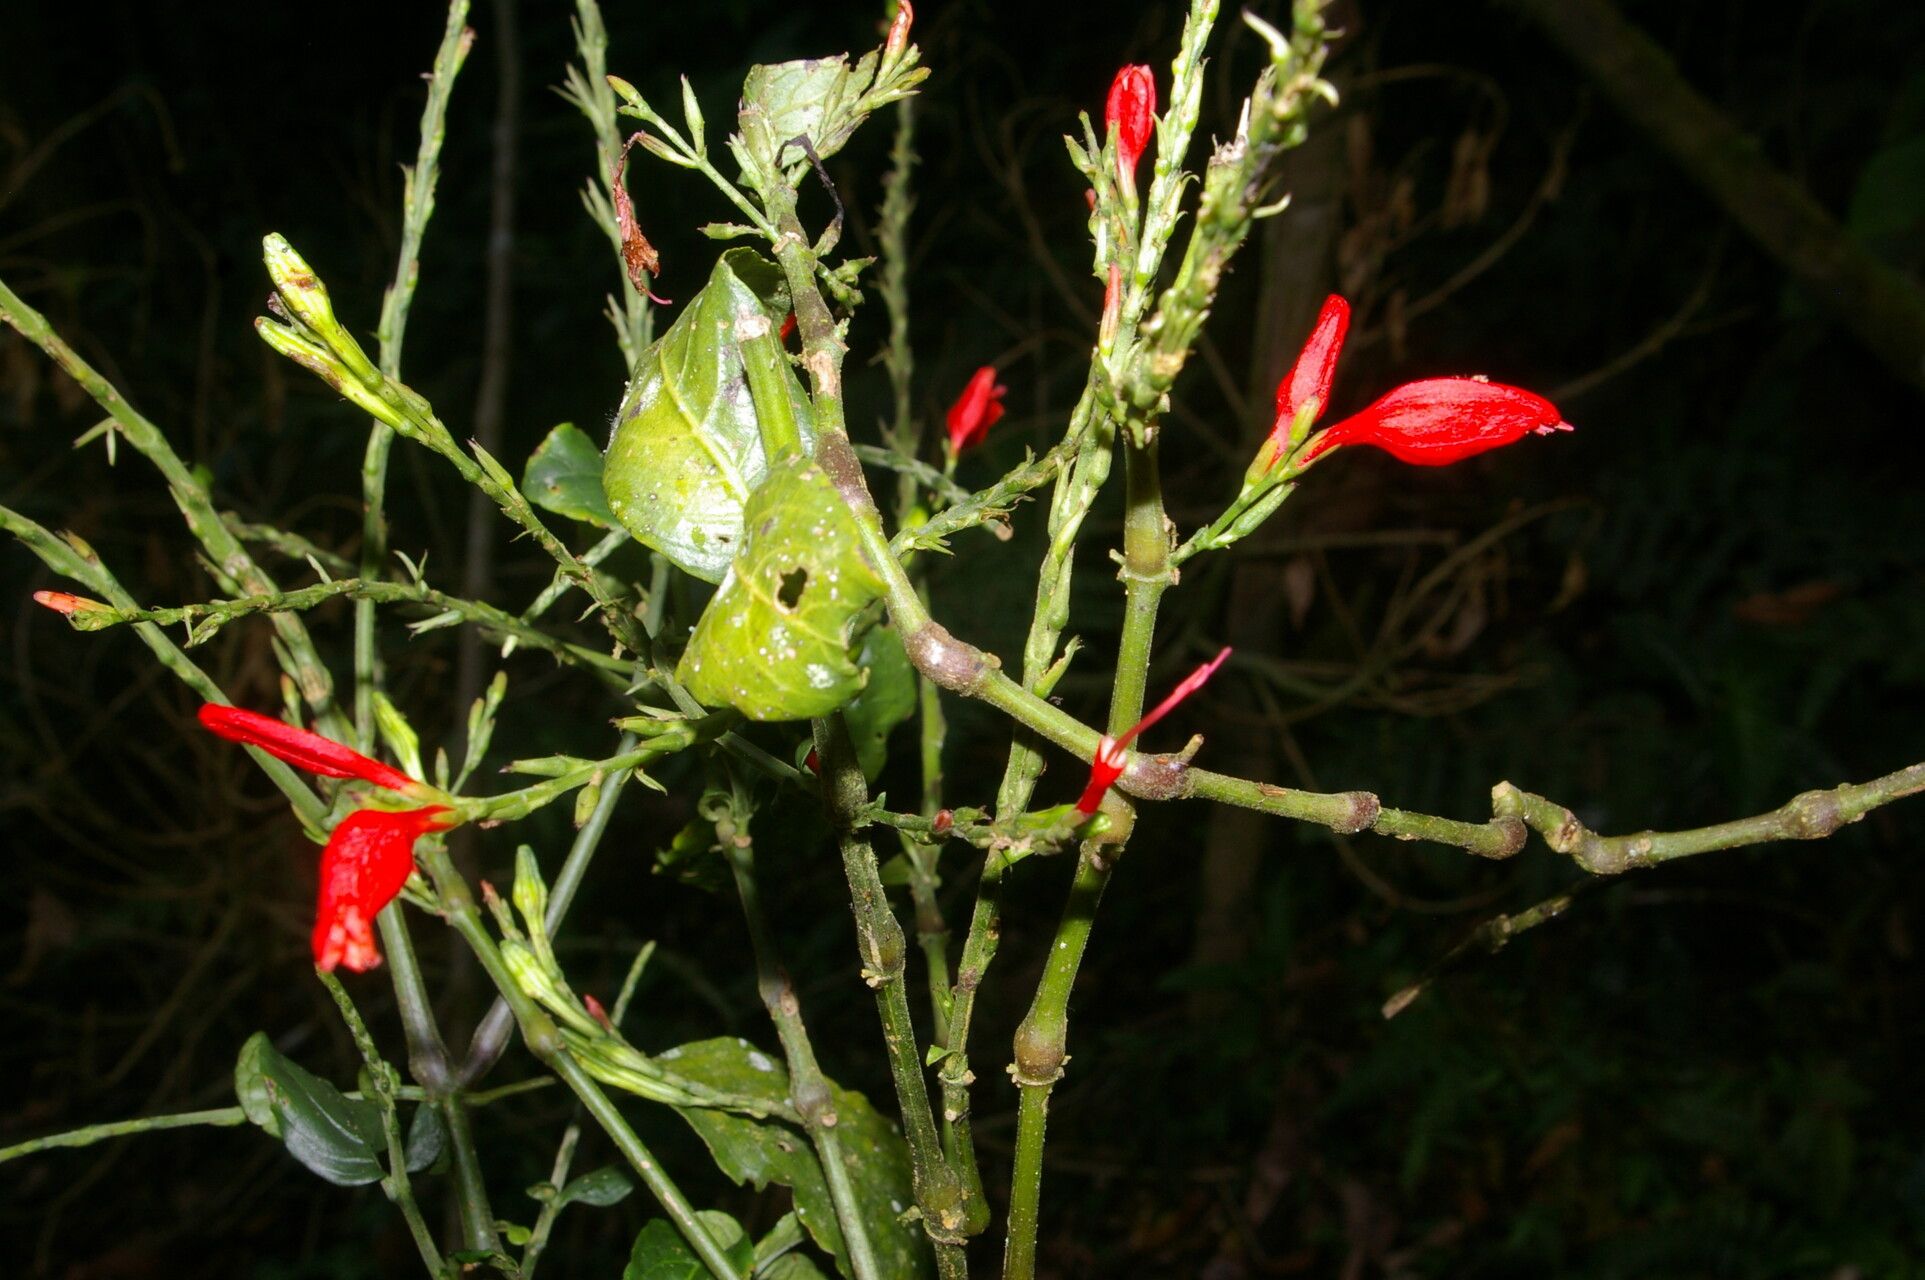
Oh, hello there! Welcome to my little corner of the internet, where we talk about all things green and growing. Today, I want to chat about a plant that’s really captured my heart over the years: Stenostephanus strictus. You might know it by its more common name, the Scarlet Spiral or Kissing Lips plant, for those striking, bright red, tubular flowers that seem to just… pout. It’s a real showstopper, isn’t it? And the best part? Propagating it is surprisingly rewarding, and honestly, not as daunting as you might think. It’s a lovely plant to try your hand at propagation, even if you’re just starting out.
When to Give It a Go
Timing is everything in the garden, and for Stenostephanus strictus, the late spring or early summer is your golden ticket. This is when the plant is actively growing, full of vigor, and ready to channel that energy into new roots. You’re looking for new, non-woody growth. Think of it as a cheerful, energetic young stem – that’s your target.
What You’ll Need to Get Started
Don’t worry, you won’t need a whole shed full of fancy gadgets. Here’s what I usually have on hand:
- Sharp pruning shears or a clean knife: For making those crucial cuts. Cleanliness is key to prevent disease.
- Rooting hormone (optional but helpful): A little powder or gel can give your cuttings a nudge.
- A well-draining potting mix: I like a blend of peat moss, perlite, and a touch of coir. Or, a good quality seed-starting mix works wonders.
- Small pots or propagation trays: Clean ones, of course!
- A mister or spray bottle: For keeping things humid.
- Clear plastic bags or a propagator: To create that humid environment.
- Labels and a marker: Trust me, you’ll thank yourself later!
Making New Friends: Propagation Methods
Stenostephanus strictus is quite generous and happy to be multiplied, and stem cuttings are your best bet.
Propagating by Stem Cuttings:
- Select your cutting: Look for a stem that’s about 4-6 inches long. It should be healthy and have several sets of leaves. Make your cut just below a leaf node (where a leaf attaches to the stem).
- Prepare the cutting: Gently remove the lower leaves, leaving just a couple at the very top. This prevents them from rotting when they’re in the medium.
- Dip in rooting hormone (if using): Lightly moisten the cut end and dip it into your rooting hormone powder or gel. Tap off any excess.
- Plant your cutting: Fill your pots or trays with your prepared potting mix. Make a little hole with your finger or a pencil and insert the cut end of the stem. Gently firm the soil around it.
- Water it in: Water gently but thoroughly. You want the soil to be moist, not soaking wet.
The “Secret Sauce” – A Few Insider Tips
Here’s where a little experience comes in handy!
- Don’t let those leaves touch the soil. Seriously, this is a big one. If the leaves are submerged, they’ll absorb moisture and rot faster than you can say “new plant.” Keep them up and away.
- Bottom heat is your friend. If you can, popping your pots onto a gentle heat mat makes a huge difference. It warms the soil and encourages those roots to get going much more quickly. You can often find affordable seedling heat mats online.
- Mist, mist, and mist again! These little cuttings need high humidity to thrive while they’re developing roots. Mist them with your spray bottle a couple of times a day, especially if they’re not enclosed.
Aftercare and What to Watch For
Once your cuttings are planted, it’s time to set them up for success.
Creating the Right Environment:
Place your pots in a bright spot, but out of direct, harsh sunlight. Too much sun can scorch those delicate leaves. Cover the pots with a clear plastic bag or place them in a propagator to trap humidity. Lift the bag or open the propagator for a few minutes each day to allow for air circulation and prevent fungal issues.
When Roots Appear:
You’ll know you have roots when you gently tug on the cutting and feel a bit of resistance, or you might even see them peeking out of the drainage holes! This can take anywhere from 3-6 weeks, so be patient. Once you see good root development, you can start to gradually wean them off the high humidity. Remove the plastic bag for longer periods each day.
Troubleshooting:
The most common issue is rot. If you see leaves yellowing and becoming mushy, or the stem turns black and soft, it’s likely rot from too much moisture and not enough air circulation. Sadly, these cuttings are usually lost, but don’t get discouraged. It’s all part of the learning process! Just clean up the area, and try again.
Keep Planting, Keep Growing!
Propagating plants, especially one as lovely as Stenostephanus strictus, is such a joyful experience. It’s a wonderful way to observe the resilience of nature and to share the beauty of these plants with others. Don’t be afraid to experiment, and remember that every gardener, no matter how experienced, has had their share of cuttings that didn’t make it. The key is to be patient, learn from each attempt, and keep that soil moist (but not soggy!). Happy propagating!
Resource: