Hello there, fellow garden enthusiasts! Today, we’re going to dive into something truly special: propagating Mountain Mint, specifically Pycnanthemum muticum. I’ve been growing this beauty for years, and let me tell you, it’s always a joy to see new little clumps popping up every season.
Why Propagate Mountain Mint?
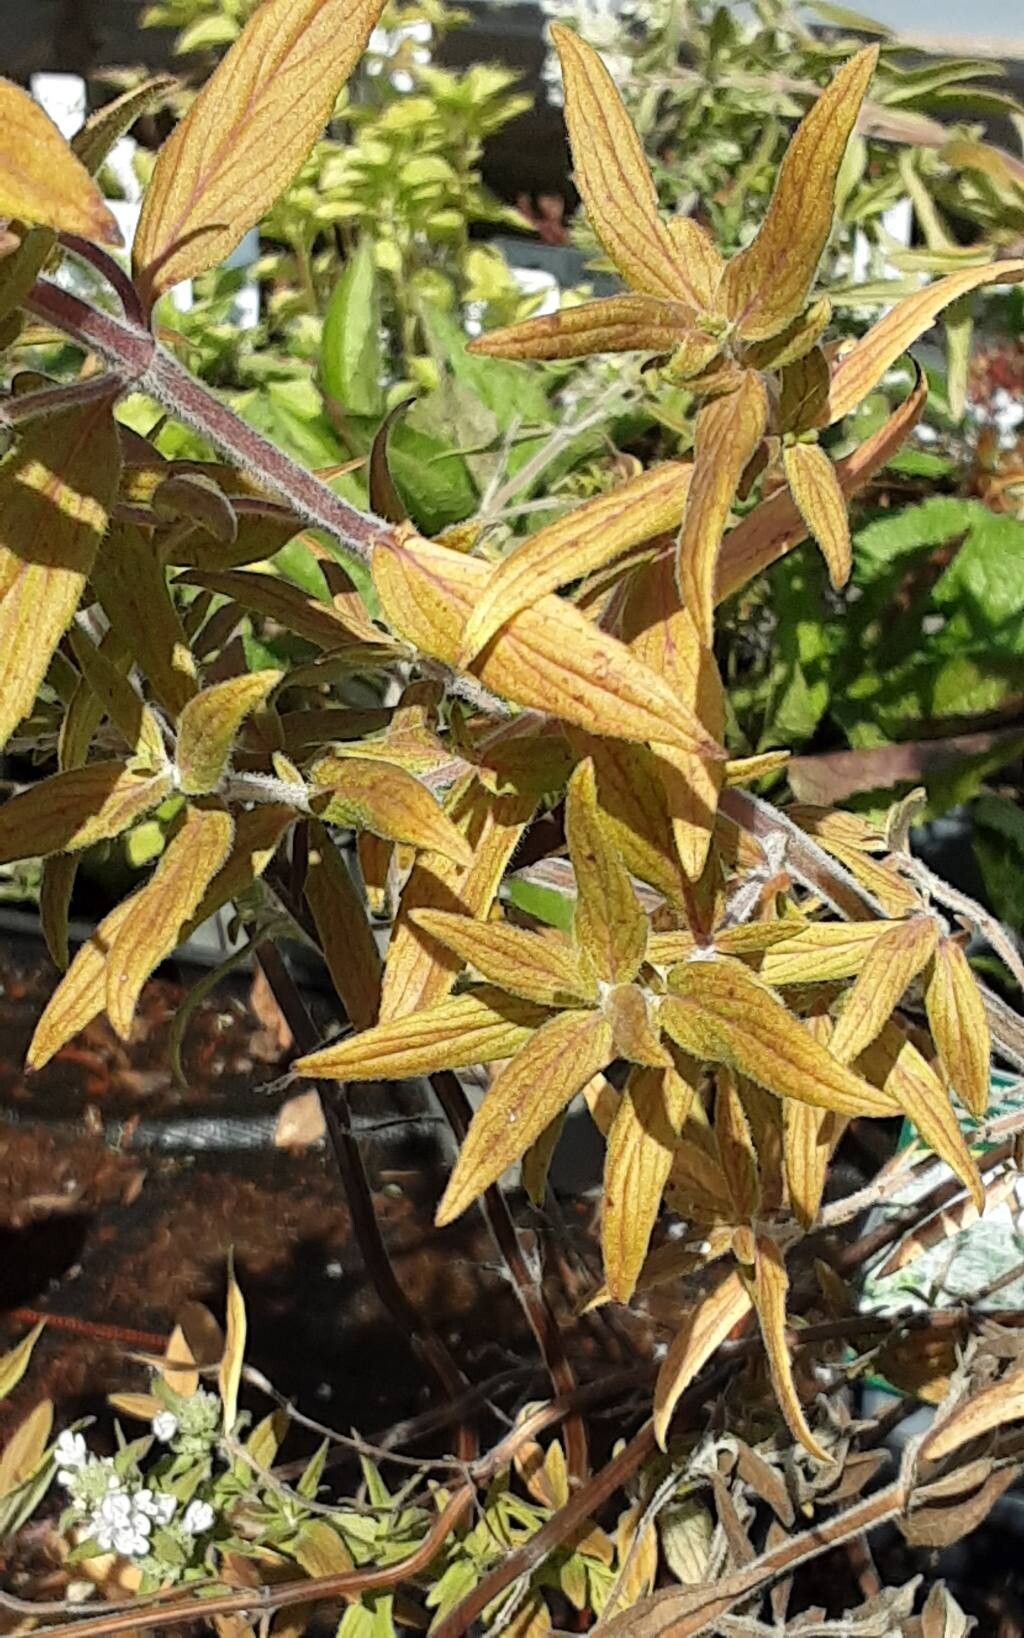
Pycnanthemum muticum is a fantastic native plant. It’s got this wonderful fuzzy, silvery foliage and in summer, a delightful display of lavender-pink flowers that are an absolute magnet for pollinators. Bees, butterflies – you name it, they’ll love it. Plus, the leaves have this incredible minty-basil scent when you brush against them! It smells like the most amazing herb garden on a hot day.
And propagating it? Well, it’s a wonderfully rewarding experience. You get to share this love with friends, fill out blank spots in your garden, or just enjoy the satisfaction of a successful propagation. For beginners, I’d say Pycnanthemum muticum is quite forgiving, making it a great plant to try your hand at.
The Best Time to Start
The sweet spot for propagating Pycnanthemum muticum is generally in late spring to early summer. This is when the plant is actively growing, and you’ve got nice, pliant new growth to work with. Trying to propagate from woody, old stems just won’t yield the same results. Think of it like this: you want to capture that vibrant, energetic growth phase.
Supplies You’ll Need
Gathering your tools before you start makes the whole process so much smoother. Here’s what I usually have on hand:
- Sharp Pruning Shears or a Clean Knife: Essential for making clean cuts.
- Rooting Hormone (Optional but Recommended): A little dip can give your cuttings a helpful boost.
- Potting Mix: A well-draining mix is key. I like to use a blend of peat moss or coco coir, perlite, and a bit of compost. Or, you can buy a good quality seed starting mix.
- Small Pots or Trays: For your cuttings. Clean yogurt cups with drainage holes work in a pinch!
- Watering Can or Spray Bottle: For gentle watering.
- Clear Plastic Bags or Domes: To create a humid environment for your cuttings.
Propagation Methods
There are a couple of ways to multiply your Pycnanthemum muticum. My go-to is stem cuttings, but division is also a great option.
Stem Cuttings
This is probably my favorite method as it gives you the most new plants from a single mother plant.
- Select Your Stems: Look for healthy, non-flowering stems on your mature plant. You want pieces that are about 4-6 inches long.
- Make the Cut: Using your clean shears or knife, make a clean cut just below a leaf node. A leaf node is where a leaf attaches to the stem.
- Prepare the Cuttings: Gently remove the lower leaves, leaving only a couple at the very top. This prevents them from rotting when buried in the soil.
- Apply Rooting Hormone (Optional): If you’re using rooting hormone, dip the cut end into the powder or liquid. Gently tap off any excess.
- Plant Your Cuttings: Fill your pots with your well-draining potting mix. Make a small hole in the center of the soil with your finger or a pencil.
- Insert and Firm: Gently insert the cutting into the hole, ensuring the leaf nodes that were lower on the stem are below the soil surface. Lightly firm the soil around the cutting to keep it upright and in contact with the soil.
- Water Gently: Water the soil thoroughly but gently. You don’t want to dislodge your cuttings.
- Create Humidity: Cover the pot with a clear plastic bag, using stakes to keep the bag from touching the leaves. Or, use a propagation dome. Place the pots in a bright location, but out of direct, harsh sunlight.
Division
This is a fantastic method if your Pycnanthemum muticum has become a dense clump.
- Dig Up the Plant: In spring, before new growth gets too tall, or in fall after flowering, carefully dig up your entire plant.
- Gently Separate: With clean hands or a trowel, gently pull the root ball apart. You’re looking to create sections, each with healthy roots and some leafy shoots. Don’t be afraid to get in there – the roots are pretty robust.
- Replant: Immediately replant your divisions. You can plant them back in their original spot if they have room, or into new pots or garden beds. Make sure they are planted at the same depth they were originally growing.
- Water Well: Water them in generously to help settle the soil and reduce transplant shock.
The “Secret Sauce” (Pro Tips)
Here are a few things I’ve learned over the years that really make a difference:
- Don’t let the leaves touch the water (if water propagating, which I don’t recommend for this plant but some do): With stem cuttings in soil, you want to avoid leaves touching the soil directly as they’re more prone to rot. That’s why we remove lower leaves! Also, ensure the soil stays consistently moist, but not soggy. A good test is to poke your finger in: if it feels dry an inch down, it’s time to water.
- Bottom Heat is Your Friend: If you have a heat mat designed for propagation, placing your pots on it can significantly speed up root development. It mimics the warmth of the soil that cuttings would experience in nature. It’s not essential, but it’s a real game-changer.
- Be Patient with Your Cuttings: Sometimes, it feels like nothing is happening. Don’t give up too soon! It can take anywhere from 3 to 6 weeks for new roots to form.
Aftercare & Troubleshooting
Once you see signs of new growth – tiny leaves emerging at the top or a gentle tug on your cutting reveals resistance – roots have formed!
- Acclimatize: Gradually remove the plastic bag or dome over a few days to let your new plants adjust to the drier air.
- Potting Up: Once the new plants have a decent root system and are growing well, you can pot them into larger individual pots with your regular potting mix or transplant them directly into the garden.
- Signs of Trouble: The most common issue is rot, which usually occurs from overwatering and poor drainage. If the stem turns black and mushy, or the leaves are wilting and yellowing and the soil is constantly wet, you’ve likely got rot. Unfortunately, these cuttings are usually a write-off. Prevention is key: use a well-draining mix and water only when needed.
Keep Growing!
Propagating Pycnanthemum muticum is a journey, and like any good garden endeavor, it rewards patience and observation. Don’t get discouraged if your first few attempts aren’t perfect. Each time you try, you learn a little more. Enjoy the process, connect with your plants, and soon you’ll have a garden buzzing with life! Happy propagating!
Resource:
https://identify.plantnet.org/k-world-flora/species/Pycnanthemum%20muticum%20(Michx.)%20Pers./data