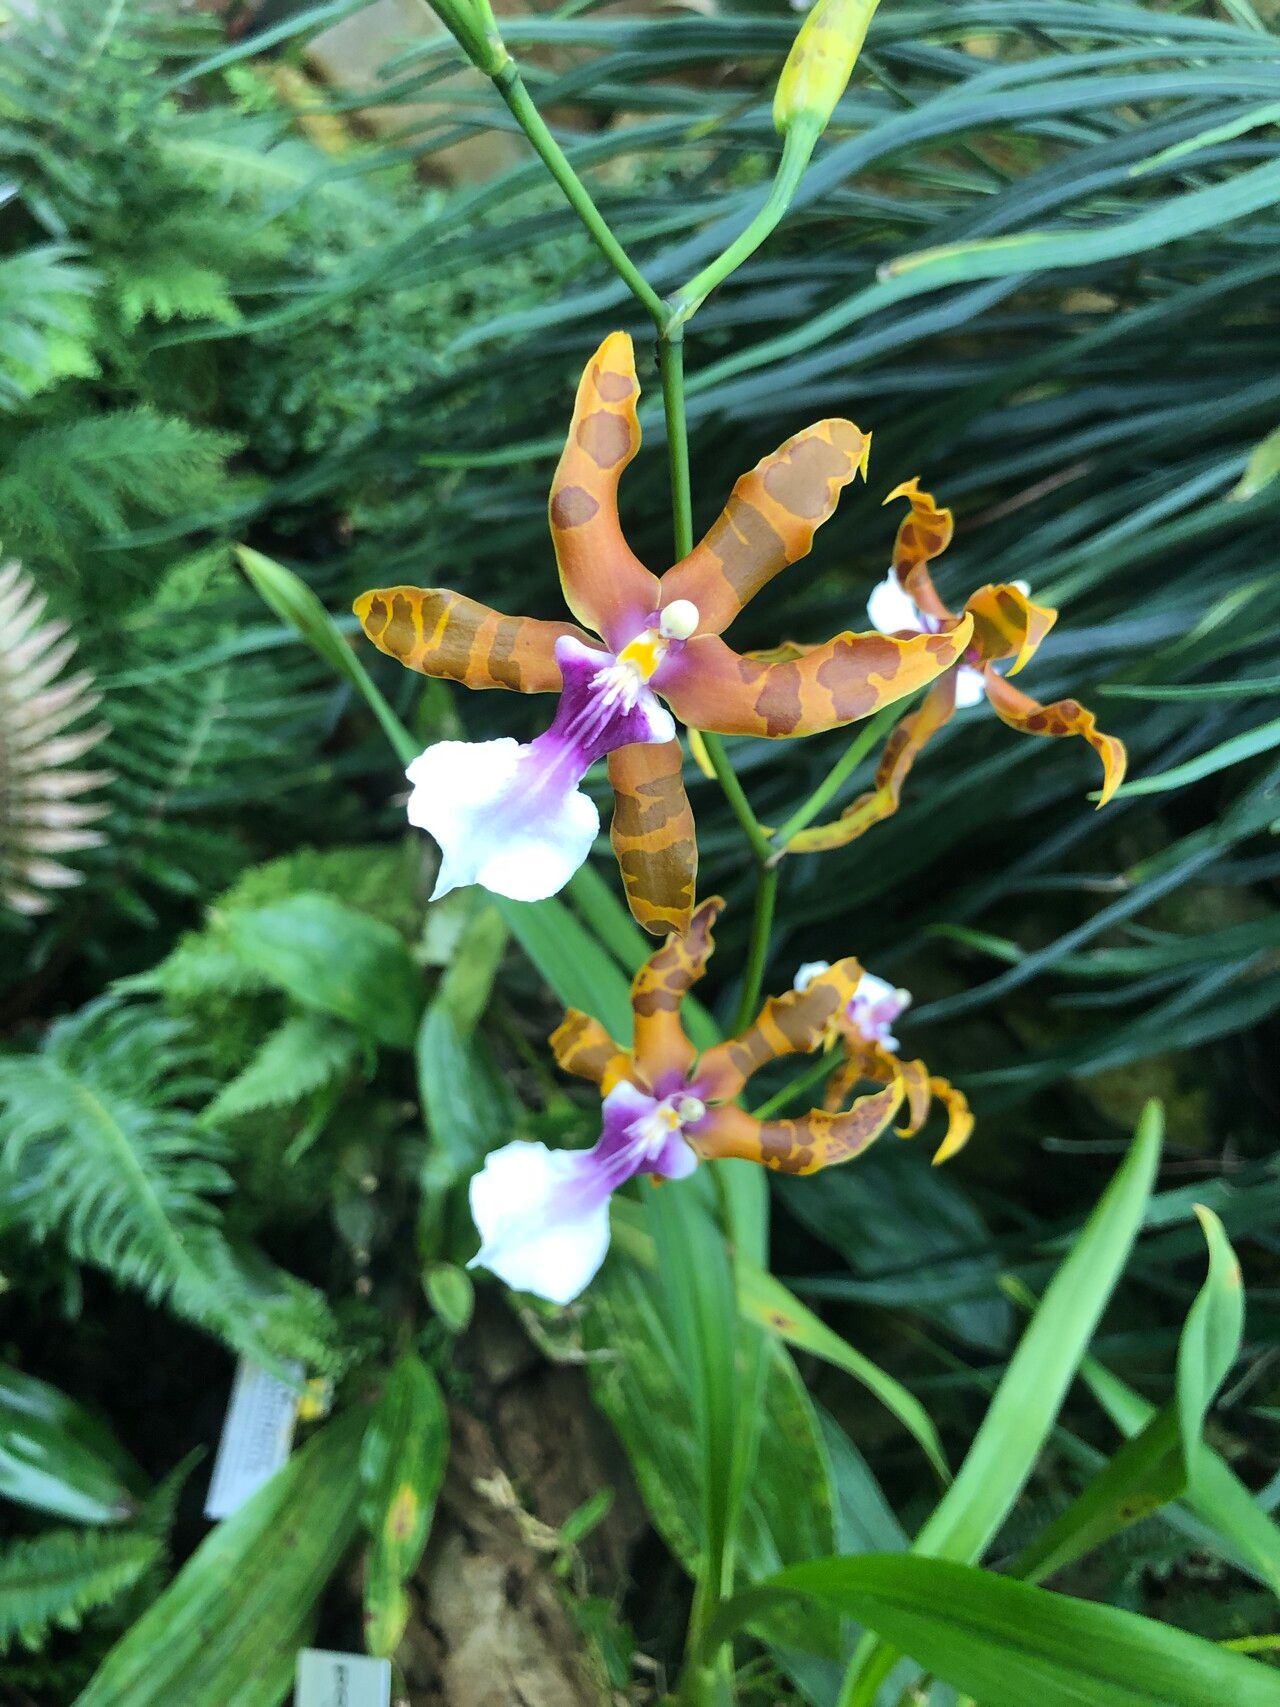
Oh, Miltonia clowesii! If you’re looking for an orchid that offers a real WOW factor with its delicate, pansy-like blooms and wonderful fragrance, you’ve picked a beauty. Seeing a new Miltonia sprout from a division or a cutting you nurtured yourself? That’s a joy that never gets old for me. It’s not exactly a beginner-friendly orchid for propagation compared to, say, a snake plant, but with a little patience and the right approach, it’s absolutely achievable. Let’s get our hands dirty!
The Best Time to Start
For Miltonia clowesii, the absolute sweet spot for propagation is after the plant has finished its blooming cycle and is entering a period of active growth. This usually means you’re looking at late spring or early summer. You want to see new root growth starting to emerge from the base of the pseudobulbs. Trying to divide or take cuttings when the plant is dormant or in the middle of a big bloom just stresses it out more than necessary, and we don’t want that.
Supplies You’ll Need
Here’s what you should gather before you begin:
- Sharp, sterile pruning shears or a clean, sharp knife: For making clean cuts. Sterilize with rubbing alcohol between each cut.
- New, well-draining orchid potting mix: A bark-based mix is usually best, with some perlite or charcoal for aeration. You can often find specific mixes for Phalaenopsis or Vandas that work well.
- New pots or community trays: Make sure they have excellent drainage. Clay pots can be lovely but can dry out quickly, so plastic with good drainage holes is often a safer bet for beginners.
- Optional: Rooting hormone: While not strictly necessary for division, it can give a little boost to cuttings.
- Optional: Sphagnum moss: Some growers like to use a bit of moist sphagnum around the base of a division or cutting to encourage humidity and root development.
- Watering can or spray bottle: For gentle watering.
Propagation Methods
The most common and successful way to propagate Miltonia clowesii is through division. These orchids tend to grow in clumps, and as they mature, those clumps become easier to separate into smaller, viable sections.
- Gently Remove from Pot: Carefully unpot your Miltonia clowesii. If it’s been in the same pot for a while, you might need to gently tease away some of the old potting mix with your fingers or a blunt tool.
- Inspect the Rhizome: Look for the rhizome – the thick, fleshy stem that connects the pseudobulbs (the swollen, cane-like structures). Healthy divisions will have at least 2-3 healthy pseudobulbs per section, and ideally, some new root growth.
- Make Your Cuts: Using your sterile pruner or knife, carefully slice through the rhizome to separate the clump into smaller sections. If you encounter tough sections, don’t force it. You want clean cuts. Aim for divisions with at least three pseudobulbs and some strong, healthy roots.
- Prepare the Divisions: Gently remove any dead or dried-up roots or leaves. If you’re using rooting hormone, dust the cut ends of the rhizome and any exposed roots.
- Pot Them Up: Place each division into its own new pot. The base of the pseudobulbs should be just at the surface of the new potting mix. Don’t pack the mix too tightly; you want to allow for good air circulation.
The “Secret Sauce” (Pro Tips)
Here are a couple of things I’ve learned over the years that really help:
- Don’t Overwater Immediately After Division: This is crucial! Give those cut ends a chance to callus over. I usually wait 24-48 hours before giving the new divisions their first gentle watering. This helps prevent rot, which is the enemy of young orchids.
- Humidity is Your Friend, But Keep Leaves Dry: While humidity helps new roots to form, you don’t want sitting water on the leaves. If you’re using a spray bottle for misting, only mist the air around the plant, not directly on the foliage, especially when they’re freshly potted. This is where that nice airflow comes in handy!
Aftercare & Troubleshooting
Once your divisions are potted, place them in a location with bright, indirect light. Avoid direct sun, which can scorch delicate new leaves. Keep them in a spot with good air circulation – maybe a gentle fan in the room if it’s stagnant.
Water sparingly at first. You want the potting mix to dry out slightly between waterings. Check the moisture level by poking a finger into the mix or feeling the weight of the pot. It should feel slightly moist, not soggy.
What if things go wrong? The most common issue is rot, which usually manifests as mushy, black pseudobulbs or roots. This is almost always a sign of overwatering or poor drainage. If you see rot, you may need to repot, trim away the affected parts, and let the plant dry out more thoroughly before re-potting. Another sign of stress can be wrinkling pseudobulbs, which indicates the plant isn’t taking up water effectively – often a clue that the roots are compromised or the plant is just adjusting.
A Encouraging Closing
Propagating Miltonia clowesii is a journey, and like all good gardening endeavors, it requires a bit of patience. Don’t get discouraged if your first attempt isn’t perfect. Observe your new plants, learn from them, and celebrate every little sign of new growth. The reward of seeing a division thrive and eventually bloom is truly special. Happy growing!
Resource:
https://identify.plantnet.org/k-world-flora/species/Miltonia%20clowesii%20(Lindl.)%20Lindl./data