Oh, hello there! Come on in, grab a mug of something warm. I love when we get to chat about plants, don’t you? Today, we’re diving into the wonderful world of Aechmea miniata.
Meet the Aechmea Miniata: A Little Gem for Your Collection
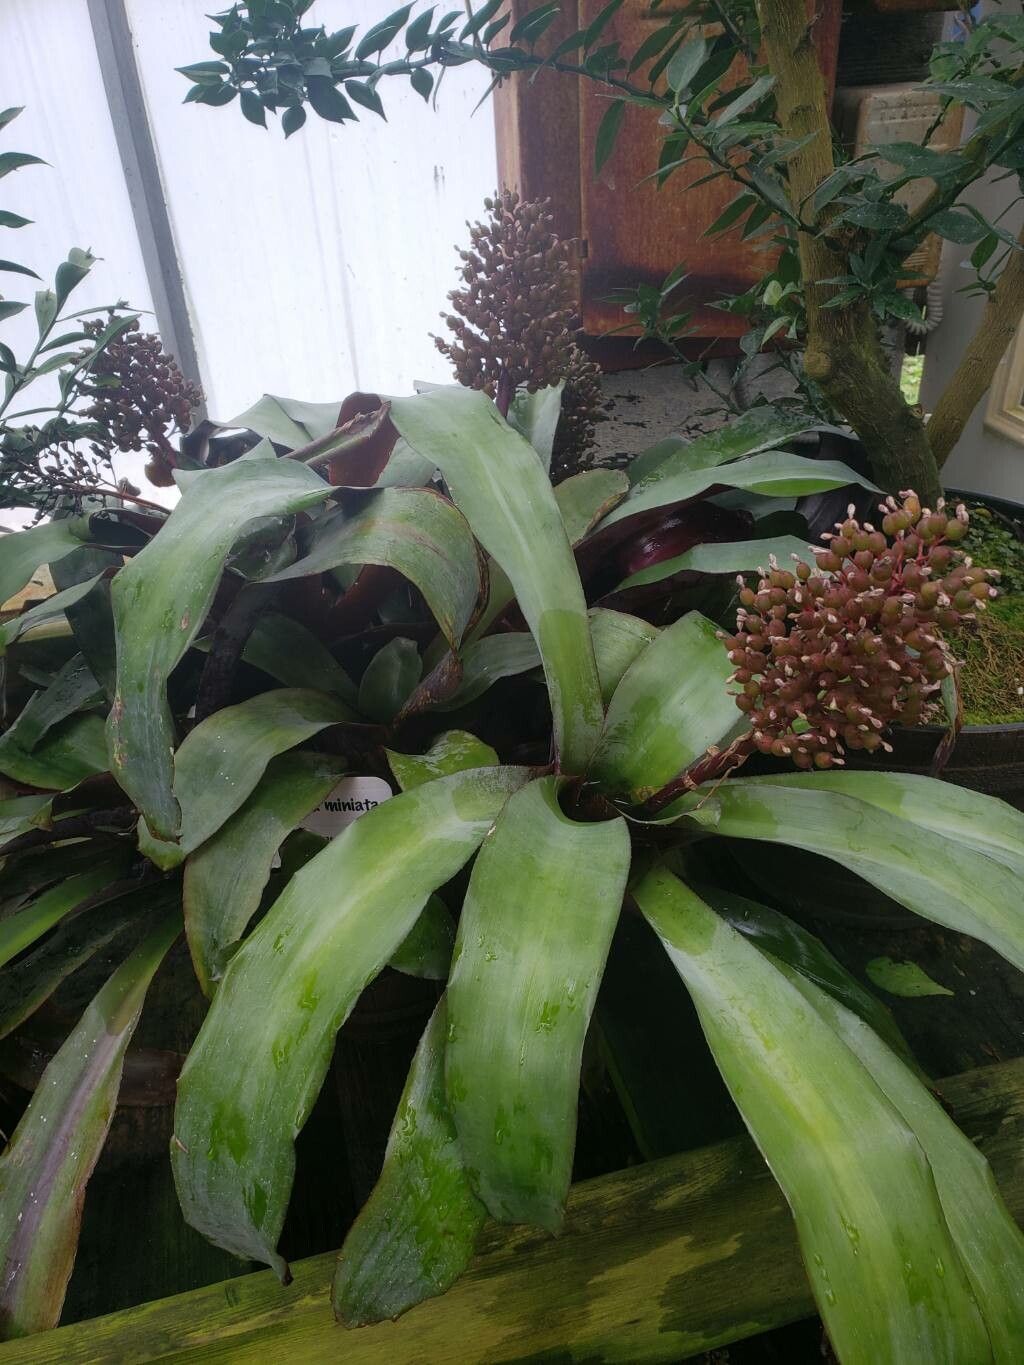
Isn’t Aechmea miniata just striking? Those vibrant, often deep red bracts that shoot up from the center, tipped with a pop of bright color – it’s like a little jewel in the bromeliad family. And the best part? You can easily multiply this beauty in your own home! I find propagating bromeliads, and Aechmea miniata in particular, incredibly rewarding. Watching a tiny pup unfurl and grow into its own plant is pure gardening joy. Honestly, if you’re just starting out with plant propagation, this one is a fantastic beginner-friendly project. You’ll be hooked in no time.
When to Get Your Hands Dirty
The absolute best time to propagate Aechmea miniata is when you see pups forming. These are the baby plants that emerge from the base of the mother plant. You’ll usually notice them after the mother plant has finished blooming. Spring and early summer tend to be the most active growth periods, so if your plant is showing signs of pups then, you’re in luck! Wait until the pup is at least a quarter to a third the size of the mother plant; it’ll have a better chance of survival and developing its own roots.
Your Propagation Toolkit
Gathering your supplies beforehand makes the whole process smoother. Here’s what you’ll want to have on hand:
- Sharp Pruning Shears or a Clean Knife: For cleanly separating the pups. Sterilize them if you can – a quick wipe with rubbing alcohol works wonders.
- Potting Mix: A well-draining mix is non-negotiable for bromeliads. I like a blend of orchid bark, perlite, and a bit of peat moss. You can also find specific bromeliad potting mixes at most garden centers.
- Small Pots: Terracotta pots are great because they allow the soil to dry out more quickly. Choose pots that are just slightly larger than the pup you’re planting.
- Rooting Hormone (Optional but Recommended): This can give your pups an extra boost in developing strong roots. Look for a powder or gel specifically for cuttings.
- Spray Bottle: For misting.
- Labels: To remind yourself what you’ve potted and when!
Bringing New Life: Propagating Your Aechmea Miniata
The most common and effective way to propagate Aechmea miniata is through division of pups. It’s straightforward and usually yields great results.
- Assess Your Pup: Gently examine the base of the mother plant. You’re looking for those little offshoots, the pups. As I mentioned, wait until they’ve reached a decent size. Sometimes they’ll already have tiny roots of their own.
- Gentle Separation: This is key. You want to get as much of the pup’s base, and any emerging roots, as possible. Using your clean shears or knife, carefully cut the pup away from the mother plant, making a clean slice as close to the base of the mother as you can. If there are existing roots, try to keep them intact.
- Prepare the Pup: Some gardeners like to let the cut end callous over for a day or two, especially if they’re not using rooting hormone. This can help prevent rot. If you’re using rooting hormone, dip the cut end into the powder or gel. Tap off any excess so you don’t have a big clump.
- Planting Time: Fill your small pot with your prepared, well-draining potting mix. Make a little hole in the center for the pup. Gently place the pup into the hole, ensuring the base is covered by soil. You want to plant it just deep enough to be stable. Don’t bury the leaves too deeply.
- Initial Watering: Water the soil lightly. You don’t want the soil to be soggy, just slightly moist. For the first few weeks, I like to give the soil a light misting every few days if it starts to dry out.
My “Secret Sauce” for Success
After years of trial and error, I’ve picked up a few tricks that really seem to help my bromeliad pups thrive:
- Don’t Let the Leaves Drown: When you water, try to water the soil directly, not the central cup of the pup. Excess water sitting in the leaves can lead to rot, especially on a young plant that’s still establishing itself.
- Warm Toes Help: Bromeliads love warmth. If you have a heating mat used for seedlings, place your potted pup on it. Gentle bottom heat can significantly speed up root development. Just make sure it’s not too hot – you don’t want to cook your little one!
- Humidity is Your Friend: Young plants often appreciate a bit more humidity. I’ll often place the pot in a clear plastic bag (loosely tied, so there’s still airflow) for the first week or two. This creates a mini-greenhouse effect. Just remember to open it up for an hour each day to allow for air circulation and to prevent fungal issues.
Growth and What to Watch For
Once your pup is potted, patience is your mantra! You’ll know it’s taken root when you see new leaf growth emerging from the center. This can take anywhere from a few weeks to a couple of months. Continue to water sparingly, allowing the soil to dry out slightly between waterings.
What if things go wrong? The most common culprit is rot. If your pup starts to look mushy, dark, or smells off, it’s likely rotting. This is usually due to overwatering or poor drainage. If you catch it early, you might be able to salvage a healthy section of the pup, but sadly, a rotted bromeliad is usually a goner. Another sign of distress is yellowing leaves, which could indicate too much or too little water, or inadequate light.
Keep Growing!
Propagating Aechmea miniata is such a rewarding experience. It connects you more deeply with your plants and, before you know it, you’ll have a whole collection of these stunning beauties. Don’t be discouraged if your first attempt isn’t perfect. Every plant is a learning opportunity. Just keep at it, enjoy the process, and revel in the joy of watching new life sprout before your eyes. Happy propagating!
Resource:
https://identify.plantnet.org/k-world-flora/species/Aechmea%20miniata%20(Beer)%20Baker/data