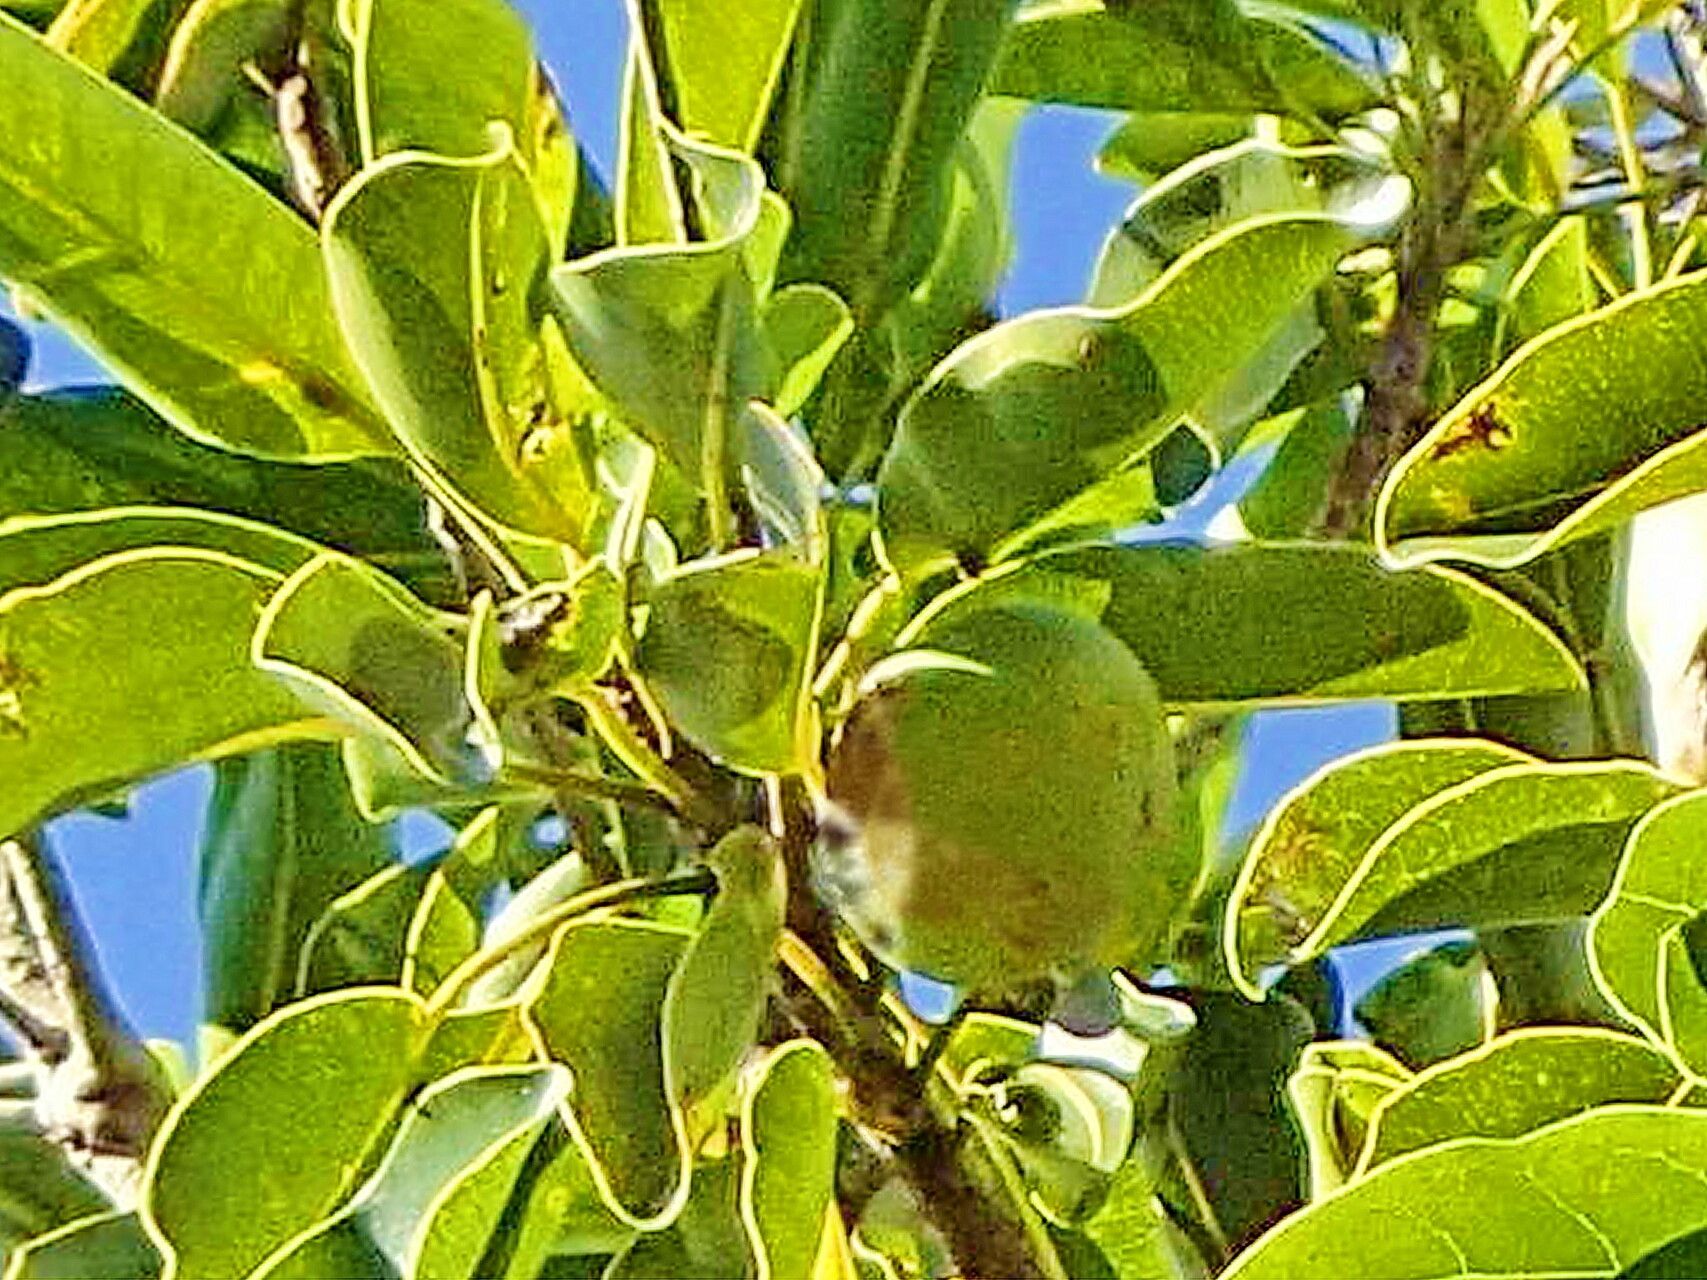
Oh, the Mimusops balata! Isn’t she a beauty? I’ve been coaxing new life from these lovely plants for years, and let me tell you, it’s one of those deeply satisfying rewards of gardening. That glossy foliage, the subtle fragrance of its flowers, and the promise of future shade – it’s all just so worth it. Now, is it a walk in the park for a total beginner? Honestly, it can be a touch more demanding than, say, a spider plant. But don’t let that deter you! With a little care and a dash of patience, you’ll be well on your way.
The Best Time to Start
For Mimusops balata, my best advice is to take cuttings in late spring or early summer. This is when the plant is actively growing, full of vigour. You’ll find the stems are supple but firm, which is exactly what we’re looking for. Avoid taking cuttings when the plant is stressed from extreme heat or cold, or during its main flowering period.
Supplies You’ll Need
Gathering your tools before you begin makes the whole process smoother. Here’s what you should have on hand:
- Sharp pruning shears or a clean utility knife: For making clean cuts.
- Potting mix: A well-draining blend is crucial. I like to use a mix of peat moss, perlite, and a little bit of compost. About a 1:1:1 ratio works well.
- Rooting hormone (optional but recommended): A good powder or gel can significantly improve your success rate.
- Small pots or propagation trays: Clean ones are key to preventing disease.
- Plastic bags or a propagation dome: To maintain humidity.
- Labels: For keeping track of your new babies!
- Water: For misting and watering.
Propagation Methods: Stem Cuttings
This is generally the most reliable way to propagate Mimusops balata. Here’s how I do it:
- Select Your Cuttings: Look for healthy, semi-hardwood stems. These are stems that have started to firm up but aren’t woody yet. You want to avoid very soft, new growth or old, woody stems. Aim for cuttings about 6-8 inches long.
- Make the Cut: Using your clean pruning shears or knife, make a clean cut just below a leaf node (where a leaf attaches to the stem). This is where roots are most likely to form.
- Prepare the Cutting: Gently remove the lower leaves from the cutting. Leave just a few leaves at the top to help with photosynthesis. If the remaining leaves are quite large, you can even cut them in half lengthwise to reduce water loss.
- Apply Rooting Hormone (if using): Dip the cut end of the stem into your rooting hormone powder or gel. Tap off any excess.
- Plant Your Cuttings: Fill your pots or trays with your prepared potting mix. Make a hole in the center with your finger or a pencil, then gently insert the cutting. Firm the soil around the base of the cutting.
- Create a Humid Environment: Water the soil lightly until it’s moist but not soggy. Then, cover the pots with a clear plastic bag (make sure the bag doesn’t touch the leaves!) or place them under a propagation dome. This traps in humidity, which is vital for cuttings.
- Provide Warmth and Light: Place the pots in a warm spot with bright, indirect light. Avoid direct sunlight, as it can scorch the delicate cuttings.
The “Secret Sauce” (Pro Tips!)
Here are a couple of tricks I’ve learned over the years that make a big difference:
- Bottom Heat is Your Friend: If you have a seedling heat mat, place your pots on it. This gentle warmth from below encourages root formation like nothing else. It’s like giving your cuttings a cozy heated blanket.
- Don’t Drench, Mist: Once your cuttings are covered, resist the urge to water them constantly. Instead, lightly mist the leaves and soil every couple of days or when the soil surface starts to dry out. Overwatering is the quickest way to get rot.
Aftercare & Troubleshooting
Once your cuttings have been in their humid haven for a few weeks, you might start to see signs of new growth. This is a good indicator that roots are forming! You can gently tug on a cutting to feel for resistance – that means roots are anchoring it.
As new leaves emerge, gradually start to acclimatize your new plants to lower humidity. You can do this by opening the plastic bag or dome for a little longer each day. Once they are well-established and have a good root system, you can transplant them into their own individual pots.
Signs of Trouble: The most common issue you’ll face is rot. If you see stems turning black or mushy, it’s usually a sign of too much moisture and poor air circulation. Remove any affected cuttings immediately to try and save the others. If the leaves simply wither and fall off without any mushiness, it might be a sign that the cutting is too dry, or it’s just not taking. Don’t get discouraged; try again!
A Encouraging Closing
Propagating Mimusops balata is a journey, and like all good gardening adventures, it’s about the process as much as the outcome. Be patient with your little cuttings. Some will take off, and some may not, but every attempt is a learning experience. So, roll up your sleeves, get your hands in the soil, and enjoy the magic of watching new life sprout. Happy propagating!
Resource:
https://identify.plantnet.org/k-world-flora/species/Mimusops%20balata%20(Aubl.)%20C.F.Gaertn./data