Hello there, fellow plant lovers! If you’ve ever admired the lush, architectural beauty of Sciodaphyllum robustum, you’ve probably wondered how you can bring that magic into different corners of your home or even share it with gardening friends. I know I have! This plant, with its gorgeous, glossy leaves, is a real showstopper. The good news is, propagating it is a deeply satisfying endeavor. It’s not going to be the absolute easiest plant for a complete beginner, but with a little patience and these tips, you’ll be well on your way to success.
The Best Time to Start
For the highest chance of success, I find that early spring is truly the golden ticket for propagating Sciodaphyllum robustum. Think of it as the plant waking up and full of energy. New growth is vigorous, and cuttings taken during this time seem to establish roots much more readily. As the days get longer and warmer, your little cuttings will have the perfect conditions to thrive.
Supplies You’ll Need
To give your Sciadoplyllum robustum propagation the best start, gather these essential items:
- Sharp, clean pruning shears or a knife: Sterilize them with rubbing alcohol to prevent disease.
- Rooting hormone powder or gel: This is optional but can significantly speed up the process.
- Well-draining potting mix: I like to use a 50/50 blend of good quality potting soil and perlite or coarse sand.
- Small pots or propagation trays with drainage holes: Clean containers are key!
- A mister bottle: For keeping humidity levels up.
- Clear plastic bags or a propagation dome: To create a humid environment.
- A small trowel or dibber: For making holes in your soil.
Propagation Methods
I’ve found two primary methods work wonderfully for Sciodaphyllum robustum.
Stem Cuttings
This is my go-to and usually the most successful approach.
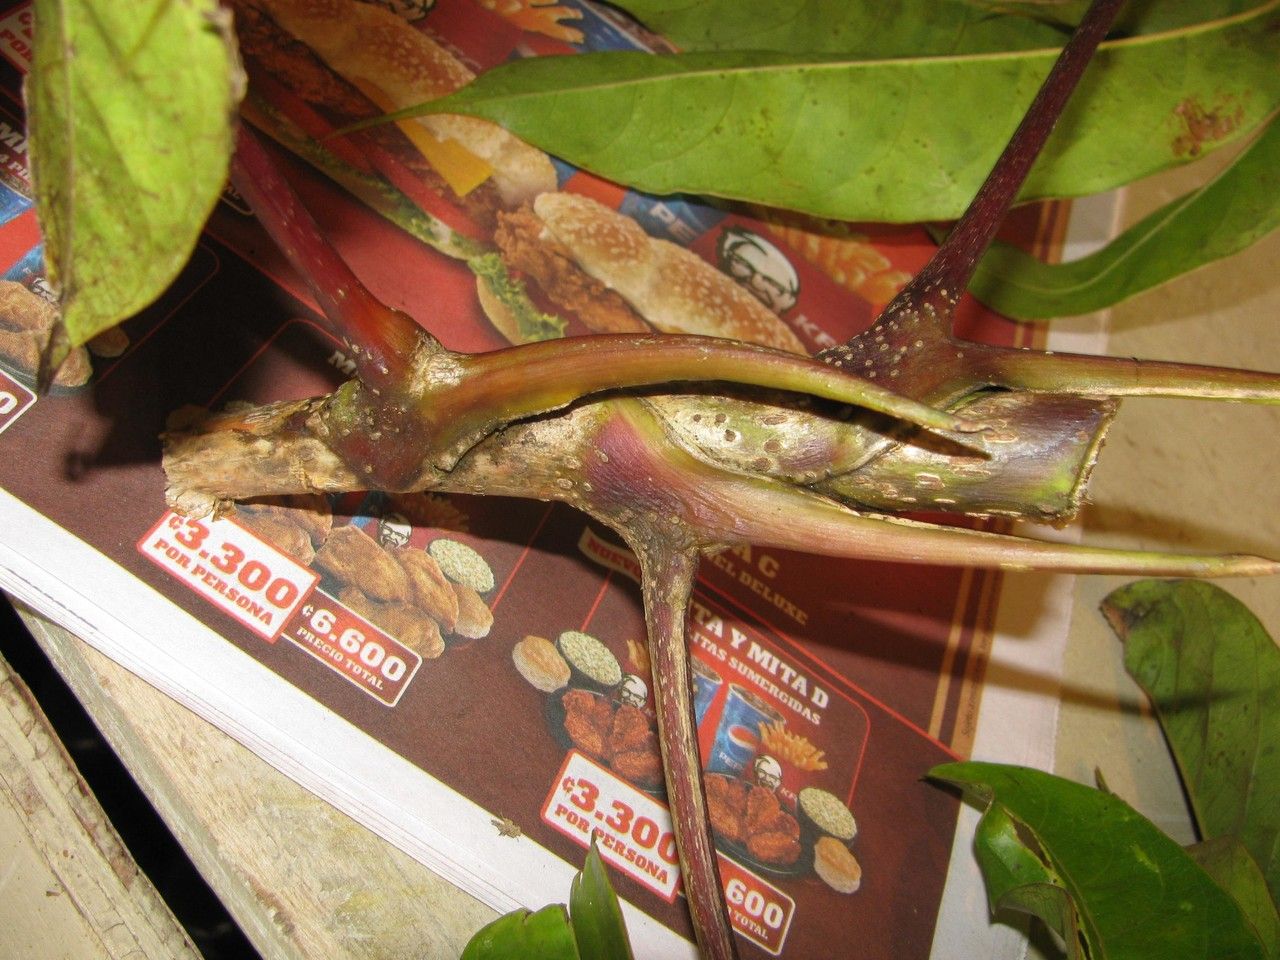
- Select healthy stems: Look for vibrant, green stems that aren’t too woody. Aim for stems that have at least two sets of leaves.
- Make your cut: Using your sterilized shears or knife, make a clean cut just below a leaf node (the point where a leaf attaches to the stem). You want cuttings that are roughly 4-6 inches long.
- Prepare the cuttings: Gently remove the lower leaves from the cutting, leaving just one or two at the very top. This prevents them from rotting in the soil.
- Apply rooting hormone (optional but recommended): Dip the cut end into your rooting hormone, tapping off any excess.
- Plant your cuttings: Fill your small pots with your well-draining mix. Use your trowel or dibber to make a hole deep enough for the cutting to be firmly anchored. Gently push the cutting into the hole, ensuring the soil makes good contact with the cut end. Don’t pack the soil too tightly around it.
- Water and cover: Water the soil lightly to settle it in. Then, cover the pot with a clear plastic bag or propagation dome to create a mini-greenhouse effect.
Water Propagation
This method is a bit more visual and can be very rewarding to watch.
- Prepare your cuttings: Follow steps 1-3 from the stem cuttings method.
- Place in water: Fill a clean jar or glass with fresh, room-temperature water. Place your prepared cuttings into the water, ensuring that the leaf nodes where you removed the leaves are submerged. Crucially, don’t let any leaves sit in the water. They will rot and can take your cutting down with them.
- Find a good spot: Place the jar in bright, indirect light.
- Change the water regularly: Aim to change the water every few days, or whenever it starts to look cloudy. This prevents bacterial growth.
The “Secret Sauce” (Pro Tips)
Here are a few tricks I’ve picked up over the years that can make all the difference:
- Bottom Heat is Your Friend: If you can, place your pots or jars on a gentle seedling heat mat. This seemingly small step can dramatically encourage root development. The warmth from below stimulates the roots to grow downwards.
- Patience with the “Drop Test”: When you think your cuttings might have rooted, give them a gentle tug. If you feel resistance, that’s a good sign roots are forming. If they pull out easily, give them more time. Don’t force it!
- Humidity is Key (But Not Too Much): While a humid environment is vital for cuttings to prevent drying out, be mindful of overwatering the soil. If you see condensation building up excessively on the inside of your plastic bag, open it up for a few hours each day to allow for some air circulation and prevent fungal issues.
Aftercare & Troubleshooting
Once you see new leaf growth or feel that good tug resistance, it’s time for the next stage.
- Acclimatize gradually: If your cuttings were in a plastic bag, start by removing it for a few hours each day, slowly increasing the time. This helps them adapt to less humid conditions.
- Continue consistent watering: Keep the soil evenly moist but never waterlogged. You’ll still want to use the “finger test” – stick your finger about an inch into the soil. If it feels dry, it’s time to water.
- Move to a slightly larger pot: Once roots are well-established and you have a good amount of new growth, you can transplant your new Sciodaphyllum robustum into a slightly larger pot with fresh potting mix.
The most common sign of trouble is rot. If your cutting turns mushy and black, or if the leaves start yellowing and dropping excessively, it’s likely due to too much moisture and/or poor air circulation. Unfortunately, once rot sets in, it’s hard to save the cutting. Learn from it and try again!
A Little Nudge to Get Growing
Propagating plants is a journey, and sometimes it’s about learning what works best for you and your environment. Don’t be discouraged if your first attempts aren’t perfect. Each plant you nurture from a tiny cutting will bring immense satisfaction. Enjoy the process, embrace the learning, and happy propagating!
Resource:
https://identify.plantnet.org/k-world-flora/species/Sciodaphyllum%20robustum%20A.C.Sm./data