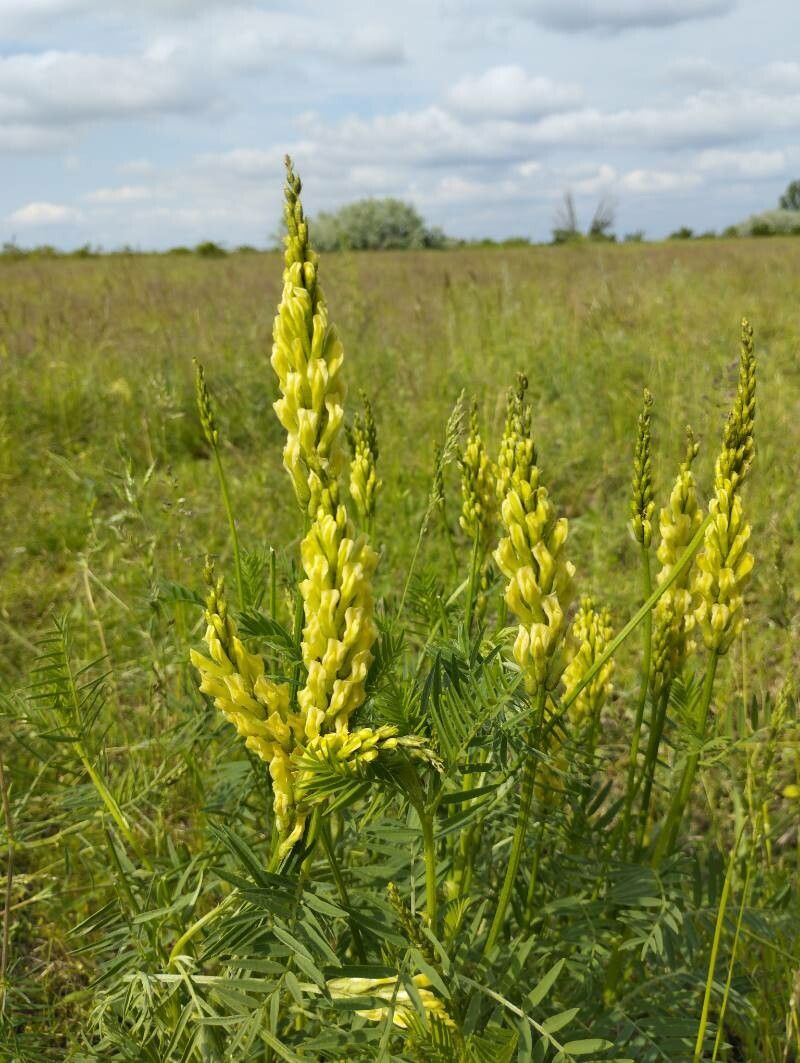
Oh, hello there! Grab a cuppa and let’s chat about a real gem in the garden: Astragalus asper. If you haven’t met this beauty yet, you’re in for a treat. It’s this wonderful, often woody, perennial that bursts with delicate, pea-like flowers, usually in shades of purple or white, and its silvery-green foliage is just delightful. Getting more of these lovely plants to grow from existing ones is incredibly satisfying. It’s a bit of a journey, but I promise, it’s worth every moment. For beginners, I’d say Astragalus asper falls somewhere in the middle – it’s not the absolute easiest plant to propagate, but with a little attention to detail, you’ll absolutely succeed.
The Best Time to Start
My favorite time to get busy with Astragalus asper is in late spring or early summer. Think of it like this: the plant is in full swing, putting on new growth after the spring awakening. This means the stems are energetic and ready to put down roots. You’re looking for stems that are firm but not yet woody. This soft, yet established growth is your golden ticket for the highest chance of success.
Supplies You’ll Need
Here’s what I always have on hand when I’m getting ready to propagate:
- Sharp Pruning Shears or a Craft Knife: Cleanliness is key for making neat cuts.
- Potting Mix: A well-draining mix is essential. I often use a blend of equal parts perlite and peat moss, or a commercial seed-starting mix.
- Small Pots or Trays: Clean containers with drainage holes. Yogurt cups with holes poked in the bottom work in a pinch!
- Rooting Hormone (Optional but Recommended): This can give your cuttings a helpful boost.
- Plastic Bag or Propagation Dome: To create a humid environment.
- Watering Can or Spray Bottle: For gentle watering.
Propagation Methods
Astragalus asper can be a little particular, but I’ve found the most reliable method is through stem cuttings.
- Select Your Cuttings: On a healthy plant, look for stems that are about 4-6 inches long and have developed from the current season’s growth. They should be firm to the touch, not floppy or woody. Pinch off the very tip of the stem where it’s still soft.
- Prepare the Cuttings: Using your clean shears or knife, take cuttings just below a leaf node (the point where a leaf attaches to the stem). Remove the lower leaves, leaving only two or three at the very top. This reduces moisture loss.
- Apply Rooting Hormone (if using): Dip the cut end of the stem into your rooting hormone powder, tapping off any excess.
- Plant the Cuttings: Fill your pots with your well-draining potting mix. Make a small hole in the center with your finger or a pencil. Carefully insert the cutting into the hole, ensuring the leaf nodes that were below the soil line are covered. Gently firm the soil around the stem.
- Create a Humid Environment: Water the soil lightly. Then, cover the pot with a plastic bag, being careful not to let the leaves touch the plastic. You can also use a propagation dome. Place the pots in a bright spot, but avoid direct, intense sunlight.
The “Secret Sauce” (Pro Tips)
Okay, here are a couple of my little tricks that often make all the difference:
- Bottom Heat is Your Friend: Placing your pots on a gentle heat mat designed for seedlings can really encourage root development. It mimics the warmth of the soil in spring. Just a little warmth can speed things up significantly.
- Don’t Overwater! This is so important. Overwatering is probably the most common reason cuttings fail. The soil should be consistently moist, but not waterlogged. If you can gently squeeze a handful of soil and water drips out, it’s too wet. Let the top inch of soil dry out slightly between waterings.
Aftercare & Troubleshooting
Once your cuttings have been planted, keep an eye on them. You want to maintain that humid environment. Mist the leaves occasionally if you’re not using a plastic bag, to help keep them from drying out.
You’ll know your cuttings are happy when you start to see new leaf growth. This is the most exciting part! It usually takes a few weeks, sometimes a couple of months. When you see that new growth, gently tug on a cutting. If there’s resistance, it means roots have formed. You can then carefully transplant your new Astragalus asper into its own individual pot.
The biggest issue you might face is rot. If a cutting turns black and mushy, it’s likely rotted. This is usually a sign of too much moisture and not enough air circulation. If you see this happening, remove the affected cutting immediately to prevent it from spreading.
A Encouraging Closing
Growing new plants from cuttings is a wonderful way to connect with your garden. Be patient with your Astragalus asper cuttings – they’re working their magic underground. Don’t get discouraged if not every single one succeeds; that’s part of the learning process. Just enjoy the journey and celebrate each tiny sprout that emerges. Happy propagating!
Resource:
https://identify.plantnet.org/k-world-flora/species/Astragalus%20asper%20Jacq./data