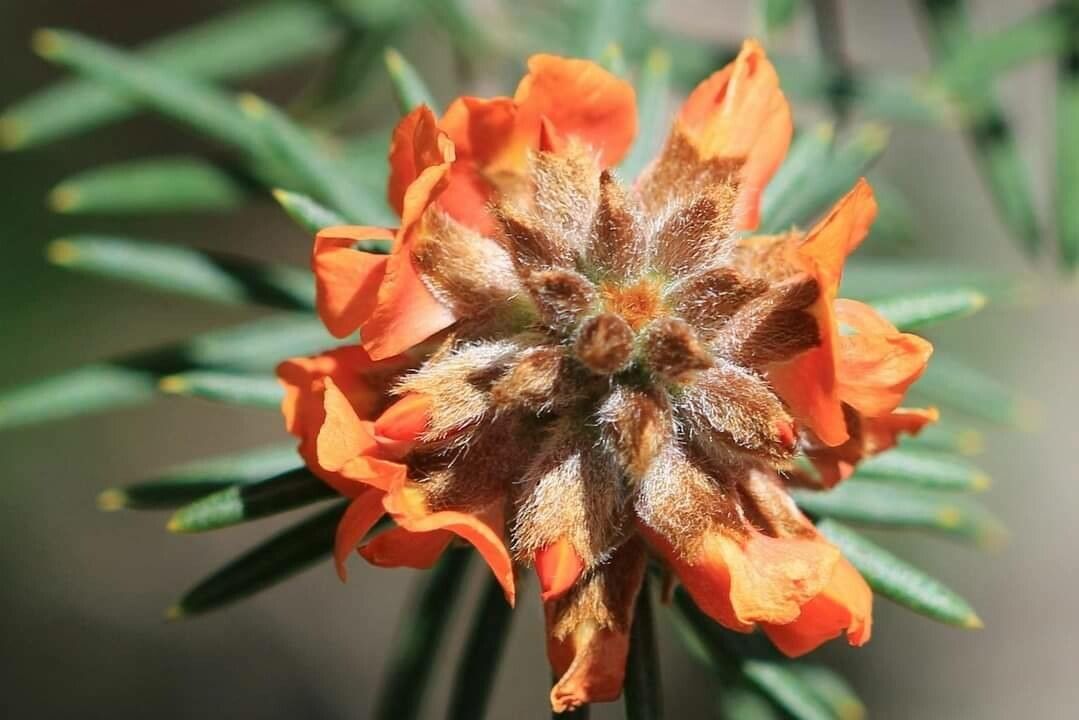
Hello there, fellow plant enthusiasts! Today, we’re diving into the delightful world of Mirbelia confertiflora. If you’re drawn to its delicate, pea-like flowers and lovely green foliage, you’re in for a treat. Propagating this beauty feels like unlocking a gardening secret, and the reward of nurturing a new plant from something as simple as a cutting or a seed is truly special. Now, I’ll be honest, Mirbelia confertiflora isn’t the absolute easiest plant for a complete beginner to propagate, but with a little attention and patience, it’s absolutely achievable. Don’t let that deter you; the satisfaction is well worth a bit of extra care.
The Best Time to Start
My favorite time to get propagating is late spring to early summer. This is when the plant is actively growing and has plenty of energy to put into developing new roots. You want to work with semi-hardwood cuttings – that’s material that’s not brand new and floppy, but not old and woody either. Think of a stem that’s firm but still bends a bit.
Supplies You’ll Need
Here’s what you’ll want to have on hand before you start:
- Sharp, clean pruning shears or a sharp knife: For making clean cuts.
- Rooting hormone (optional, but recommended): A powder or gel that helps cuttings develop roots faster.
- A well-draining potting mix: I like a blend of perlite and a good quality seed-raising mix. Equal parts usually works wonders. Some people swear by a bit of sand, too.
- Small pots or seedling trays: Clean ones are a must to prevent disease.
- A clear plastic bag or propagation dome: For creating a humid environment.
- A spray bottle: For misting.
- Labeling stakes and a pen: So you don’t forget what you’ve planted!
Propagation Methods
For Mirbelia confertiflora, I find stem cuttings to be the most reliable and rewarding method.
Stem Cuttings
- Take Your Cuttings: Select healthy, current-season growth. Using your sharp shears, take cuttings about 10-15 cm (4-6 inches) long. Make a clean cut just below a leaf node (where a leaf attaches to the stem).
- Prepare the Cuttings: Gently remove the lower leaves from the cuttings, leaving just two to four leaves at the top. This prevents the leaves from rotting when you place them in the soil.
- Apply Rooting Hormone (Optional): Dip the cut end of each cutting into your rooting hormone powder or gel. Tap off any excess.
- Plant the Cuttings: Fill your pots or trays with the pre-moistened potting mix. Make a small hole in the center using a pencil or your finger. Insert the cut end of the cutting into the hole, ensuring the nodes where you removed leaves are below the soil surface. Gently firm the soil around the stem.
- Create Humidity: Water the soil lightly. Then, cover the pots with a clear plastic bag or a propagation lid. This creates a mini-greenhouse effect, keeping the humidity high, which is crucial for cuttings to root. Make sure the leaves aren’t touching the plastic.
- Place in a Bright, Indirect Location: Find a spot that receives bright, indirect light. Avoid direct sun, as this can scorch the delicate cuttings.
The “Secret Sauce” (Pro Tips)
Here are a couple of little tricks I’ve picked up over the years that really seem to make a difference:
- Bottom Heat is Your Friend: If you have a seedling heat mat, placing your pots on it can significantly speed up root development. It mimics the warmth of spring soil and encourages those roots to form more readily.
- Don’t Drown Them! While humidity is key, overwatering is the quickest way to kill a cutting. The soil should feel moist but not soggy. If you see water pooling, that’s a bad sign. Mist the leaves occasionally if they start to look a bit droopy before roots have formed.
Aftercare & Troubleshooting
Once you’ve got your cuttings planted, the waiting game begins. Keep the soil consistently moist but not waterlogged. You should start to see signs of life – perhaps new leaf growth – within 4-8 weeks.
The biggest challenge you might face is rot. If a cutting turns black and mushy, it’s a sure sign of too much moisture or a fungal issue. Unfortunately, a rotted cutting is usually a goner, so it’s best to remove it and check if other cuttings are affected. If you see mold, try to improve air circulation slightly by lifting the lid for a short period each day. Once you see healthy new growth and gently tug on a cutting to feel resistance (meaning roots have formed), you can introduce them to conditions with slightly less humidity. Gradually acclimate them to open air before repotting into their own individual larger pots.
A Little Patience Goes a Long Way
Propagating plants is a journey, and with Mirbelia confertiflora, it’s a rewarding one. Don’t get discouraged if your first few attempts aren’t a roaring success. Every gardener learns through trial and error. Enjoy the process, celebrate the small victories, and before you know it, you’ll have a wonderful new Mirbelia confertiflora to admire. Happy gardening!
Resource:
https://identify.plantnet.org/k-world-flora/species/Mirbelia%20confertiflora%20Pedley/data