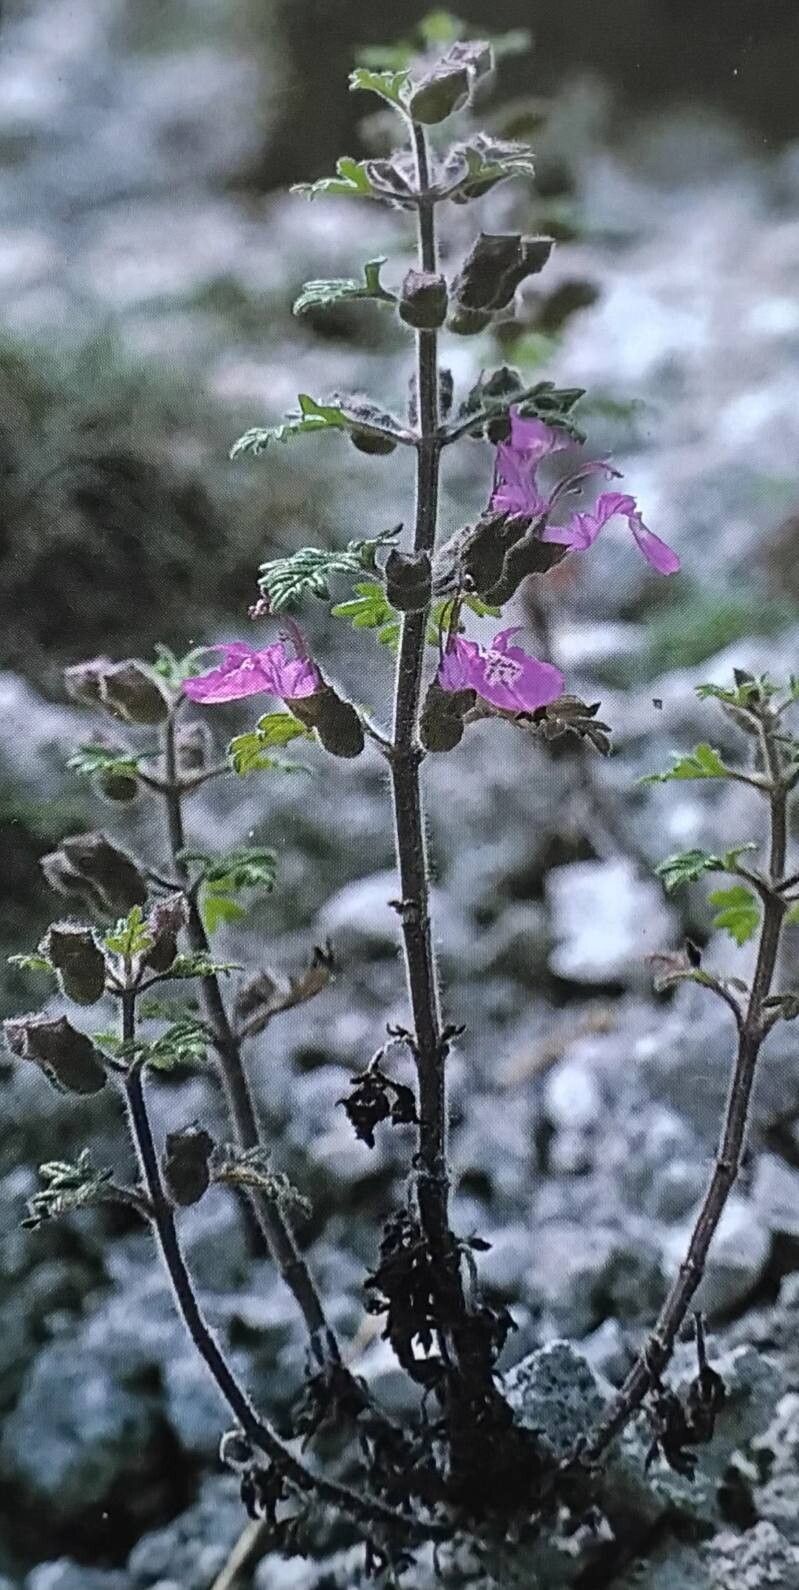
Well hello there, fellow plant lover! It’s so lovely to have you join me here. Today, we’re diving into the wonderful world of Teucrium botrys, or as some folks call it, Germander. If you’re looking for a delightful little plant with a lovely grey-green foliage and charming little flowers, you’re in for a treat. Propagating this gem is incredibly rewarding, and I’m so excited to share how you can easily bring more of these beauties into your garden. For beginners, I’d say Teucrium botrys is quite forgiving – a real confidence booster!
The Best Time to Start
For the happiest, most successful propagations, I find late spring to early summer is your golden window. This is when the plant is actively growing and has plenty of soft, new growth that’s just begging to be taken as cuttings. Think of it as the plant at its most energetic – the perfect time to get it to sprout new roots.
Supplies You’ll Need
Gathering your tools makes the process so much smoother. Here’s what I always have on hand:
- Sharp pruning shears or a clean, sharp knife: For making clean cuts.
- Rooting hormone (optional but helpful): A little boost can speed things up.
- Small pots or trays: Clean ones are key to preventing disease.
- Well-draining potting mix: A mix of perlite and peat moss is fantastic, or a good quality seed starting mix.
- Watering can or spray bottle: For gentle watering.
- Plastic bags or a propagator lid: To create a humid environment.
- Labels: Always label your cuttings! Trust me, you’ll thank yourself later.
Propagation Methods
Now, let’s get our hands dirty! Teucrium botrys is a breeze to propagate using stem cuttings.
- Take Your Cuttings: First, find a healthy stem on your established Teucrium. Look for a piece of growth that’s about 4-6 inches long and feels slightly firm but not woody. Using your clean shears or knife, make a clean cut just below a leaf node (where a leaf attaches to the stem).
- Prepare the Cuttings: Gently remove the lower leaves from the cutting, leaving just a few at the top. This helps the cutting focus its energy on rooting, not on supporting unnecessary foliage. If you’re using rooting hormone, dip the cut end into it now, tapping off any excess.
- Plant Your Cuttings: Fill your small pots with your well-draining potting mix. Make a small hole in the center of the soil with your finger or a pencil. Insert the cut end of your Teucrium cutting into the hole, firming the soil gently around it.
- Water and Cover: Water the soil lightly. You want it to be moist, but not soggy. Pop a clear plastic bag over the pot, or place it inside a propagator with a lid. This creates a mini-greenhouse effect, keeping the humidity high, which cuttings absolutely love.
The “Secret Sauce” (Pro Tips)
Here are a couple of little tricks I’ve learned over the years that really make a difference:
- Don’t let the leaves touch the water: If you happen to be trying water propagation (which works for Teucrium, but I find cuttings in soil more reliable), make sure none of the leaves are submerged. They’ll just rot if they sit in water. Only the stem should be in the water.
- Bottom heat is your friend: While not strictly essential for Teucrium, if you have a heated propagator or can place your pots on a heat mat, it can significantly speed up root development. It mimics the warmth of spring soil, encouraging those roots to get going.
Aftercare & Troubleshooting
Once your cuttings are planted, place them in a bright spot that doesn’t get direct, hot sun. A little bit of gentle morning sun is usually fine, but avoid harsh midday rays. Keep the soil consistently moist but not waterlogged. You can check the moisture by gently touching the soil surface with your finger.
You’ll know your cuttings have rooted when you see new leafy growth emerging from the tip, or if you gently tug on the cutting and feel resistance. This usually takes 3-6 weeks. Once they’re well-rooted, you can gradually acclimate them to normal humidity by slowly introducing more air. Then, it’s time to pot them up into slightly larger containers or into their permanent garden homes!
Sometimes, things don’t work out. The most common sign of failure is wilting and browning, or if the stem turns mushy and black (that’s rot). This usually happens if the soil is too wet or if the environment is too cool or lacking in light. Don’t be discouraged; gardening is all about learning, and sometimes it takes a few tries. Just grab some more cuttings and try again!
Growing new plants from cuttings is such a satisfying part of gardening. It’s a direct connection to the life cycle of your plants. So, go ahead, give Teucrium botrys a try. Be patient, enjoy the process, and soon you’ll have an abundance of these lovely plants to share (or keep all to yourself – no judgment here!). Happy propagating!
Resource:
https://identify.plantnet.org/k-world-flora/species/Teucrium%20botrys%20L./data