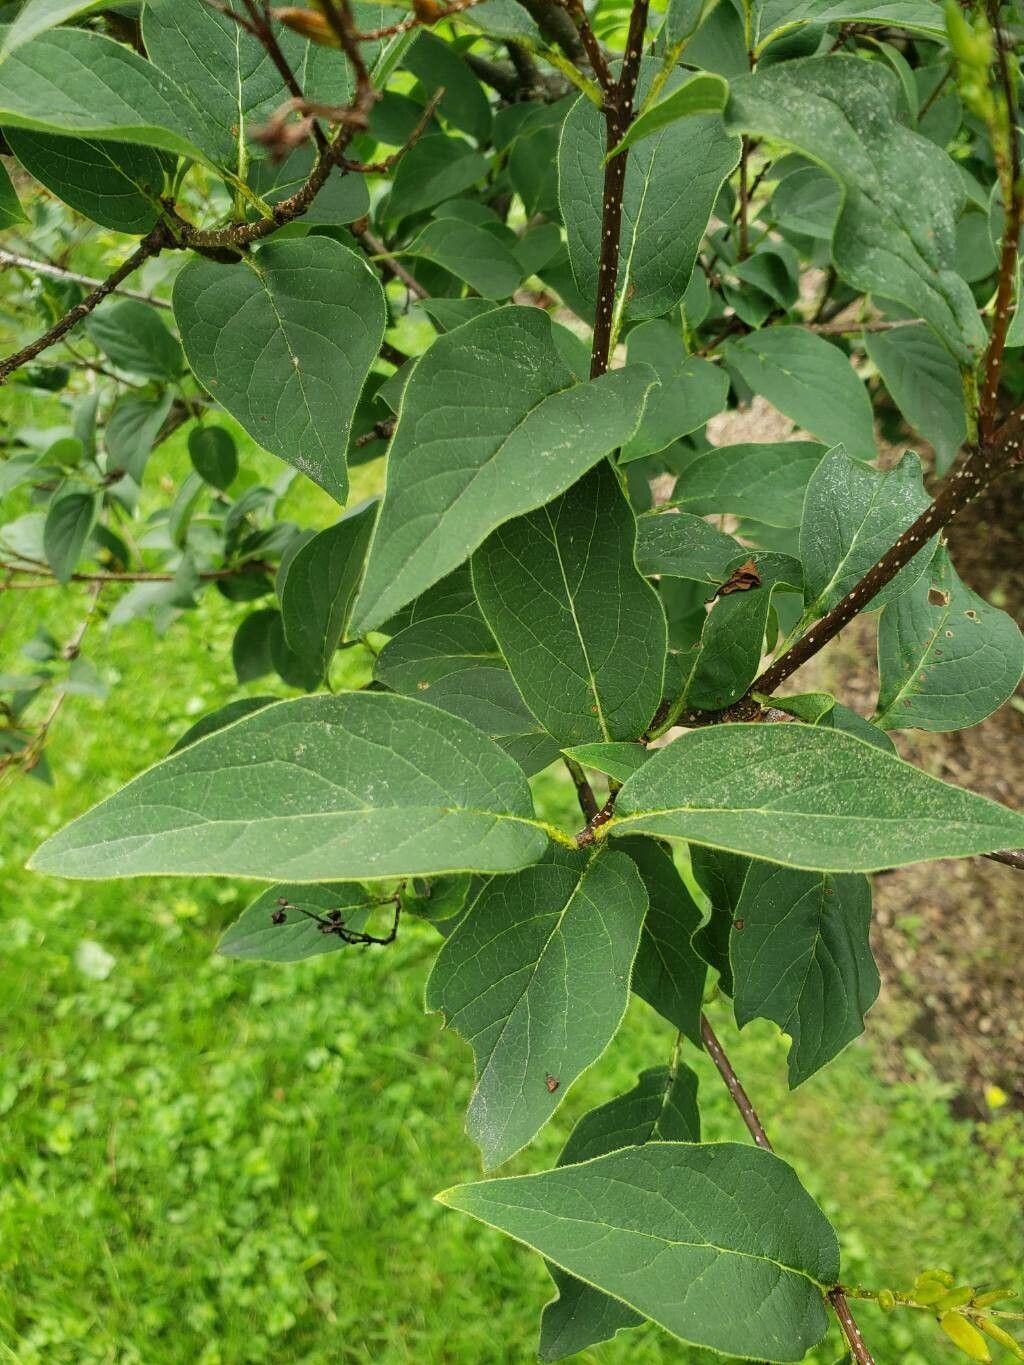
Oh, hello there! You know, I’ve always had a soft spot for Syringa tomentella, the Velvet Lilac. There’s just something so charming about its delicate, often fragrant, panicles of flowers in shades of pink and lilac. And the softly downy leaves? Simply lovely. If you’ve ever admired one and thought, “I wish I had more of those!” then you’re in for a treat. Propagating them is a wonderfully rewarding way to expand your garden and share these beauties with friends. Now, is it a beginner-friendly plant to start with? Honestly, I’d say it’s moderately easy. With a little patience and the right approach, most gardeners can have success.
The Best Time to Start
For Syringa tomentella, my favorite time to get busy with cuttings is during the late spring to early summer. This is when the current season’s growth has started to mature a bit – we call these semi-hardwood cuttings. They’re not the super-soft, floppy new shoots, but they haven’t fully hardened off into old wood yet. This “in-between” stage seems to be the sweet spot for rooting. Think about when you see new branches that are firm enough to snap cleanly, but still have a bit of flexibility. That’s your cue!
Supplies You’ll Need
Before we dive in, let’s make sure you’re prepped. Having everything ready makes the process so much smoother.
- Sharp Pruning Shears or a Knife: For clean cuts, which are crucial for healthy rooting.
- Rooting Hormone Powder or Gel: This is really helpful for encouraging those new roots to form faster and more abundantly.
- A Good Potting Mix: I like a blend of peat moss or coco coir and perlite or coarse sand. This ensures excellent drainage, which is vital for lilacs. A 50/50 mix is usually a good starting point. Avoid heavy, rich soils.
- Small Pots or Trays: Clean pots with drainage holes are essential.
- A Plastic Bag or Clear Domes: To create a humid environment around your cuttings.
- Water: For moistening the soil and for misting.
- Labels: To remember what you’ve planted and when!
Propagation Methods
While you could try water propagation, I find stem cuttings to be the most reliable and successful method for Syringa tomentella. Here’s how I do it:
- Take Your Cuttings: Choose a healthy branch from your mother plant. Look for that semi-hardwood stage I mentioned earlier. Take cuttings about 4-6 inches long. Make your cut just below a leaf node (where a leaf attaches to the stem).
- Prepare the Cuttings: Gently remove the leaves from the bottom half of the cutting. You can leave 2-3 leaves at the top. If the remaining leaves are very large, I’ll even cut them in half horizontally. This reduces water loss, as the cutting won’t have a vast root system to support them yet.
- Apply Rooting Hormone: Dip the cut end of each prepared cutting into your rooting hormone. Tap off any excess.
- Pot Them Up: Fill your clean pots with your well-draining potting mix. Moisten the mix thoroughly until it’s damp but not waterlogged.
- Insert the Cuttings: Make a small hole in the soil with a pencil or your finger. Insert the cutting into the hole, ensuring the rooting hormone-coated end is in contact with the soil. Gently firm the soil around the base of the cutting. You can plant several cuttings in one pot, as long as they don’t touch each other.
- Create a Humid Environment: Water everything gently again. Then, cover the pot with a clear plastic bag or a plastic dome. Make sure the bag doesn’t touch the leaves too much. You can use stakes to keep it propped up. Place the pots in a bright location, but out of direct sunlight.
The “Secret Sauce” (Pro Tips)
Here are a couple of things I’ve learned over the years that make a real difference:
- Don’t Drown Your Leaves: If you’re using a plastic bag, try to keep the leaves from constantly touching the sides of the bag, especially if there’s condensation. This can encourage fungal issues and rot. A few well-placed stakes can help create airflow.
- Bottom Heat is Your Friend: If you have the option, placing your pots on a gentle heat mat can significantly speed up root development. It mimics the warmth of the soil that helps roots emerge. Just a little warmth, not baking heat!
- Cleanliness is Key: When you’re working with cuttings, always use clean tools, clean pots, and clean hands. This drastically reduces the risk of introducing diseases that can kill your precious baby plants before they even have a chance.
Aftercare & Troubleshooting
Once your cuttings are potted, the waiting game begins! It can take anywhere from 4-8 weeks, sometimes longer, for roots to form. You can gently tug on a cutting after a month or so – if there’s resistance, you’ve got roots!
When roots have formed, you’ll notice new leaf growth. At this point, you can start to acclimate them to normal room humidity. Gradually loosen the plastic bag over a few days, then remove it entirely. Keep the soil consistently moist but not soggy.
What if things go wrong? The most common issue is rot. If your cuttings look limp, mushy, or develop dark spots, they’ve likely rotted. This is usually due to too much moisture and poor drainage, or insufficient airflow. Unfortunately, if rot sets in, it’s very difficult to save the cutting. Don’t be discouraged if you lose a few – it’s part of the learning process! Patience is your best friend here.
A Little Encouragement
Propagating plants is a journey, and Syringa tomentella is a lovely companion for that journey. Don’t fret if your first attempts aren’t perfect. Every gardener has lost cuttings! The joy is in the trying, the learning, and eventually, the thrill of seeing those tiny roots transform into a whole new plant. So grab your shears, get your hands dirty, and happy propagating!
Resource:
https://identify.plantnet.org/k-world-flora/species/Syringa%20tomentella%20Bureau%20&%20Franch./data