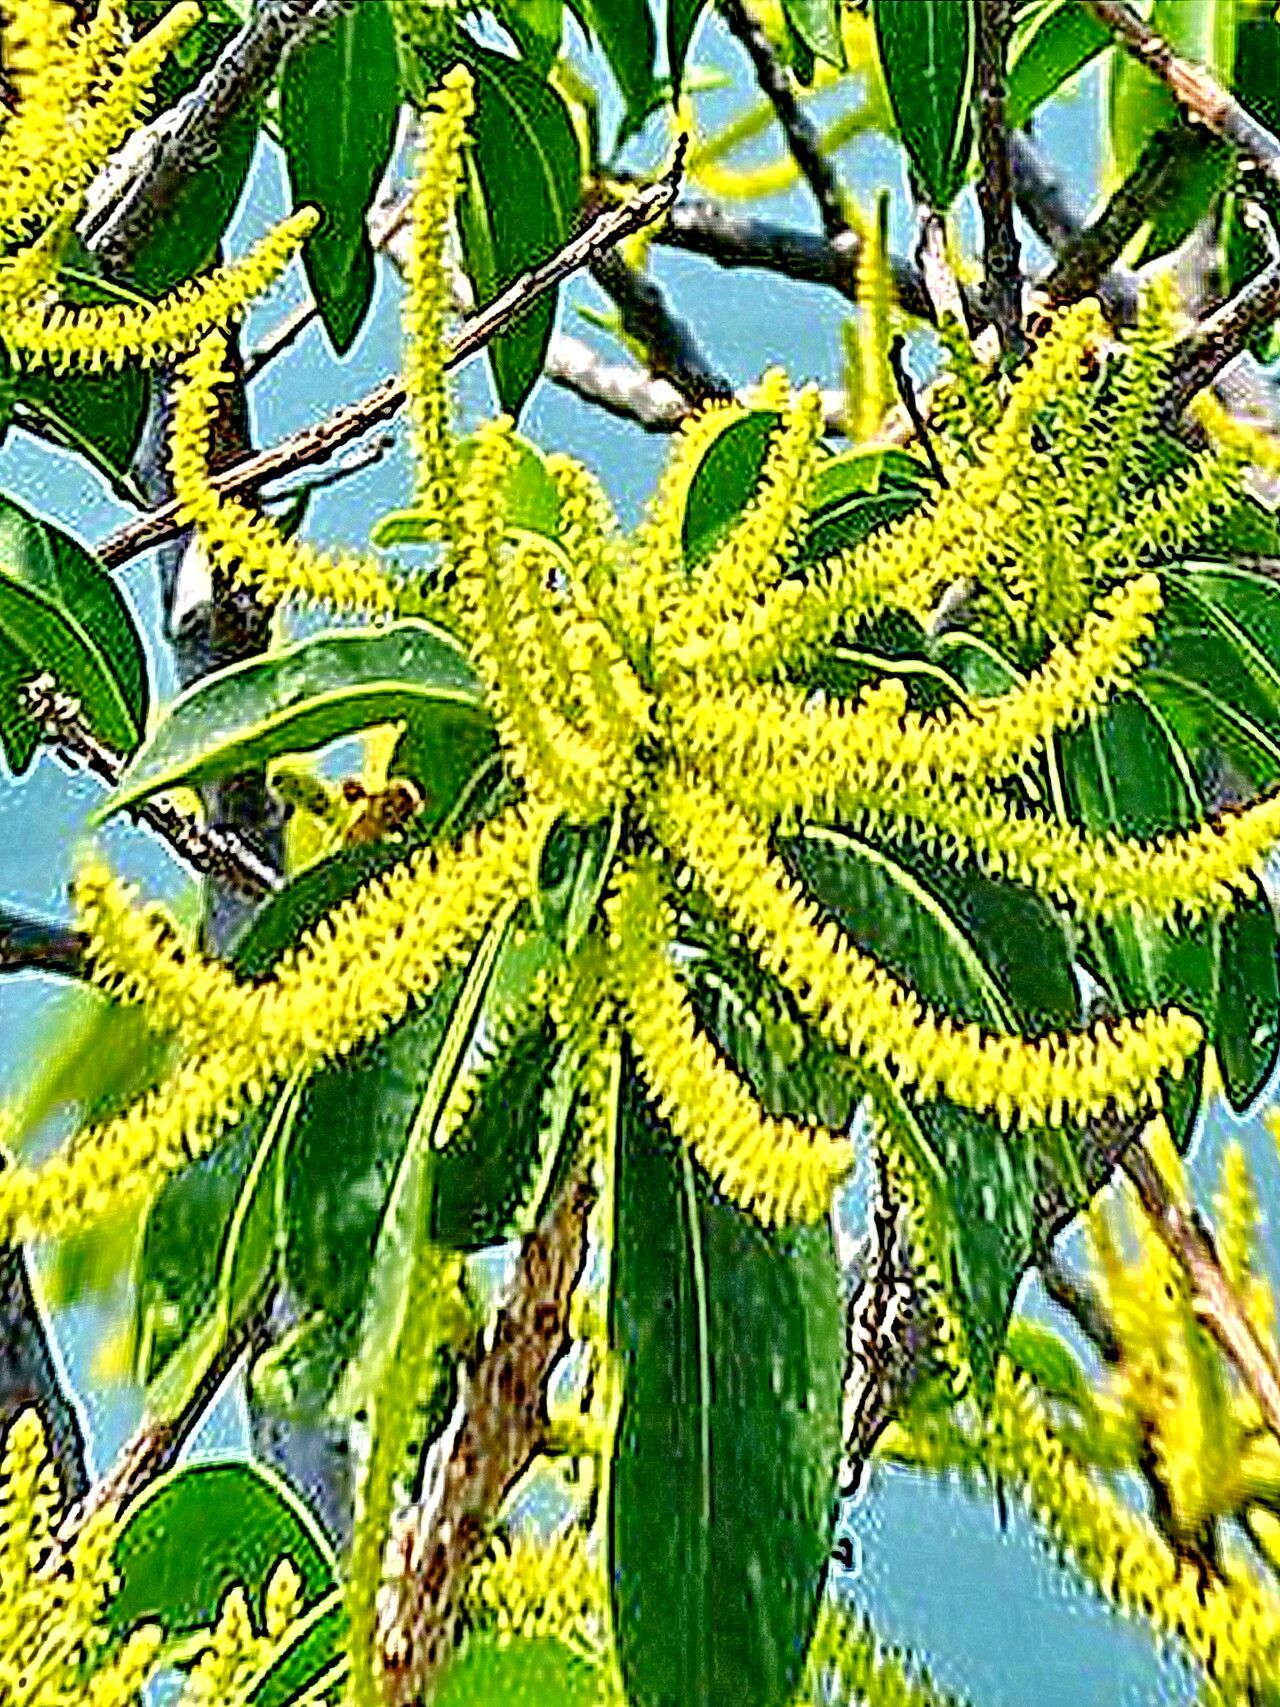
Oh, hello there! Grab your favorite mug, and let’s chat about one of my absolute favorites: Excoecaria agallocha. You might know it as the “fish poison tree” (though don’t worry, that’s largely historical, and we’re just interested in its lovely foliage and unique form here!), or sometimes the “milky mangrove” for its distinctive white sap. I find its architectural branches and often striking leaf color incredibly rewarding in a landscape, especially when it’s grown as a statement piece. And the best part? Bringing that beauty into existence yourself through propagation is such a fulfilling journey. Now, is it a walk in the park for a total beginner? Honestly, it’s moderately challenging, but with a little patience and the right approach, you’ll be celebrating success in no time.
The Best Time to Start
For Excoecaria agallocha, the sweet spot for propagation is definitely late spring to early summer. This is when the plant is in its most vigorous growth phase, meaning it has plenty of energy to put into developing new roots. Aim for new, semi-hardwood growth – think of it as growth that’s not brand new and soft, but also not old and woody. It should be flexible enough to snap cleanly, but firm.
Supplies You’ll Need
Here’s what I always have on hand when I’m getting ready to propagate:
- Sharp, clean pruning shears or a knife: Essential for making clean cuts.
- Rooting hormone powder or gel: This really gives your cuttings a boost.
- A well-draining potting mix: I like a blend of peat moss, perlite, and a little bit of coarse sand. About 50% peat moss and 50% perlite works wonderfully.
- Small pots or seed trays: Clean ones, of course!
- A plastic bag or propagation dome: To keep humidity high.
- Mist bottle: For keeping things moist.
- Labels and a marker: Trust me, you’ll thank yourself later.
Propagation Methods
While Excoecaria agallocha can be a bit persnickety, stem cuttings are generally the most successful route.
Here’s how I do it:
- Take Your Cuttings: With your clean shears, select a healthy stem about 4-6 inches long. Make a cut just below a leaf node (where a leaf attaches to the stem). Remove the lower leaves, leaving just a couple at the very top.
- Prepare the Cutting: Dip the cut end into rooting hormone, making sure to cover about an inch of the stem. Tap off any excess.
- Plant the Cuttings: Fill your pots with the well-draining mix. Make a small hole in the center with your finger or a pencil, and gently insert the cutting, firming the soil around it. Make sure no leaves are touching the soil surface.
- Create the Humid Environment: Water the soil lightly. Then, cover the pots with a plastic bag, propped up with sticks or stakes so it doesn’t touch the leaves, or use a clear propagation dome. This is crucial for retaining moisture.
The “Secret Sauce” (Pro Tips)
Now, for those little tricks I’ve picked up over the years.
- Wash Off the Sap: Excoecaria agallocha produces a milky sap. It’s a good idea to rinse your cuttings under cool water after making them. This helps prevent the sap from drying and sealing the cut, hindering root formation.
- Bottom Heat is Your Friend: If you can, placing your pots on a propagation heat mat can make a world of difference. It encourages root development from below, giving your cuttings the best chance. I find it speeds things up considerably.
- Don’t Overwater, But Keep it Consistent: It’s a delicate balance. You want the soil to be consistently moist, not waterlogged. Overwatering is the quickest path to rot. Check the soil daily and mist if the surface feels dry.
Aftercare & Troubleshooting
Once you’ve got your cuttings nestled in their humid homes, it’s time to play the waiting game. Keep them in bright, indirect light. Avoid direct sun, as it can scorch the cuttings.
You’ll know your baby Excoecaria is rooting when you see new leaf growth. This can take anywhere from 4-8 weeks, sometimes longer. Gently tug on a cutting – if there’s resistance, you’ve got roots! Once they’re well-rooted, you can gradually acclimate them to lower humidity by opening the plastic bag or dome a little each day. Then, transplant them into their own individual pots.
The most common issue you’ll face is rot. If your cuttings turn brown and mushy, or if you see mold on the soil, it’s likely due to too much moisture and not enough airflow. Don’t be discouraged if a few don’t make it; it’s all part of learning! Just toss the rotted material and try again.
A Encouraging Closing
Propagating Excoecaria agallocha is a plant-parenting adventure. There will be moments of watchful waiting, and perhaps a little trial and error. But seeing those first tiny roots emerge, and then watching a new plant unfurl its leaves, is an incredibly rewarding experience. Be patient with yourself and with your little green charges. Happy propagating!
Resource:
https://identify.plantnet.org/k-world-flora/species/Excoecaria%20agallocha%20L./data