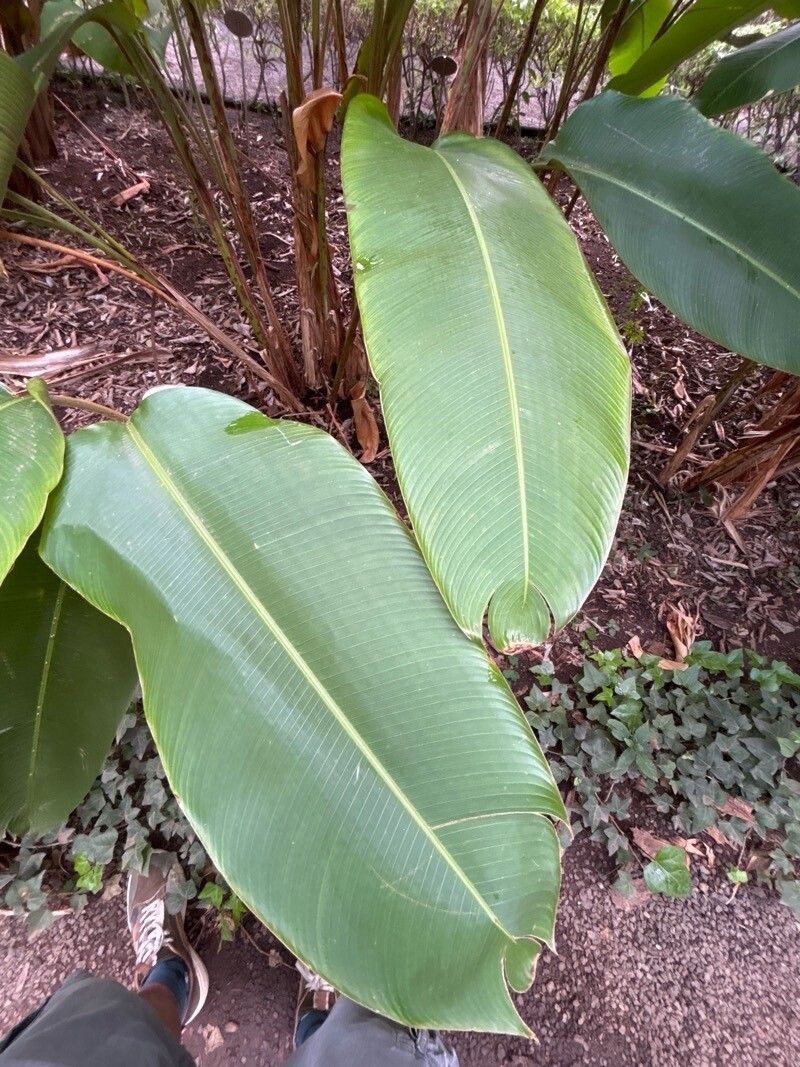
Hello fellow garden enthusiasts! Today, we’re diving into the vibrant, tropical world of Heliconia bourgaeana. If you’ve ever seen these flamboyant, upright bracts gracing a garden, you know they’re a showstopper. Their bold colors and dramatic form add instant wow-factor, and the best part? You can create more of this tropical magic right in your own backyard! Propagating these beauties is a truly rewarding process, a chance to nurture new life from an existing, magnificent plant. Now, I’ll be honest, Heliconia bourgaeana isn’t the absolute easiest plant to propagate for a complete beginner, but with a little care and these tips, you’ll be well on your way to success.
The Best Time to Start
Timing is everything in the garden, and for Heliconia bourgaeana, you’ll want to catch it at the peak of its growing season. Think late spring or early summer. This is when the plant has plenty of energy stored and is actively producing new shoots. You’re looking for healthy, well-established clumps that have developed rhizomes. Avoid trying to propagate during a period of stress for the plant, like extreme heat or cold.
Supplies You’ll Need
Gathering your tools beforehand makes the process much smoother:
- Sharp Pruning Shears or a Clean Knife: For making clean cuts.
- Potting Mix: A well-draining mix is crucial. I like to use a blend of peat moss, perlite, and a bit of coarse sand. Some growers also swear by a mix specifically for aroids or tropicals.
- Rooting Hormone (Optional but Recommended): This can give your cuttings a significant boost. Look for one that contains IBA.
- Pots or Containers: Small to medium-sized pots, clean and with drainage holes.
- Labels and a Permanent Marker: To keep track of what you’ve planted and when.
- Watering Can or Spray Bottle: For gentle watering.
- Plastic Bags or Propagator (Optional): To create a humid environment.
- Heat Mat (Optional but highly beneficial): More on this in the “Secret Sauce” section!
Propagation Methods
For Heliconia bourgaeana, the most effective method is division. These plants grow from underground rhizomes—think of them as fleshy, horizontal stems that send up new shoots.
Here’s how to do it:
- Prepare the Plant: First, gently water your Heliconia bourgaeana a day or two before you plan to divide it. This helps to rehydrate it.
- Carefully Excavate: Using a clean spade or trowel, dig around the base of the plant. You don’t need to remove the entire root ball, but you do want to expose some of the rhizomes. Be gentle to avoid damaging them.
- Locate the Rhizomes: Look for healthy, plump rhizomes that have attached to the main clump. You’re aiming for sections that have at least one or two healthy-looking buds or shoots.
- The Divide and Conquer: This is where your sharp tool comes in. Carefully cut or break the rhizome, ensuring that each piece you separate has a bud or shoot attached. If the rhizomes are particularly tough, a sharp knife or even a small saw might be necessary. Make clean cuts.
- Prepare the Cuttings: If the divided rhizome has long roots, you can trim them back a bit to encourage new root growth. Remove any damaged leaves.
- Apply Rooting Hormone (If Using): Dip the cut end of each rhizome section into rooting hormone powder, tapping off any excess.
- Planting: Fill your clean pots with your prepared potting mix. Make a hole in the center, about an inch or two deep, depending on the size of your rhizome piece. Place the rhizome section in the hole, ensuring the bud or shoot is pointing upwards. Gently backfill with soil, firming it lightly around the rhizome.
- Watering: Water the newly potted divisions thoroughly but gently. You want the soil to be moist, not waterlogged.
The “Secret Sauce” (Pro Tips)
Here are a couple of things I’ve learned over the years that really make a difference:
- Bottom Heat is Your Best Friend: Heliconias love warmth, especially for root development. Placing your pots on a heated propagation mat can drastically speed up the rooting process. Aim for a consistent temperature of around 75-80°F (24-27°C).
- Don’t Let the Leaves Drip Dry: If your rhizome section has a healthy green shoot, it’s going to want to transpire. To prevent it from drying out before roots form, I like to create a mini-greenhouse effect. Cover the pot with a clear plastic bag, using stakes to keep the bag from touching the foliage. This traps humidity. Alternatively, misting the plant regularly can help, but don’t overdo it.
Aftercare & Troubleshooting
Once your rhizomes are planted, place them in a warm, bright location but out of direct, intense sunlight. Keep the soil consistently moist, but avoid letting it become soggy – this is where rot can set in.
You’ll know you’re successful when you start to see new growth emerging from the soil. This can take anywhere from a few weeks to a couple of months, so be patient!
Watch out for these common issues:
- Rotting Rhizome: If the rhizome turns mushy and black, it’s likely rotted. This is usually due to overwatering or poor drainage.
- No Growth: This can happen if the rhizome piece was unhealthy, lacked a viable bud, or didn’t receive enough warmth to stimulate root and shoot development.
If you see signs of rot, remove the affected material immediately to prevent it from spreading. You might need to start again with a fresh, healthy rhizome piece.
Embrace the Journey
Propagating Heliconia bourgaeana is an act of patience and observation. There will be times when you might have a few setbacks, but don’t be discouraged! Each attempt teaches you something new. Celebrate those first tender shoots and know that you’re bringing more of that tropical splendor into the world. Happy gardening!
Resource:
https://identify.plantnet.org/k-world-flora/species/Heliconia%20bourgaeana%20Petersen/data