Hello, fellow garden enthusiasts!
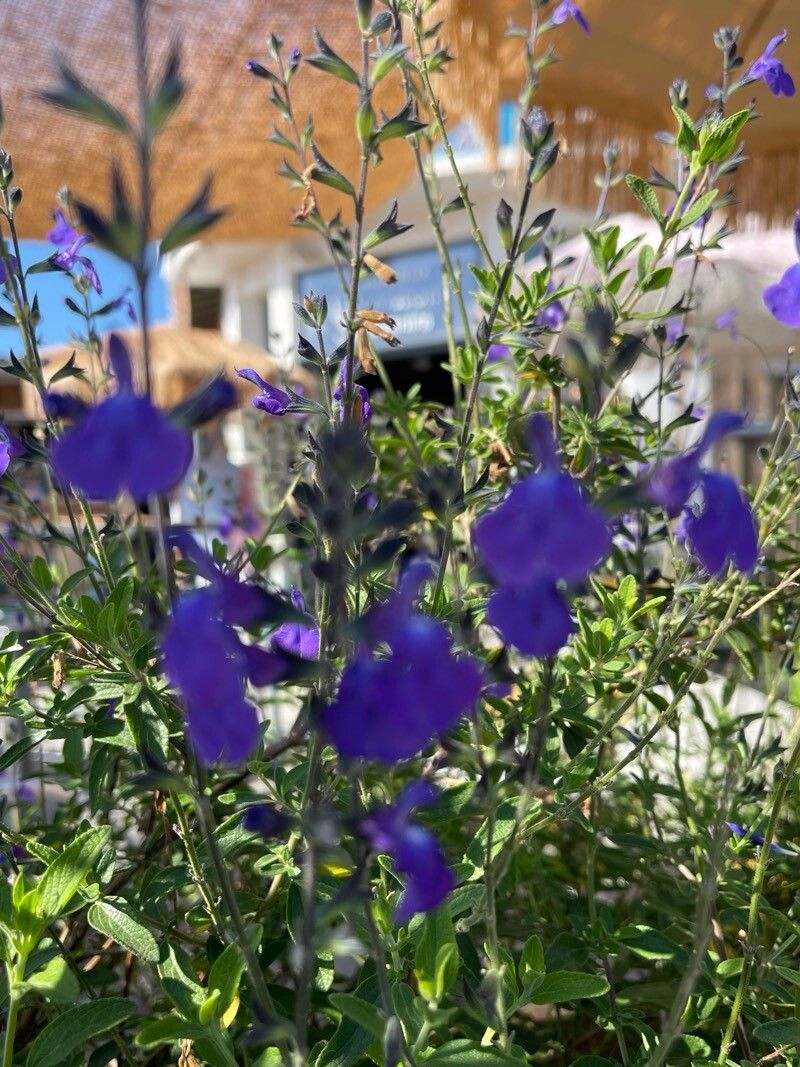
If you’ve ever admired the lovely, silvery foliage and charming blue flowers of Salvia chamaedryoides, you’re in for a treat. This little sage, often called Germander Sage, is a delightful addition to any sunny garden spot. Its delicate, almost ethereal beauty makes it a standout, and I find that propagating it myself is such a satisfying way to share the gardening joy. For those of you just starting out, I’m happy to report that Salvia chamaedryoides is generally quite forgiving and a wonderful plant to begin your propagation journey with!
The Best Time to Start
The absolute best time to propagate Salvia chamaedryoides is in late spring to early summer. This is when the plant is actively growing and has plenty of energy to put into developing new roots. You want to be taking cuttings from healthy, non-flowering stems. Think of it as capturing that vibrant spring growth and channeling it into creating new life.
Supplies You’ll Need
Getting your supplies ready makes the whole process smoother. Here’s what I usually have on hand:
- Sharp Pruning Shears or a Clean Knife: For making clean cuts.
- Small Pots or Seed Trays: Clean and with drainage holes.
- Well-Draining Potting Mix: I often use a blend of half peat moss or coco coir and half perlite or coarse sand. A pre-made succulent or cactus mix works well too.
- Rooting Hormone (Optional but Recommended): A powder or gel can give your cuttings a helpful boost.
- Plastic Bags or a Clear Dome: To create a humid environment for your cuttings.
- Watering Can with a Fine Rose: For gentle watering.
- Labels: To keep track of what you’ve planted!
Propagation Methods
Salvia chamaedryoides is wonderfully easy to propagate from stem cuttings. This is my go-to method.
- Take Your Cuttings: On a mild day, head out to your healthy Salvia chamaedryoides. Look for nice, firm, green stems that aren’t yet woody. Using your sharp shears or knife, take cuttings that are about 4-6 inches long. Make your cut just below a leaf node, which is the point where leaves emerge from the stem.
- Prepare the Cuttings: Gently remove the lower leaves from the bottom half of each cutting. You want to expose the nodes where roots will form. If your cutting has any flower buds, pinch them off. We want the plant to focus its energy on rooting, not flowering.
- Apply Rooting Hormone (Optional): Dip the cut end of the stem into your rooting hormone powder or gel. Tap off any excess.
- Plant Your Cuttings: Fill your small pots or trays with your well-draining potting mix. Moisten the mix slightly. Make a small hole with a pencil or your finger, and carefully insert the cutting, ensuring the leaf nodes are buried. Gently firm the soil around the stem.
- Provide Humidity: This is crucial! Water the soil gently. Then, cover the pots with a clear plastic bag, supported by stakes so it doesn’t touch the leaves, or use a clear propagation dome. This creates a mini-greenhouse.
- Find a Good Spot: Place your pots in a bright location, but out of direct, scorching sunlight. A warm spot with good light is ideal.
The “Secret Sauce” (Pro Tips)
Here are a few little tricks I’ve learned over the years that can make a big difference:
- Bottom Heat is Your Friend: If you have it, placing your pots on a gentle heat mat can significantly speed up root formation. It mimics the warmth of spring soil and encourages activity at the root zone.
- Don’t Drench, Mist: While you want to keep the soil consistently moist but not waterlogged, I often find that a light misting of the leaves daily, especially under the plastic cover, helps keep things turgid and happy. Just ensure good air circulation to prevent fungal issues.
- Freshness Matters: Try to get your cuttings planted as soon as possible after taking them. The longer they sit around, the lower their chances of success. If you absolutely must wait a few hours, you can pop the cut ends into a glass of water.
Aftercare & Troubleshooting
Once your cuttings have been in their humid environment for a few weeks, it’s time to start checking for roots. You can do this by gently tugging on a cutting. If you feel resistance, it’s likely rooted!
Once roots have formed, gradually acclimate your new plants to normal room humidity by lifting the plastic bag or dome for longer periods each day over a week. Continue to keep the soil consistently moist.
The most common sign of failure you’ll encounter is rot. If a cutting turns black and mushy, it’s usually a sign of too much moisture and not enough air circulation. If you see this, discard the affected cutting and ensure good drainage and airflow for the others. Sometimes, a cutting just won’t root, and that’s okay too – experimentation is part of the fun!
A Encouraging Closing
Propagating Salvia chamaedryoides is a deeply rewarding experience. It’s a chance to connect with your plants on a different level, to understand their magic, and to fill your garden (or your friends’ gardens!) with these beautiful blooms. Be patient, observe your cuttings, and don’t be discouraged if not every single one takes. Gardening is a journey, and each step, even the missteps, teaches us something new. Happy propagating!
Resource:
https://identify.plantnet.org/k-world-flora/species/Salvia%20chamaedryoides%20Cav./data