Oh, hello there! Come on in, pull up a chair. I’ve got a fresh pot of coffee brewing, and I’ve been meaning to chat with you about one of my absolute favorite little wonders – Leptoboea multiflora.
My Love Affair with Leptoboea Multiflora
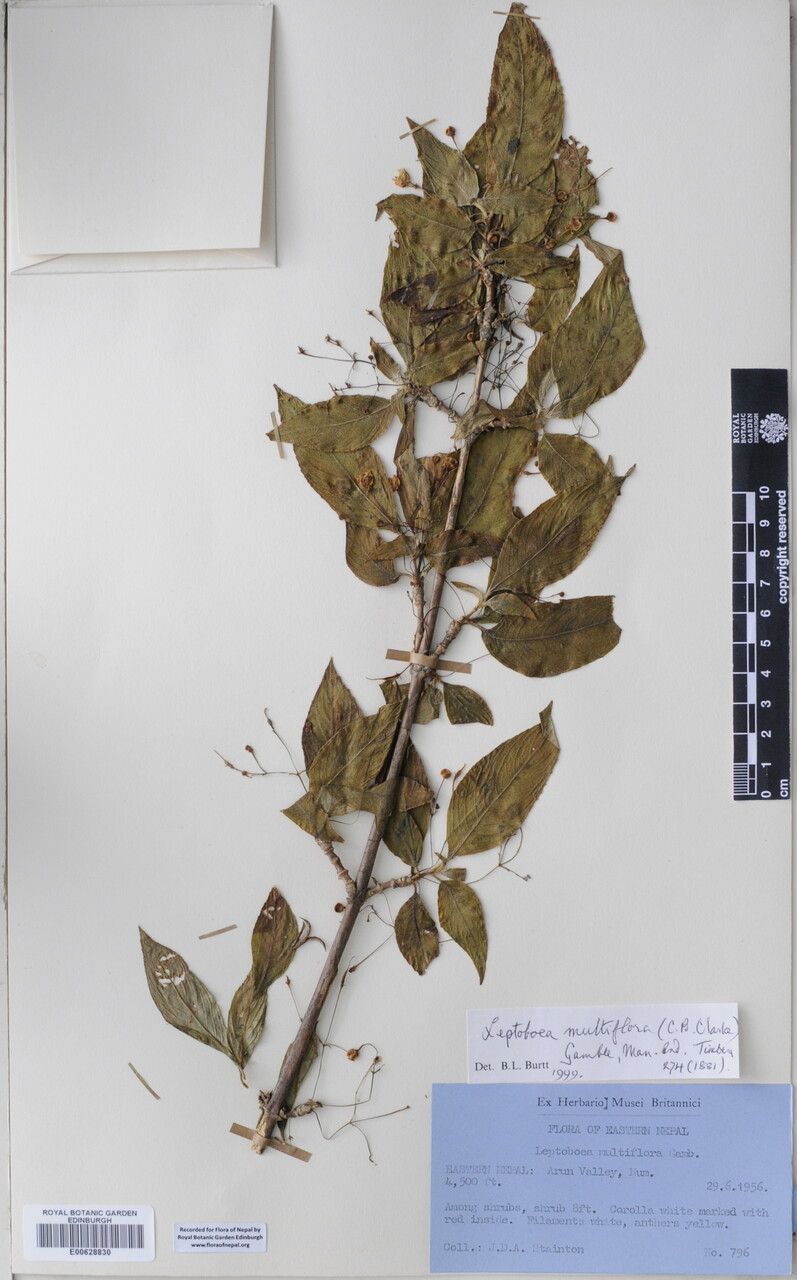
This plant is a charmer, isn’t it? With its delicately textured leaves and its tendency to form these lovely, cascading mounds, it brings such a soft, almost ethereal touch to any shady corner. I find it incredibly rewarding to coax new life from an existing plant, watching those tiny roots emerge and knowing you’ve created something beautiful from scratch.
Now, about its ease for beginners? I’d say Leptoboea multiflora is moderately easy. It’s not as fuss-free as, say, pothos cuttings, but with a little attention and the right approach, you’ll be in good shape. It’s a wonderful plant to learn a few new propagation tricks with!
When to Snip and Propagate
The absolute best time to get your propagation party started with Leptoboea multiflora is during its active growing season. Think late spring through summer. This is when the plant is full of vigor, energy, and ready to put out new growth, which is exactly what we want when we’re taking cuttings or dividing. Starting just as things warm up after spring is usually a sweet spot.
Your Propagation Toolkit
Gathering your supplies beforehand makes the whole process feel much smoother. Here’s what I usually have on hand:
- Sharp pruning shears or a clean knife: For making nice, clean cuts. You don’t want to crush those delicate stems!
- Small pots or seed trays: Whatever you have that will hold your new plantlets.
- Well-draining potting mix: I love a blend of peat moss, perlite, and a little bit of compost. For Leptoboea, a mix that stays slightly moist but doesn’t get soggy is key. You could also use a seed starting mix.
- Rooting hormone (optional but recommended): A powder or gel can give your cuttings a helpful boost.
- Clear plastic bags or a propagator: To create a humid environment for your cuttings.
- Watering can with a fine rose: For gentle watering.
- Labels and a marker: To keep track of what you’ve propagated and when.
Popular Propagation Paths for Leptoboea
Leptoboea multiflora is quite agreeable and can be propagated in a couple of ways. Here are the methods I find most successful:
1. Stem Cuttings: The Classic Approach
This is my go-to method for Leptoboea. It’s efficient and often yields great results.
- Select your cutting: Look for a healthy, non-flowering stem that’s at least 4-6 inches long. Ideally, it should have several sets of leaves.
- Make the cut: Using your clean shears or knife, cut the stem just below a leaf node (the point where a leaf attaches to the stem).
- Prepare the cutting: Gently remove the lower leaves, leaving just a couple of leaves at the top. If your leaves are very large, you can even cut them in half horizontally to reduce water loss.
- Apply rooting hormone (if using): Dip the cut end into the rooting hormone, tapping off any excess.
- Plant the cutting: Make a small hole in your prepared potting mix with a pencil or your finger. Insert the cut end of the stem, ensuring the lowest leaf node is just above the soil surface. Gently firm the soil around the stem.
- Water gently: Water the soil thoroughly but be careful not to dislodge the cutting.
- Create humidity: Place the pot inside a clear plastic bag or a propagator. Seal it loosely to retain moisture. You can prop the bag up with a few small sticks if needed, so it doesn’t collapse onto the leaves.
2. Division: Splitting Up the Family
If your Leptoboea plant has become a bit crowded and is forming multiple clumps, dividing is a fantastic way to increase your numbers and give the parent plant a refresh.
- Remove the plant from its pot: Gently tip the pot on its side and ease the plant out. You might need to run a knife around the edge if it’s stuck.
- Inspect the root ball: Gently tease apart the soil to see the natural divisions.
- Separate the clumps: Using your hands or a clean knife, carefully split the root ball into smaller sections. Aim for divisions that have both roots and at least a few stems. Don’t worry if you lose a little soil; just try to keep the root systems as intact as possible.
- Pot up the divisions: Plant each division into its own small pot filled with your well-draining potting mix. Plant them at the same depth they were originally growing.
- Water thoroughly: Give each division a good watering.
The “Secret Sauce” for Success
Here are a couple of little tricks I’ve learned over the years that make a big difference:
- Don’t let the leaves touch the water! This is crucial, especially for stem cuttings in water. If leaves sit in water, they’ll rot. For soil cuttings, it means ensuring the soil is just moist, not waterlogged, and that the lower leaves are removed.
- Bottom heat is your friend. Leptoboea roots are encouraged by warmth. Placing your pots on a gentle heat mat (specifically designed for seedlings and cuttings) can significantly speed up root development. It’s like a cozy blanket for those developing roots!
Aftercare and What to Watch For
Once your cuttings are planted or your divisions are potted, the waiting game begins!
- Maintain humidity: Keep those plastic bags or propagators on. Open them for a few minutes each day to allow for fresh air circulation. This prevents fungal issues.
- Provide bright, indirect light: Place your new plants in a spot that gets good light but out of direct, hot sun. A bright windowsill that doesn’t get harsh afternoon sun is usually perfect.
- Water sparingly: Let the top inch of soil dry out slightly between waterings. It’s better to err on the side of slightly too dry than too wet, especially when roots are still developing.
Now, what if things aren’t going as planned? The most common culprit is rot. You’ll see the stem becoming mushy and black, or the leaves turning yellow and wilting very quickly. This usually happens due to overwatering and poor air circulation. If you spot this, unfortunately, that cutting is likely lost, but don’t despair! It’s a learning opportunity. Discard the rotted cutting, ensure your remaining ones have better air flow and are not waterlogged. Sometimes, a cutting simply won’t take, and that’s okay too. Gardening is a journey of trial and error!
Happy Propagating!
Watching those tiny white roots emerge for the first time is such a thrill, isn’t it? Be patient with your Leptoboea multiflora cuttings. Some take longer than others, and that’s perfectly normal. Enjoy the process, celebrate every little success, and soon you’ll have a whole collection of these lovely plants to share or enjoy yourself. Happy gardening!
Resource: