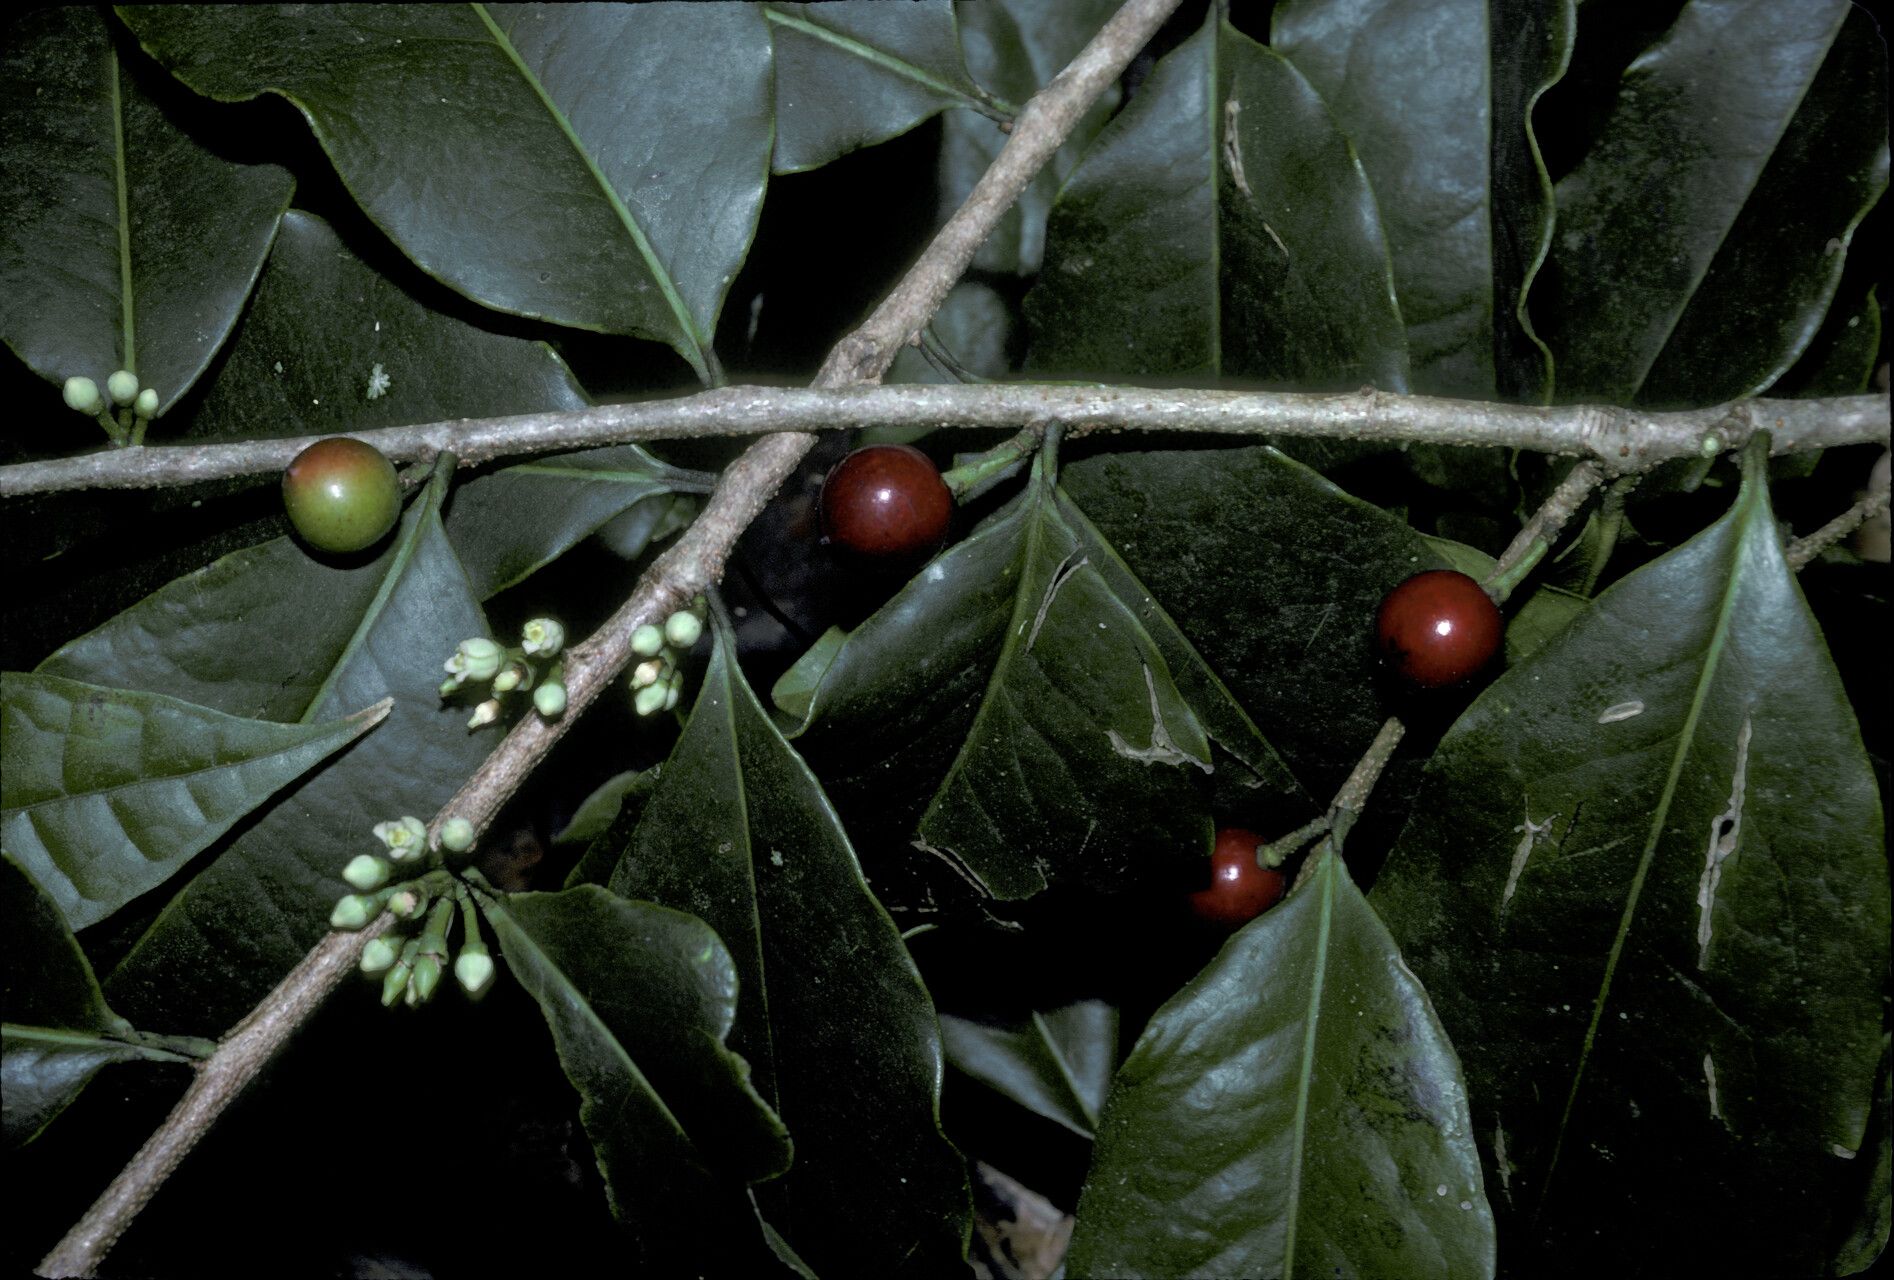
Hey there, fellow plant enthusiasts! I’m so excited to chat with you today about a truly special plant: Cinnamodendron tenuifolium. If you’ve ever seen this beauty, you know its charm. Its glossy, deep green leaves and subtle, spicy fragrance (hence the name!) make it a delightful addition to any shade-loving corner. Propagating it yourself? That’s a whole other level of rewarding. Trust me, watching a tiny cutting transform into a thriving plant is pure magic. For beginners, I’d say Cinnamodendron tenuifolium is a bit of a thoughtful one – it’s not a plant that bounces back from everything, but with a little care and attention, it’s absolutely achievable.
The Best Time to Start
For the highest chance of success, I always reach for my pruning shears in late spring or early summer. This is when the plant is actively growing and has plenty of energy stored up. You’re looking for young, vigorous shoots that are soft and flexible, not yet woody. Think of them as the plant’s enthusiastic teenagers ready to start their own adventure!
Supplies You’ll Need
Before we get our hands dirty, let’s gather our trusty tools:
- Sharp Pruning Shears or a Clean Knife: Essential for making clean cuts that heal well.
- Rooting Hormone (Optional, but Recommended): A little booster to encourage root development. I like the powdered kind.
- Well-Draining Potting Mix: A good blend for us is equal parts perlite, peat moss, and compost. You can also find specific propagation mixes.
- Small Pots or Propagation Trays: Clean pots are crucial to prevent disease.
- Clear Plastic Bag or Humidity Dome: To create that cozy, humid environment.
- Spray Bottle filled with Water: For gentle misting.
- Labels: Because trust me, you’ll forget what you planted where!
Propagation Methods: Stem Cuttings
This is my go-to method for Cinnamodendron tenuifolium. It’s reliable and gives you multiple new plants from one mother.
- Take Your Cuttings: Using your sharp shears or knife, select healthy, non-flowering stems. Cut them to about 4-6 inches long. Make the cut just below a leaf node (where a leaf meets the stem).
- Prepare the Cuttings: Gently remove the lower leaves from the cutting, leaving just a few at the top. This prevents them from rotting in the soil. If your cuttings are a bit long, you can pinch off the tip to encourage bushier growth later.
- Dip in Rooting Hormone (If Using): Lightly moisten the cut end of the stem, then dip it into the rooting hormone. Tap off any excess.
- Plant Your Cuttings: Fill your clean pots with your well-draining mix. Make a small hole with your finger or a pencil, and carefully insert the cutting. Gently firm the soil around the stem to ensure good contact.
- Water Gently: Water the soil lightly until it’s moist but not waterlogged. A spray bottle works wonders here to avoid disturbing the cuttings.
- Create a Humid Environment: Cover the pots loosely with a clear plastic bag, or place them under a humidity dome. This traps moisture, mimicking the conditions cuttings love. Make sure the leaves don’t touch the plastic! You can use a small stake or wire if needed.
The “Secret Sauce” (Pro Tips)
Here are a few tricks I’ve learned over the years that can really make a difference:
- Bottom Heat is Your Friend: If you can, place your pots on a heat mat designed for seedlings. Cinnamodendron tenuifolium absolutely loves a bit of warmth from below to encourage root formation. It’s like giving them a warm hug from Mother Earth!
- The “Bend Test”: After a few weeks, when you think you might have roots, gently tug on a cutting. If there’s resistance, you’ve got roots! If it pulls out easily, give it more time. Don’t be tempted to dig them up too early – you don’t want to disturb any nascent roots.
- Mom’s Watering Routine: Continue to mist the leaves gently every few days, especially if you don’t have a humidity dome. This keeps them hydrated while they wait for their roots to develop.
Aftercare & Troubleshooting
Once you see signs of new growth or feel that wonderful resistance during the “bend test,” congratulations! It’s time to introduce them to the real world.
- Gradual Acclimation: Slowly remove the plastic bag or dome over a week or so, giving the new plants a chance to adjust to lower humidity.
- Light and Water: Move them to a location with bright, indirect light. Water when the top inch of soil feels dry. Avoid overwatering, as this is the fastest way to invite trouble.
- Watch for Rot: The most common sign of failure is rotting. If you see mushy, dark stems or leaves dropping off very quickly, it’s usually a sign of too much moisture or poor drainage. If you catch it early, you might be able to save a cutting by gently rinsing its base and repotting it in fresh, dry mix. Just keep an eye on it!
A Little Patience Goes a Long Way
Propagating plants is a journey, and Cinnamodendron tenuifolium is no exception. There will be times when things don’t go as planned, and that’s perfectly okay. Every gardener has had their share of casualties! Just remember to be patient, learn from each attempt, and enjoy the process of coaxing new life from your beloved plants. Happy propagating!
Resource:
https://identify.plantnet.org/k-world-flora/species/Cinnamodendron%20tenuifolium%20Uittien/data