Hello there, fellow garden enthusiasts! It’s so lovely to have you here. Today, we’re going to dive into the wonderfully rewarding world of propagating the Picea chihuahuana, also known as the Chihuahua Spruce.
Your Own Little Piece of the Sierra Madre
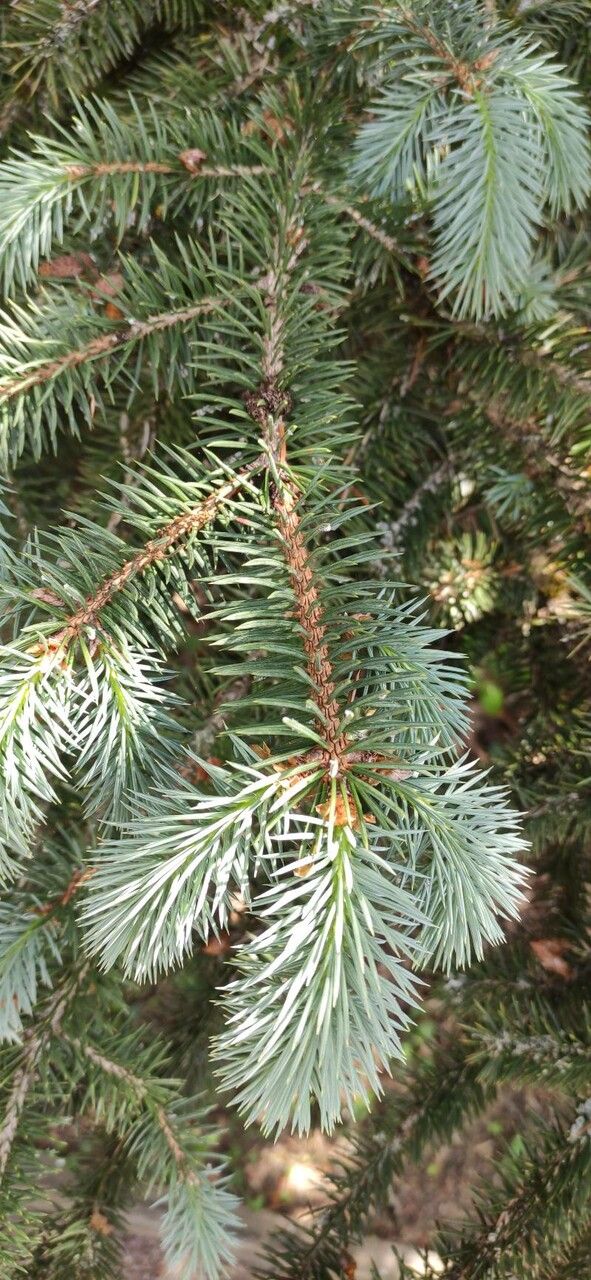
There’s something truly special about growing a plant from scratch. The Chihuahua Spruce, with its elegant, often weeping form and beautiful silvery-blue needles, is a real stunner. It brings a touch of the exotic to any garden, and the satisfaction of nurturing one from a tiny cutting or seed is just immense. Now, I’ll be honest, propagating conifers like this one can be a bit more of a journey than, say, a simple succulent. It might not be the most beginner-friendly plant to start with, but with a little patience and the right approach, you can absolutely succeed.
When Life Gives You Spring… Start Propa!
For Picea chihuahuana, the absolute best time to get your propagation on is in late spring or early summer. This is when the plant is actively growing, and your cuttings will have the best chance to root. Look for new, partly hardened stems – they call these “semi-hardwood cuttings.” You want them to be flexible, not woody and brittle, but also not super soft and floppy.
Gathering Your Arsenal
Before we get our hands dirty, let’s make sure you have everything you need. Think of this as your propagation toolbox:
- Sharp, sterilized pruning shears or a sharp knife: For clean cuts, which are crucial.
- Rooting hormone powder: This is a real game-changer, encouraging root development.
- A well-draining potting mix: I like a blend of equal parts perlite, coarse sand, and peat moss or coco coir. This prevents soggy feet!
- Small pots or seed trays with drainage holes: Even cutting cups will do.
- A plastic bag or a clear plastic dome: To create a humid environment.
- Labels: To keep track of what you’ve planted!
Bringing Your Chihuahua Spruce to Life
There are a couple of reliable ways to go about this. I’ve had the most success with stem cuttings.
Stem Cuttings:
- Take your cuttings: In late spring or early summer, select those semi-hardwood shoots. Aim for cuttings about 4-6 inches long. Make your cut just below a leaf node (where the leaves attach to the stem).
- Prepare the cuttings: Gently remove the lower needles from the bottom half of the cutting. This exposes the part of the stem that will form roots.
- Dip in rooting hormone: Dip the cut end into your rooting hormone powder. Tap off any excess.
- Plant your cuttings: Fill your small pots with your well-draining potting mix. Make a hole in the center with a pencil or your finger. Insert the cuttings, ensuring the leafy part is above the soil line. Firm the soil gently around the base of each cutting.
- Water them in: Water gently but thoroughly. You want the soil to be moist, not waterlogged.
- Create a humid microclimate: Cover each pot with a plastic bag secured with a rubber band, or place them under a clear plastic dome. This traps humidity, which is vital for cuttings to root before they can take up water through their new roots.
The Extra Touches That Make a Difference
After years of trial and error, I’ve picked up a few tricks that really boost my success rates:
- Don’t let those needles touch the soil. Especially the ones you’ve left on the cutting itself. Once they start to decompose in the damp soil, they can encourage rot, and nobody wants that! Keep them clean and above the soil line.
- Bottom heat is your friend. If you have a propagation mat, using it can make a huge difference. It encourages root growth from below, giving your cuttings a boost and often speeding up the process. Just place your pots on top of it.
- Be patient with airflow. While humidity is key, stagnant air can also lead to fungal issues. If you’re using a plastic bag, open it for a few minutes each day to let in some fresh air. If using a dome, lift it periodically.
The Long Game: Aftercare and What to Watch For
Once you see new growth emerging from your cuttings, it’s a good sign that roots are developing!
- Gradually acclimate them: Don’t immediately rip off the plastic bag or dome. Slowly reduce the humidity over a week or so by opening the bag wider or keeping the dome lid ajar for longer periods.
- Keep them consistently moist: Continue to water gently when the top inch of soil feels dry. Avoid letting them dry out completely, but also don’t drown them.
- Troubleshooting time: The most common enemy here is rot. If your cuttings turn mushy, black, or slimy, they’ve likely succumbed to rot. This is usually due to too much moisture and not enough drainage or airflow. If you see signs of wilting that doesn’t improve after watering, it could also be a sign of insufficient rooting or stress.
Happy Rooting!
So there you have it! Propagating Picea chihuahuana is a rewarding endeavor that allows you to create more of these magnificent trees for your garden or to share with fellow plant lovers. It takes a bit of care and attention, but the results are so worth it. Don’t be discouraged if your first few attempts aren’t perfect. Gardening is a journey, and each plant, each cutting, teaches us something new. Be patient, enjoy the process of nurturing life, and celebrate every little root you discover! Happy propagating!
Resource:
https://identify.plantnet.org/k-world-flora/species/Picea%20chihuahuana%20Martínez/data