Hello fellow garden enthusiasts! Today, we’re going to dive into something truly special: propagating wild geranium, or Geranium maculatum. I’ve spent years with these beauties, and there’s something incredibly satisfying about coaxing new life from a parent plant.
Why Grow Wild Geranium?
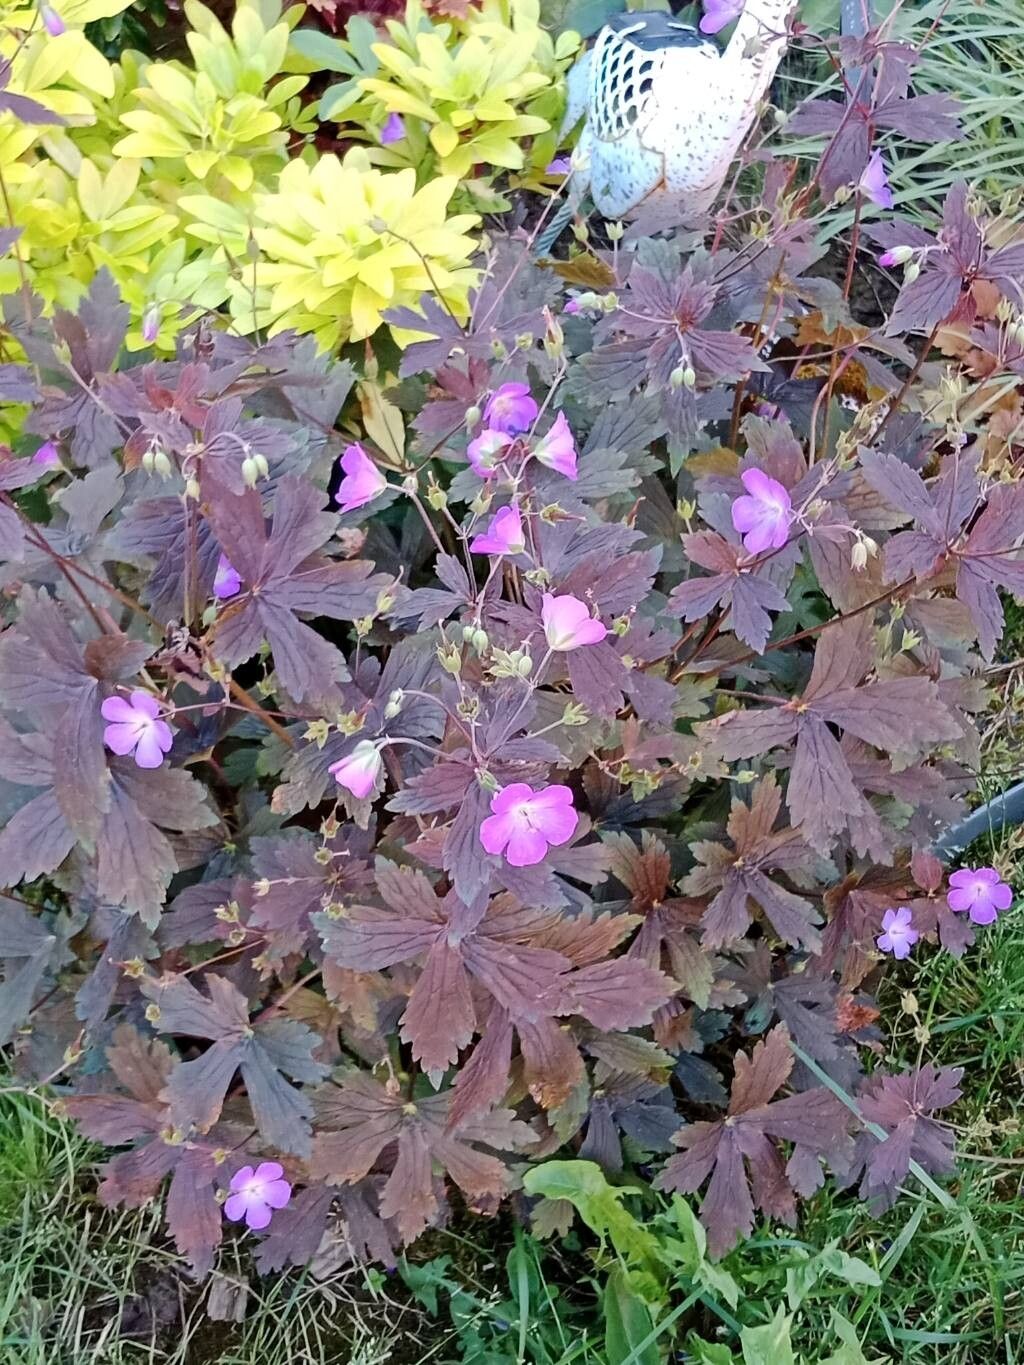
Wild geranium is just so charming, isn’t it? Those lovely, lobed leaves form a graceful mound, and then, come spring, you’re treated to these delicate, pinkish-purple blooms that are a magnet for pollinators. It’s native to many parts of North America, making it right at home in a woodland garden or a more naturalized setting.
And duplicating that charm? It’s wonderfully rewarding! It’s also quite a forgiving plant, which makes it a fantastic choice if you’re new to propagating. You’ll likely have good success with these gentle giants.
The Best Time to Start
For Geranium maculatum, I find the late spring to early summer is your sweet spot. This is when the plant is actively growing after flowering, and the new stems have a good chance to establish themselves. You can also consider dividing in early spring as the plants are just waking up, or in early fall after the heat of summer has passed.
Supplies You’ll Need
To get started on your propagation journey, gather these handy items:
- Sterile pruning shears or a sharp knife: For clean cuts that help prevent disease.
- Small pots or seed trays: With drainage holes are a must!
- Well-draining potting mix: I like a blend of peat moss, perlite, and a little compost. A mix formulated for seed starting or succulents works well too.
- Rooting hormone (optional but recommended): This can give your cuttings an extra boost.
- Watering can or spray bottle: For gentle hydration.
- Plastic bags or a propagation dome: To create a humid environment.
Propagation Methods: Let’s Get Our Hands Dirty!
There are a couple of excellent ways to propagate wild geranium. My favorite is division, but stem cuttings can also work beautifully.
Method 1: Division – The Most Reliable Friend
This is my go-to for wild geranium. It’s like splitting a happy family into smaller, equally happy families.
- Dig Up the Parent Plant: In late spring or early fall, gently dig up your wild geranium. You want to get the whole root ball with minimal disturbance.
- Inspect and Separate: Gently shake off excess soil. You’ll see the plant has a thick, fleshy root system. Look for natural growing points or crowns. You can often carefully pull sections apart with your hands. If it’s a bit stubborn, use a clean trowel or your knife to make a cut through the root ball, ensuring each new division has at least one healthy root and a growing point or a few stems.
- Repot Your New Divisions: Immediately replant your divisions in well-draining potting mix. Water them in thoroughly. They can go back into the garden or into pots. Keep them well-watered but not soggy for the first few weeks.
Method 2: Stem Cuttings – A More Adventurous Route
This method takes a bit more patience but can yield delightful results.
- Take Your Cuttings: In late spring or early summer, select healthy, non-flowering stems. Using your sterilized shears, make a cut just below a leaf node (where a leaf attaches to the stem). You want cuttings that are about 4-6 inches long.
- Prepare the Cuttings: Remove the lower leaves from the cutting, leaving just a few at the top. This prevents them from rotting when planted. If you have rooting hormone, dip the cut end into it according to the package directions.
- Plant Your Cuttings: Fill small pots or a seed tray with your well-draining potting mix. Make a hole with a pencil or your finger, and gently insert the cut end of the stem. Firm the soil gently around it.
- Create a Humid Environment: Water the potting mix thoroughly but gently. Then, cover the pots with a plastic bag or a propagation dome. This traps moisture and creates that humid microclimate cuttings need to develop roots. Place them in a bright spot, but out of direct, harsh sunlight.
The “Secret Sauce” (Pro Tips)
Here are a few little tricks I’ve picked up over the years that can really boost your success:
- Don’t Drown Your Cuttings: When using the stem cutting method, it’s crucial that the leaves don’t touch the water in the tray if you’re water propagating (though I find soil propagation more reliable for Geranium maculatum). Rot is the enemy, and wet leaves are an invitation for it.
- Bottom Heat is Your Friend (for cuttings): If you’re propagating from cuttings, a gentle bottom heat from a seedling heat mat can significantly speed up root development. It provides consistent warmth to the soil, encouraging roots to form faster.
- Patience is Paramount: This is especially true with cuttings. Don’t be tempted to pull them out to check for roots too soon! It can take 4-8 weeks or even longer for Geranium maculatum cuttings to develop a good root system.
Aftercare & Troubleshooting
Once you see roots forming (you might see them peeking out of the drainage holes, or gently tugging on a division feels resistant), it’s time for a little pampering.
- Gradual Acclimation: If you used a plastic bag or dome for cuttings, gradually remove the cover over a week or so. Start by opening it for a few hours each day to let the new plants get used to the drier air.
- Watering Needs: Continue to keep the soil consistently moist but not waterlogged. As they grow stronger, you can gradually transition them to your regular watering schedule.
- Repotting: Once the new plants have a robust root system and are showing good top growth, you can transplant them into larger pots or their permanent garden spots.
Now, about those pesky problems:
- Rot: This is the most common issue, often caused by overwatering or poor drainage. If a cutting or division turns mushy and black, unfortunately, it’s often best to discard it to prevent it from spreading. Always ensure good air circulation and avoid soggy conditions.
- Wilting: A bit of wilting can happen. Ensure the soil is moist. If it persists after watering, check for root rot or ensure it’s not getting too much direct sun.
Happy Planting!
There you have it! Propagating wild geranium is a journey that’s well worth the effort. Remember to embrace the process, be patient with your new green babies, and don’t be discouraged if every single attempt isn’t a roaring success. That’s part of the learning, and each little sprout you nurture is a win. Happy gardening!
Resource:
https://identify.plantnet.org/k-world-flora/species/Geranium%20maculatum%20L./data