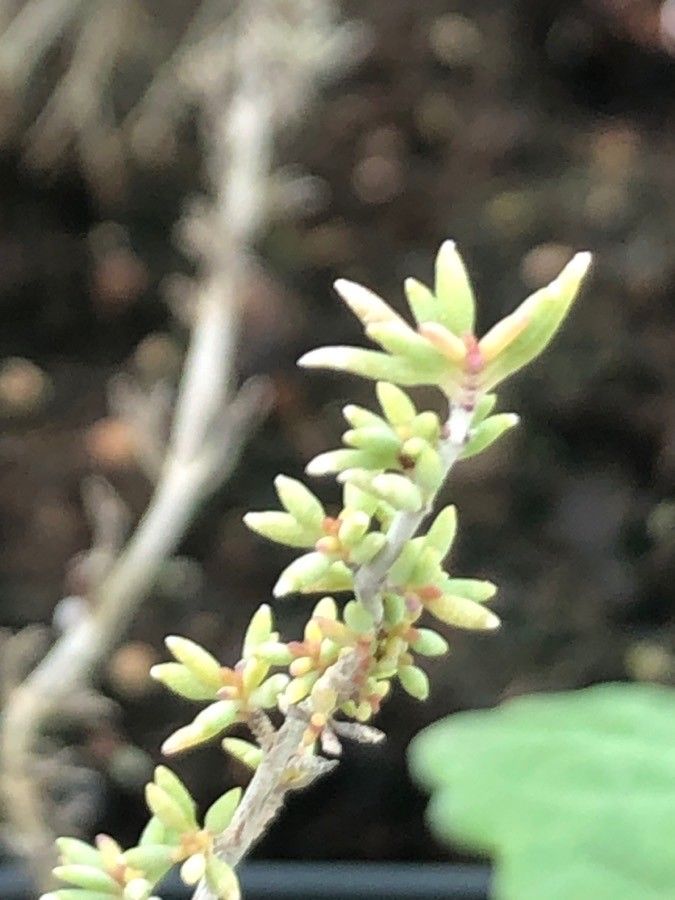
Hey there, fellow plant lovers! Today, we’re diving into the wonderful world of Thymus moroderi, or as some of us affectionately call it, “Serpico Thyme.” This little gem is a real charmer. Its delicate, silvery foliage and its subtly sweet fragrance make it a fantastic addition to any sunny garden, herb spiral, or even a pot on your patio. Trust me, multiplying this beauty is a deeply satisfying task, and I’m thrilled to guide you through it. Don’t be intimidated if you’re new to this; with a few simple steps, you’ll be well on your way to having a whole thyme patch!
The Best Time to Start
For the highest success rate with Thymus moroderi, I find that the late spring to early summer is your golden window. Think of it as the period when the plant is bursting with energy after a good spring growth spurt. The stems are still young and pliable but have had a chance to mature enough to be ready for propagation. Trying in the heat of mid-summer can be a bit stressful for the cuttings, and waiting until autumn means they won’t have enough time to establish before cooler weather arrives.
Supplies You’ll Need
Gathering your tools beforehand makes the whole process smoother. Here’s what I always have on hand:
- A sharp pair of pruning shears or a clean craft knife. Cleanliness is key to prevent disease!
- A well-draining potting mix. I love a blend of equal parts potting soil and perlite or coarse horticultural sand. You can also use a cactus or succulent mix.
- Small pots or a seed tray with drainage holes.
- Rooting hormone (optional, but helpful). I usually go for a powder form.
- A spray bottle filled with water.
- A clear plastic bag or propagation dome.
- Labels to mark your new babies!
Propagation Methods
For Thymus moroderi, I find stem cuttings to be the most reliable and straightforward method. It’s like getting a little clone of your favorite plant!
Stem Cuttings:
- Select Your Stems: Look for healthy, non-flowering stems that are about 3-4 inches long. You want them to be semi-hardwood – not too soft and floppy, but not woody and old.
- Make the Cut: Using your clean shears or knife, make a clean cut just below a leaf node (that little bump where leaves emerge). This is where the roots will most readily form.
- Prepare the Cutting: Gently remove the lower leaves from the bottom inch or so of the stem. This prevents them from rotting when buried in the soil. If you’re using rooting hormone, dip the cut end into it now, tapping off any excess.
- Plant Your Cuttings: Fill your small pots or tray with your prepared potting mix. Make a small hole with your finger or a pencil, and gently insert the cuttings, ensuring the leaf nodes you bared are buried. Firm the soil gently around them.
- Water and Cover: Water the soil lightly until it’s evenly moist. Then, cover the pots or tray with a clear plastic bag or a propagation dome. This creates a humid environment, which is crucial for successful rooting. Make sure the leaves don’t touch the plastic if possible.
The “Secret Sauce” (Pro Tips)
After years of getting my hands dirty, I’ve picked up a few tricks that seem to make a real difference:
- Bottom Heat is Your Friend: If you have a heat mat designed for seedlings, placing your tray on it can significantly speed up root development. Thyme loves a little warmth from below!
- Don’t Drown Them: While humidity is key, avoid waterlogged soil. It’s better to let the surface dry out slightly between waterings. Overwatering is the quickest way to kill your precious cuttings before they even get started. Check the soil moisture by gently poking your finger in about an inch.
- Patience, Grasshopper: I know it’s tempting to peek constantly, but resist the urge! Leave the cuttings to do their thing for at least 3-4 weeks. They are busy forming roots underground, out of sight.
Aftercare & Troubleshooting
Once you see new leaf growth, that’s a good sign that roots are forming! Gradually acclimate your new plants to the open air by removing the plastic bag or dome for short periods each day, slowly increasing the duration over a week. Continue to water them carefully, allowing the soil to dry slightly between applications.
The most common problem you’ll encounter is rot. If a cutting turns black and mushy, it’s usually a sign of too much moisture and poor drainage. If you see this, remove the affected cutting immediately to prevent it from spreading. Another sign of failure is if the leaves start to shrivel and dry out completely. This can be due to lack of humidity or not enough water in the initial stages.
A Encouraging Closing
Growing your own plants is such a rewarding journey, and Thymus moroderi is a lovely one to start with. Remember, every gardener has lost a cutting or two – it’s all part of the learning process! Be patient with your new little thymes, observe them, and enjoy the magic of watching them grow. Happy propagating!
Resource:
https://identify.plantnet.org/k-world-flora/species/Thymus%20moroderi%20Pau%20ex%20Martínez/data