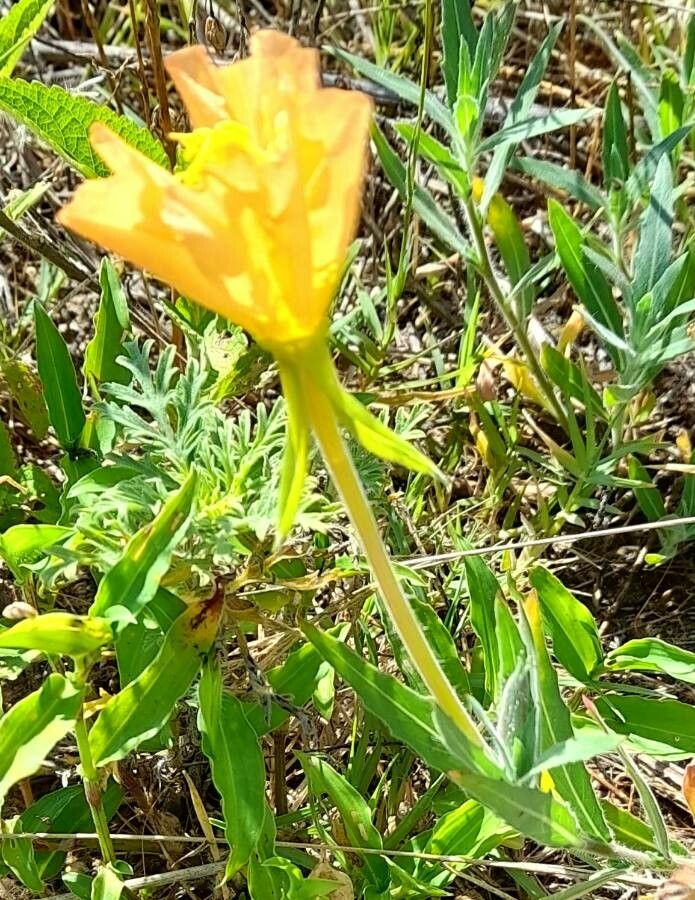
Ah, Oenothera affinis! You’ve got good taste. This lovely evening primrose, with its delicate, luminous yellow blooms that unfurl as the day cools, is such a joy to have in the garden. And guess what? You can easily fill your beds with more of them! Propagating Oenothera affinis is a wonderfully rewarding endeavor, and honestly, it’s surprisingly forgiving, even for those of you just starting out on your plant parenting journey. It’s like giving a hug to your favorite plant and getting a whole new friend in return.
The Best Time to Start
For the most success with Oenothera affinis, I always aim for late spring or early summer. This is when the plant is actively growing and has plenty of energy. New shoots are robust and readily available, making them ideal candidates for taking cuttings. You can also try in early autumn, but the growth may be a tad slower, and there’s a slightly higher chance of a cutting not quite making it through the winter before it’s well-established.
Supplies You’ll Need
Gathering your tools beforehand makes the whole process much smoother. Here’s what I usually have on hand:
- Sharp pruning shears or a clean knife: For taking clean cuts on stems.
- Potting mix: A light, well-draining mix is key. I often use a blend of peat moss or coco coir with perlite, or a good quality seed-starting mix.
- Small pots or seed trays: Clean, with drainage holes!
- Watering can with a fine rose: To water gently without disturbing things.
- Rooting hormone (optional but helpful): A powder or gel that encourages root development.
- Plastic bags or a propagator lid: To create a humid environment.
- Labels: So you don’t forget what you’ve planted where!
Propagation Methods
Oenothera affinis is wonderfully versatile, but my go-to method is stem cuttings. It’s straightforward and generally yields excellent results.
- Prepare Your Cuttings: On a healthy, actively growing Oenothera, select a stem that’s about 4-6 inches long. Look for a stem that has new growth but isn’t flowering yet. Using your sharp shears, make a clean cut just below a leaf node (the point where a leaf attaches to the stem). Remove the lower leaves, leaving just the top couple of leaves. This prevents them from rotting in the soil.
- Apply Rooting Hormone (Optional): If you’re using rooting hormone, dip the cut end of the stem into the powder or gel. Tap off any excess. This isn’t strictly necessary for Oenothera, but it can speed things up.
- Plant Your Cuttings: Fill your small pots with your prepared potting mix. Make a small hole with your finger or a pencil. Gently insert the cut end of the stem into the hole, ensuring the nodes where you removed the leaves are buried. Firm the soil gently around the stem.
- Water and Cover: Water the soil thoroughly but gently. You want it moist, not soggy. To create that humid environment they love, you can either cover the pot with a clear plastic bag (held up by stakes so it doesn’t touch the leaves) or place it in a propagator with the lid on.
- Provide Light and Warmth: Place your pots in a bright spot, but out of direct, harsh sunlight. A little warmth can help, but it’s not as critical as with some other tropical plants.
The “Secret Sauce” (Pro Tips)
Over the years, I’ve learned a few tricks that make propagation a bit more foolproof.
- Most people forget this, but don’t let the leaves from your cuttings touch the soil surface. If they sit in damp soil, they’re far more prone to rot. Trim them off if necessary.
- If you have a tendency to be a heavy-handed waterer (and I’ve been there!), consider using bottom heat. A gentle warming mat placed under your pots can significantly improve root formation and prevent the topsoil from staying too wet. It’s like giving your cuttings a cozy little heated bed.
- When taking cuttings, try to take a few more than you think you’ll need. Not every single one will make it, and that’s perfectly okay! It takes the pressure off and guarantees you’ll end up with some lovely new plants.
Aftercare & Troubleshooting
Once your cuttings have been planted, keep an eye on them. The plastic cover will help maintain moisture, so you might not need to water for a few days. Check the soil moisture regularly; it should feel consistently moist but never waterlogged.
If you see roots forming (you might see them peeking out from the drainage holes, or a gentle tug will feel resistance), that’s fantastic news! Remove the plastic cover gradually over a few days to let them acclimatize. Continue watering as needed and soon you’ll be ready to pot them up into slightly larger containers.
The most common issue you might encounter is rot, where the cutting turns mushy and brown. This is usually a sign of too much moisture and not enough airflow. If you spot it, you’ll have to discard that cutting. Don’t get discouraged; it’s all part of the learning curve!
A Warm Encouraging Closing
So there you have it! Propagating Oenothera affinis is a simple pleasure, a way to multiply the beauty in your garden and share it with others. Be patient with your little plantlets, give them the care they need, and before you know it, you’ll have a whole battalion of these glowing beauties. Happy propagating!
Resource:
https://identify.plantnet.org/k-world-flora/species/Oenothera%20affinis%20Cambess./data