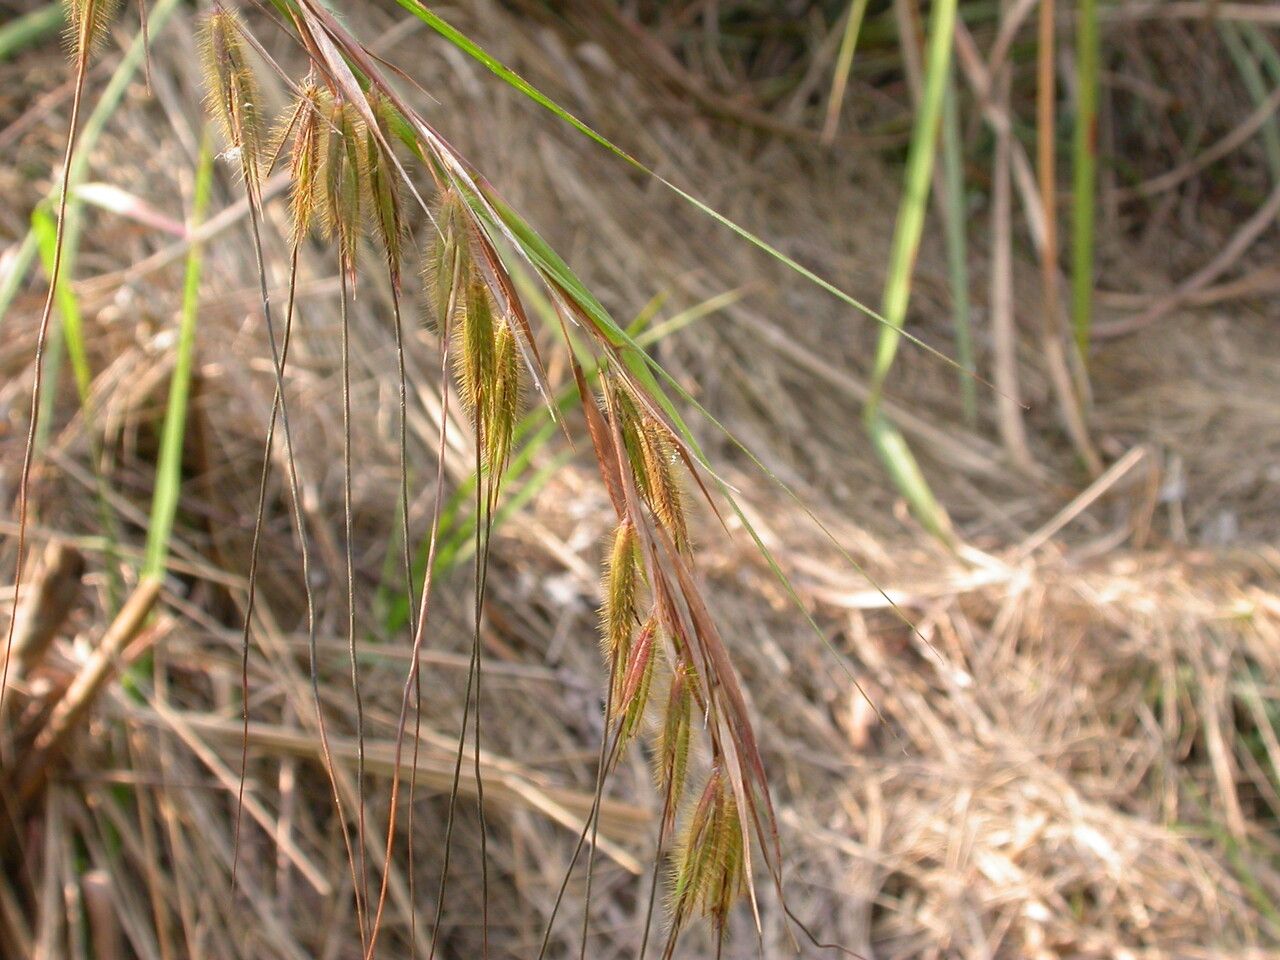
Hello there, fellow plant lovers! If you’ve ever admired the graceful, arching beauty of Themeda arundinacea, that gorgeous native grass with its striking foliage, you’re in for a treat. This plant, often called Kangaroo Grass, brings such lovely movement and texture to any garden. And the best part? You can easily multiply its beauty! Propagating this grass is a truly rewarding experience, offering more of that wonderful greenery without needing to buy new plants. For beginners, I’d say it’s a pretty straightforward process, especially with a little know-how.
The Best Time to Start
When it comes to getting Themeda arundinacea to root, timing is everything. The absolute best time to embark on this propagation adventure is during its active growing season. Think late spring through mid-summer. This is when the plant has the most energy to put into developing new roots and shoots. Starting a little earlier in spring, when the weather is warming up but before the heat of summer kicks in, is also ideal.
Supplies You’ll Need
Before we dive into the how-to, let’s gather our arsenal. Having everything ready makes the whole process much smoother.
- Sharp Pruning Shears or a Clean Knife: For making clean cuts, which is crucial.
- Rooting Hormone (Optional but Recommended): This can give your cuttings a helpful boost. Look for one formulated for woody plants or stem cuttings.
- Well-Draining Potting Mix: A good quality seed starting mix or a blend of equal parts potting soil and perlite works perfectly. You want to avoid anything that holds too much moisture.
- Small Pots or Trays: Clean pots, about 4-6 inches deep, are ideal. Make sure they have drainage holes!
- Plastic Bags or a Clear Dome: To create a humid environment for your cuttings.
- Watering Can with a Fine Rose: For gentle watering.
Propagation Methods
For Themeda arundinacea, the most practical and successful method is division. This involves separating existing clumps into smaller plants. We’ll focus on that today.
Propagating by Division:
- Dig Gently: In late spring or early summer, when the plant is actively growing, carefully dig around the base of your Themeda arundinacea clump. Try to lift it out of the ground with as much of the root ball intact as possible. If it’s a large clump, you might need a garden fork to help loosen it.
- Inspect and Clean: Gently shake off excess soil from the root ball. You’re looking for sections of the grass that have their own healthy root systems and some upright shoots.
- Divide: This is the fun part! You can often pull the clump apart with your hands. If it’s a bit stubborn, use your sharp pruning shears or a clean knife to carefully cut through the root ball, ensuring each new section has plenty of roots and at least a few leafy shoots. A good rule of thumb is to aim for divisions that are about 3-4 inches across.
- Planting: Immediately plant your divisions into your prepared pots filled with the well-draining mix. Settle them in so the base of the grass is just at the soil surface. Gently firm the soil around the roots.
- Watering: Give your newly potted divisions a thorough watering to settle the soil around the roots.
The “Secret Sauce” (Pro Tips)
Here are a few tricks I’ve picked up over the years that can really up your success rate:
- Don’t Overpot: While you want enough room for roots, sometimes starting with slightly smaller divisions from a vigorous plant can be easier for them to establish. If a division looks like it has a lot of woody material and very few active roots, it might struggle.
- Embrace the Mulch: Once your new divisions are planted and settled, a light layer of mulch around them (but not touching the stems) can help retain soil moisture and keep the roots cool, which is a big plus for grasses.
- Patience with the Wind: Kangaroo Grass can be a bit wind-sensitive when it’s young. If you’ve divided a large specimen, consider placing your new potted divisions in a sheltered spot for a week or two to help them acclimate before exposing them to strong winds.
Aftercare & Troubleshooting
Once your divisions are planted, keep them consistently moist, but never waterlogged. The soil should feel like a wrung-out sponge. As they start to show new growth – little green shoots peeking through – that’s your cue they’re happy and rooting.
The most common issue you might encounter is rot, which is almost always a sign of too much moisture. You’ll see the grass stems turn soft and mushy at the base, or the entire plant might look like it’s wilting and turning brown from the bottom up. If you spot this, try to improve drainage immediately. If it’s in a pot, a gentle tilt might let excess water escape, or you might need to repot into drier soil if it’s severe. For a healthy division, you should see vigorous new growth within a few weeks.
A Encouraging Closing
There you have it! Propagating Themeda arundinacea by division is a wonderfully accessible way to expand your collection of this stunning grass. Remember to be patient, observe your plants, and enjoy the process of nurturing new life. Happy gardening!
Resource:
https://identify.plantnet.org/k-world-flora/species/Themeda%20arundinacea%20(Roxb.)%20A.Camus/data