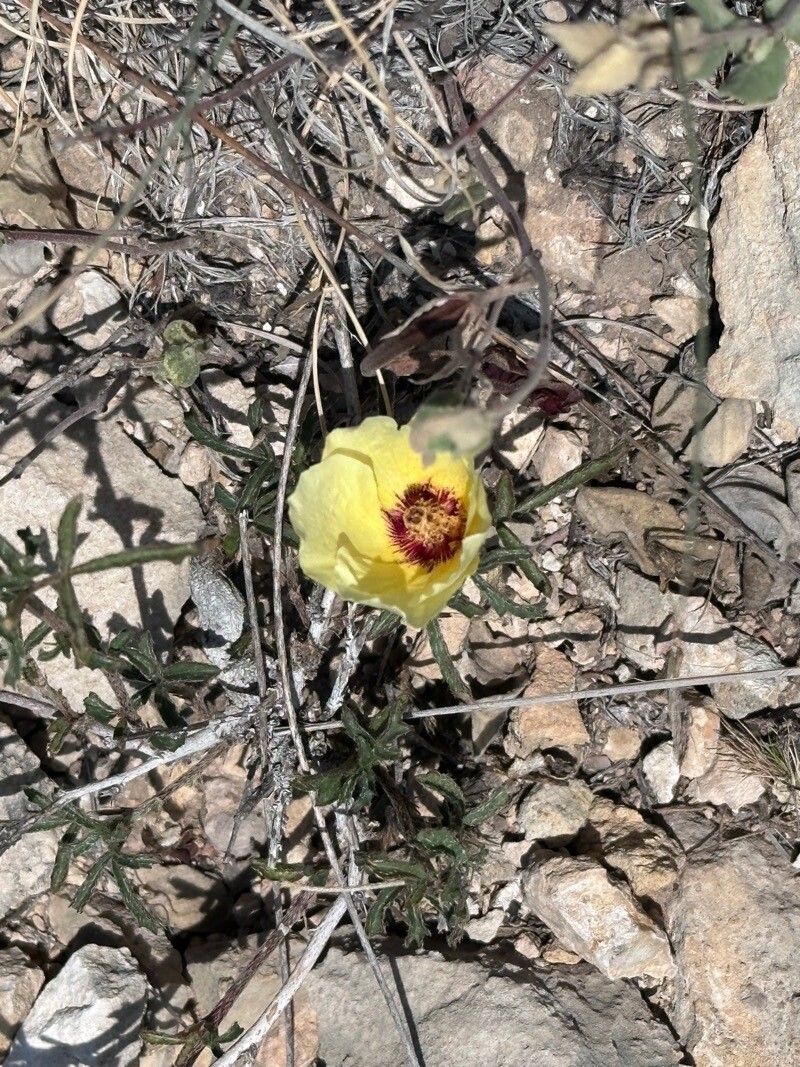
Oh, hello there, my fellow garden enthusiast! Grab a cup of your favorite brew, and let’s chat about a plant that brings so much vibrant joy to any sunny spot: Hibiscus coulteri. If you’re drawn to those big, showy blooms that just scream “summer,” you’re in for a treat. Propagating these beauties is wonderfully rewarding, and I’m here to walk you through it. Honestly, Hibiscus coulteri is quite forgiving, making it a fantastic choice even if you’re just starting your propagation journey!
The Best Time to Start
For the highest success rate, I always recommend starting your Hibiscus coulteri propagation in the late spring or early summer. This is when the plant is actively growing, and its stems are firm but still developing. You’re looking for new growth that’s not too soft and floppy, nor too woody and old. Think of it as “just right” – somewhere between tender and mature.
Supplies You’ll Need
Here’s what you’ll want to have on hand before we get our hands dirty:
- Sharp, clean pruning shears or a sharp knife: Essential for making clean cuts that heal well.
- Rooting hormone (optional, but recommended): A little helps boost your success rate.
- Small pots or seedling trays: About 4-inch pots are usually perfect for cuttings.
- Well-draining potting mix: A good mix for cuttings is key. I usually use a blend of equal parts peat moss or coco coir and perlite or coarse sand. This ensures good aeration and prevents waterlogged conditions.
- Clear plastic bags or a propagator lid: To create a humid environment for your cuttings.
- Watering can or spray bottle: For gentle watering.
- Labels: So you don’t forget what you propagated and when!
Propagation Methods
Let’s dive into the most reliable ways to grow more Hibiscus coulteri:
Stem Cuttings
This is my go-to method for Hibiscus coulteri. It’s efficient and usually yields great results.
- Select Healthy Stems: Find a healthy branch that has visible growth. Gently bend it; if it snaps cleanly, it’s a good cutting. If it kind of squishes, it might be too soft. You want pieces about 4-6 inches long.
- Make the Cut: Using your sharp shears, make a clean cut just below a leaf node. This is the point where a leaf grows from the stem, and it’s where roots are most likely to form.
- Prepare the Cutting: Gently remove the lower leaves, leaving just a few at the very top. This prevents them from rotting in the soil. If your leaves are quite large, you can even cut them in half horizontally to reduce water loss.
- Apply Rooting Hormone (Optional): Dip the cut end of the stem into rooting hormone powder or gel. Tap off any excess.
- Plant Your Cuttings: Fill your pots or trays with your prepared potting mix. Make a small hole with your finger or a pencil, and gently insert the cutting, firming the soil around it.
- Water Gently: Water the potting mix thoroughly, making sure it’s moist but not soggy.
- Create Humidity: Place the potted cuttings inside a clear plastic bag or cover them with a propagator lid. Make sure the leaves don’t touch the plastic, as this can encourage rot. You can prop up the bag with stakes if needed.
- Provide Light and Warmth: Place the cuttings in a bright, indirect light location. Avoid direct sunlight, which can scorch young cuttings. A warm spot, especially with bottom heat, helps immensely.
Water Propagation (Use with Caution for Hibiscus)
While I love water propagation for some plants, Hibiscus coulteri can be a bit more prone to rot if left in water for too long without developing strong roots. I’ve had more consistent success with soil, but if you’re curious:
- Prepare Cuttings: Follow steps 1-3 from the stem cutting method.
- Place in Water: Put the cuttings in a glass or jar filled with clean water. Ensure only the cut end is submerged, and none of the leaves touch the water.
- Change Water Regularly: Change the water every few days to keep it fresh and oxygenated.
- Monitor for Roots: You should start to see tiny roots forming in a few weeks. Once the roots are about an inch long, it’s time to carefully transplant them into soil, following the aftercare steps.
The “Secret Sauce” (Pro Tips)
Here are a couple of things I’ve learned over the years that can really make a difference:
- Don’t Be Afraid of Bottom Heat! Hibiscus coulteri roots develop much faster with consistent warmth from below. A heating mat specifically designed for seedlings is a game-changer. It keeps that crucial root zone temperature stable, encouraging root formation.
- The “Heel” Trick: Sometimes, when taking cuttings, you can actually pull off a tiny sliver of the mother plant’s bark with your cutting (this is called a “heel”). While not always possible, if your cutting naturally comes away with a small piece of this older tissue attached at the base, it can sometimes give it an extra boost in rooting. Just make sure it’s not a whole chunk of woody stem!
Aftercare & Troubleshooting
Once you see new leaf growth on your cuttings, that’s a fantastic sign that roots are developing!
- Acclimate Gradually: If your cuttings are in a plastic bag, start by opening the bag for a few hours each day to let them adjust to drier air. Gradually increase the time until you can remove the bag entirely.
- Watering: Keep the soil consistently moist but not waterlogged. As the plant grows and the roots become more established, you can gradually allow the soil to dry out slightly between waterings.
- Potting Up: Once the roots have filled the pot and you see robust new growth, it’s time to either pot up into a slightly larger container or transplant them to their permanent garden location.
Troubleshooting:
- Rotting Stems: If your cutting turns mushy and black, it’s likely rot. This is usually caused by too much moisture and not enough air circulation. Ensure you’re using well-draining soil and not overwatering. Remove affected cuttings immediately.
- Wilting: A little wilting is normal as cuttings establish. However, if a cutting stays severely wilted and develops yellowing leaves, it might not be getting enough moisture, or it could be struggling to root. Check the soil moisture and humidity levels.
A Little Patience Goes a Long Way
Propagating plants is a journey, and each cutting is a little experiment. Don’t get discouraged if not every single one takes. With a little care and observation, you’ll soon be rewarded with a beautiful new collection of Hibiscus coulteri. Enjoy the process, and happy gardening!
Resource:
https://identify.plantnet.org/k-world-flora/species/Hibiscus%20coulteri%20Harv.%20ex%20A.Gray/data