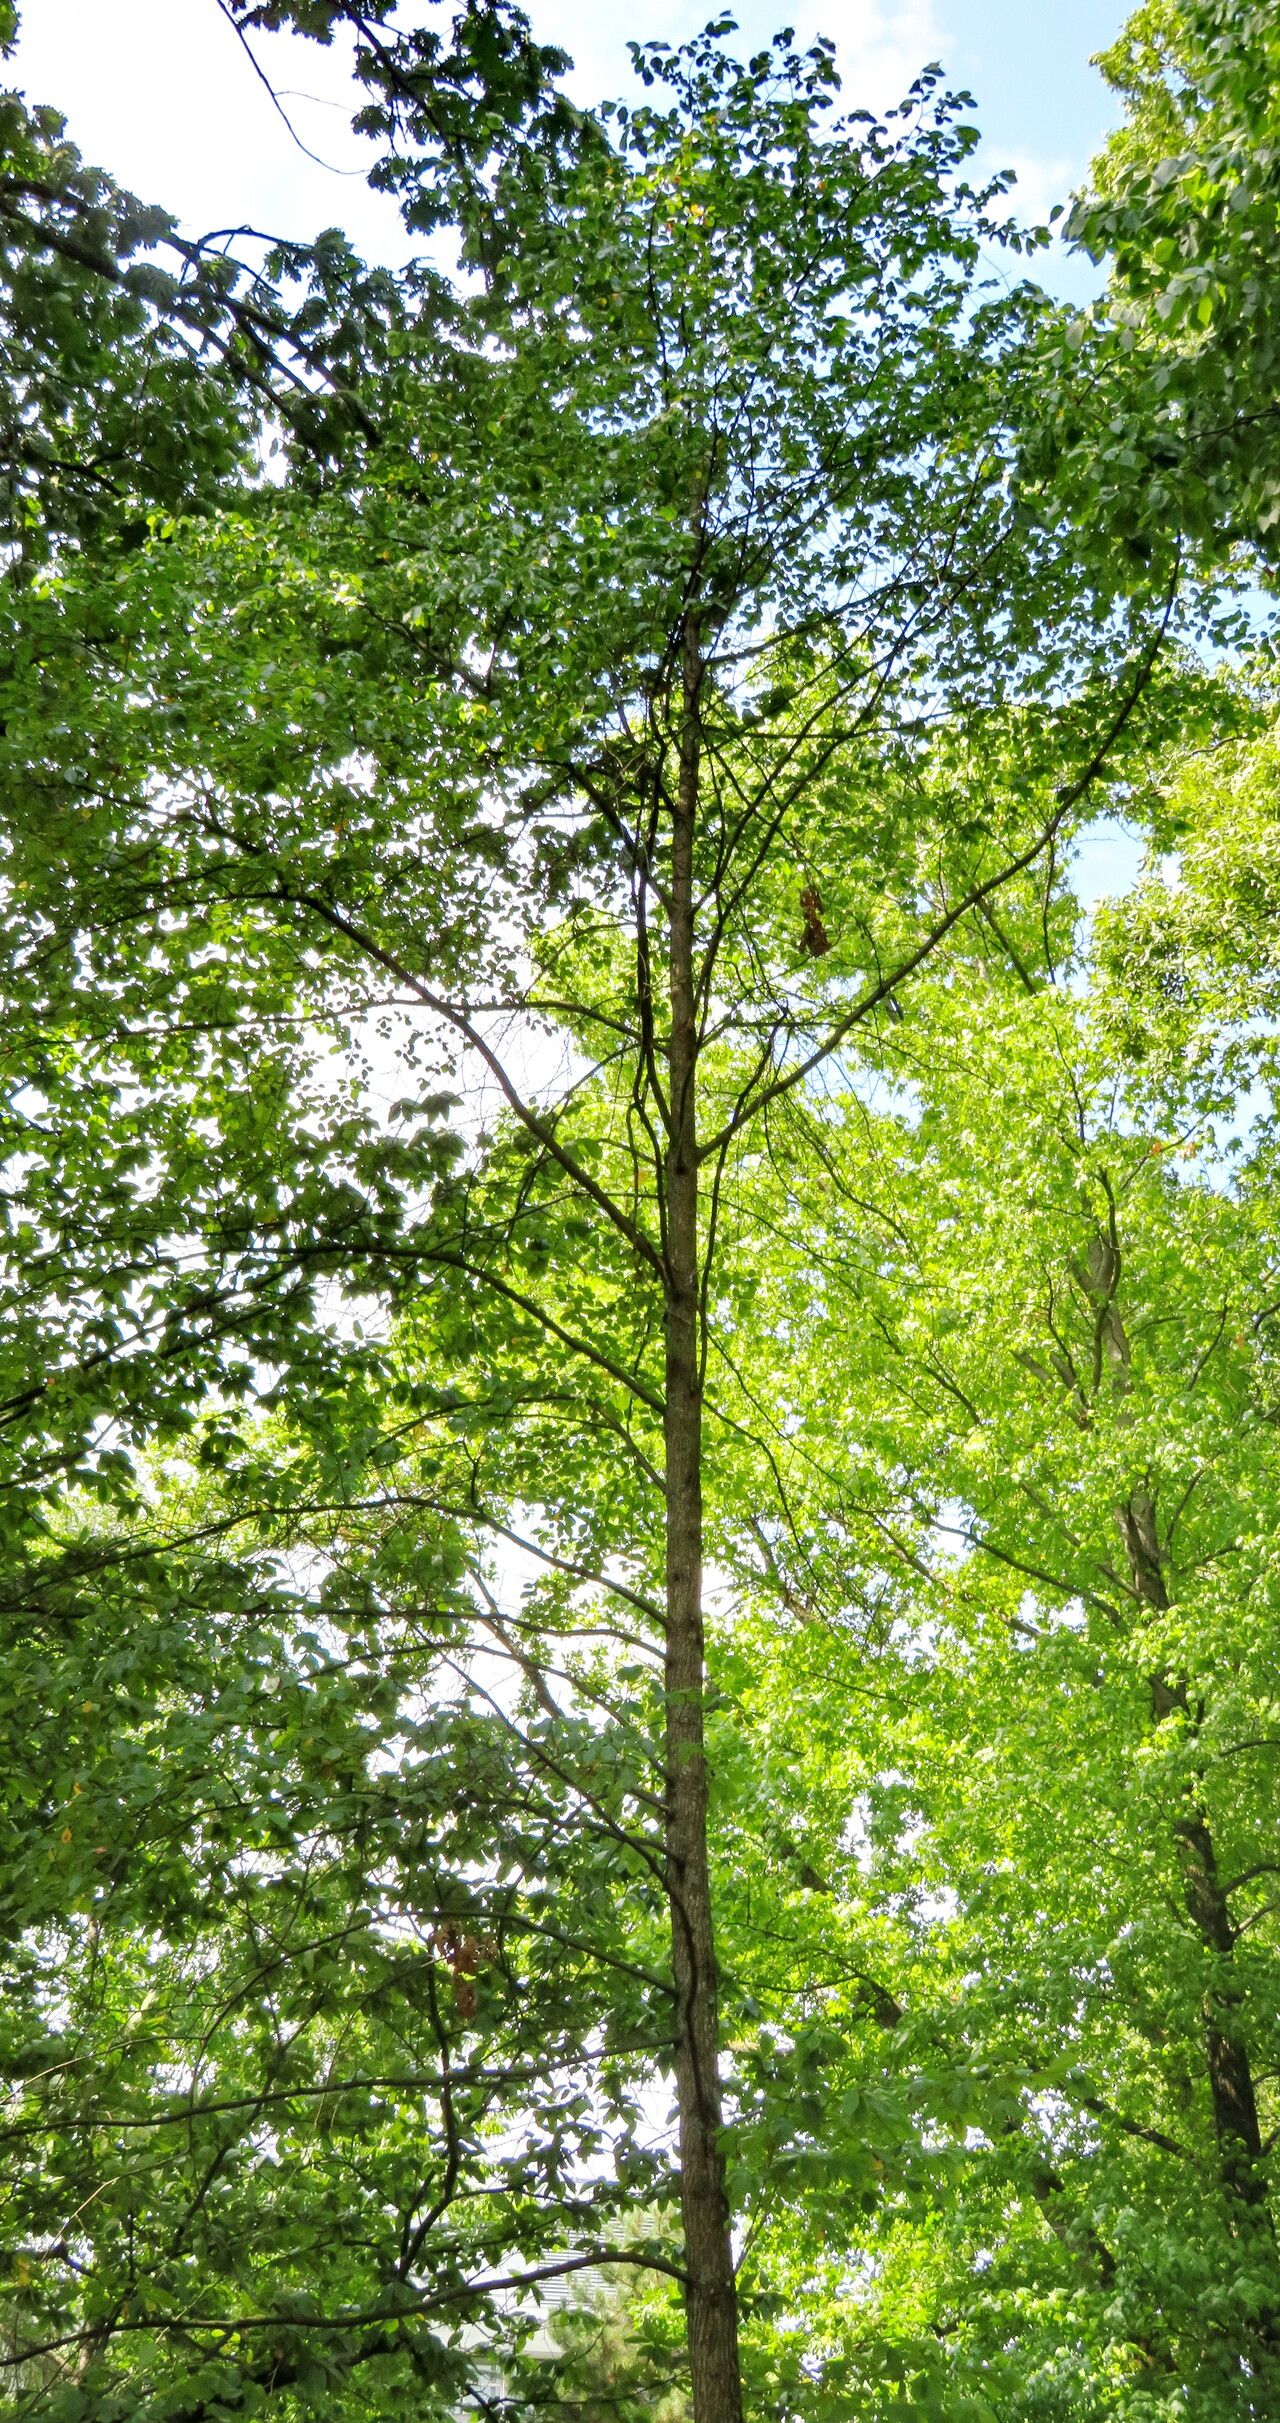
Hello, fellow garden enthusiasts! Today, I want to chat about one of my absolute favorite trees: Nyssa sylvatica, commonly known as the Black Gum or Tupelo. If you’ve ever seen this beauty in its full autumn glory, you know what I’m talking about. Those fiery reds, oranges, and purples are simply breathtaking. And the best part? You can bring that magic into your own garden by propagating it yourself!
While Nyssa sylvatica might seem a bit grand, propagating it is surprisingly achievable. It’s not the absolute easiest plant to start from scratch, but with a little patience and the right approach, you can definitely be successful. The reward of nurturing a tiny twig into a future shade tree is truly special.
The Best Time to Start
For most propagation methods with Nyssa sylvatica, mid-summer is your sweet spot. This is when the plant has had a good growing season, and the wood has begun to mature slightly. You’re looking for semi-hardwood cuttings – stems that are no longer floppy and green, but not yet fully woody and brown. Think of it as being firm enough to snap cleanly, but with a little bit of give.
Supplies You’ll Need
Before we roll up our sleeves, let’s gather our tools:
- Sharp Pruning Shears or a Knife: Clean cuts are crucial for rooting.
- Rooting Hormone: A powdered or liquid form will give your cuttings a significant boost.
- Lightweight Potting Mix: A blend of peat moss, perlite, and vermiculite works wonderfully. You want something that drains well and doesn’t compact.
- Small Pots or Trays: About 4-inch pots are usually a good size. Make sure they have drainage holes!
- Plastic Bags or a Propagator: This helps maintain humidity around your cuttings.
- Water: For moistening the soil and misting.
- Label and Marker: Don’t forget to label your precious cuttings!
Propagation Methods
While you can try from seed, the most reliable way to get a true-to-type plant is through stem cuttings.
- Take Your Cuttings: On a cool morning, select healthy, upright shoots from a mature Nyssa sylvatica. Look for stems about 4-6 inches long. Use your clean shears to make a cut just below a leaf node (where a leaf attaches to the stem). Remove the lower leaves, leaving just a few at the top.
- Prepare the Cuttings: Dip the cut end of each cutting into your rooting hormone, tapping off any excess.
- Plant Your Cuttings: Fill your pots with the prepared potting mix and lightly water them until they are evenly moist. Make a small hole in the center of the mix with your finger or a pencil. Insert the dipped end of the cutting into the hole, and gently firm the soil around it.
- Create a Humid Environment: You can either cover the entire pot with a clear plastic bag (propping it up with sticks so it doesn’t touch the leaves) or place the pots inside a propagator. This high humidity is key. Place the pots in a bright location out of direct sunlight.
The “Secret Sauce” (Pro Tips)
Here are a couple of things I’ve learned over the years that really make a difference:
- Bottom Heat is Your Friend: If you have a seedling heat mat, use it! Placing your pots on a warm mat (around 70-75°F) will significantly speed up root development. It encourages the roots to grow from the base.
- Don’t Drown Your Leaves: While humidity is vital, try your best to avoid having the leaves of your cuttings sit directly in water within the plastic bag or propagator. This can lead to fungal issues. A good misting of the leaves and soil from time to time is usually sufficient.
- Prune the Tip (Sometimes): For some semi-hardwood cuttings, pinching off the very tip of the cutting after you’ve planted it can encourage branching lower down and sometimes even stimulate rooting. It encourages the plant to send energy downward.
Aftercare & Troubleshooting
Once your cuttings have roots – you’ll usually see new growth within 4-8 weeks, or you can gently tug on a cutting and feel resistance – it’s time for a little adjusted care.
Gradually acclimate your new plants to normal household humidity by opening the plastic bag or propagator for longer periods each day. You can water them more fully, but always let the top inch of soil dry out between waterings.
The biggest pitfall you’ll encounter is rot. If a cutting turns black and mushy at the base, it’s likely rotted. This is usually due to too much moisture and poor air circulation. Unfortunately, once rot sets in, it’s hard to save a cutting. Prevention with well-draining soil and good airflow is your best bet. If you see mold on the soil surface, gently scrape it off and try to improve ventilation.
A Encouraging Closing
Propagating Nyssa sylvatica is a journey, not a race. There might be times when a cutting doesn’t make it, and that’s okay! Every gardener has their share of failures. Just remember the tips, be patient, and enjoy the process of learning and growing. Happy gardening!
Resource:
https://identify.plantnet.org/k-world-flora/species/Nyssa%20sylvatica%20Marshall/data