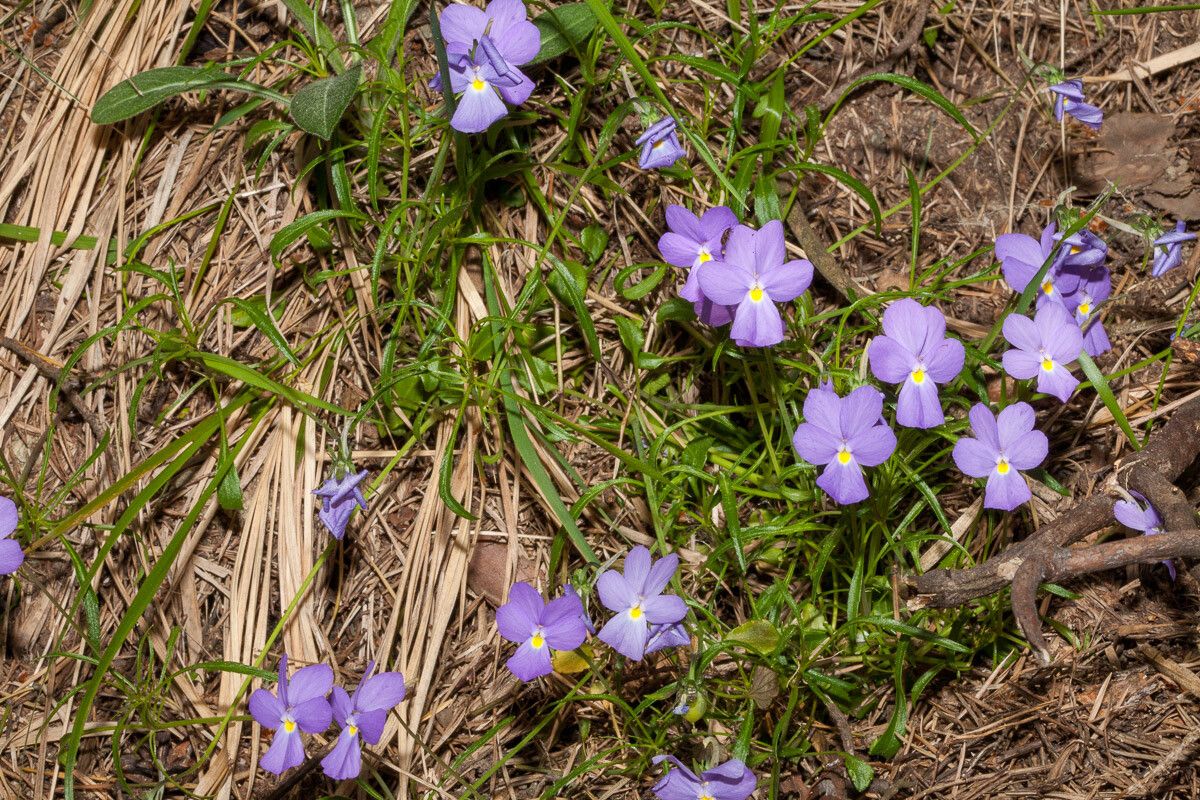
Hello fellow garden lovers! Today, we’re going to talk about a truly special little bloom: Viola bertolonii. These woodland violets are just delightful. Their delicate, often vibrantly colored flowers bring a touch of magic to shady corners and woodland gardens. And let me tell you, bringing new life into the world from a little piece of an existing plant? There’s nothing quite like it. Propagating Viola bertolonii isn’t overly difficult, but it does require a mindful touch. It’s a wonderful way to expand your collection or share these beauties with friends.
The Best Time to Start
Timing is everything when it comes to happy propagation! For Viola bertolonii, I find late spring to early summer is your sweet spot. This is when the plant is actively growing and has plenty of energy to put into developing new roots. You’re looking for softwood cuttings – those are the new, flexible shoots that haven’t started to harden off yet.
Supplies You’ll Need
Gathering your tools ahead of time makes the whole process much smoother. Here’s what I usually have on hand:
- Sterile sharp knife or pruning shears: Clean cuts are crucial to prevent disease.
- Small pots or seed trays: Anything that can hold your propagated cuttings and soil.
- Well-draining potting mix: A good quality seed-starting mix or a blend of peat and perlite works wonders.
- Rooting hormone (optional but recommended): This can give your cuttings a helpful boost.
- Clear plastic bags or domes: To create a humid environment for your cuttings.
- Watering can with a fine rose: Gentle watering is key.
Propagation Methods
While Viola bertolonii can be divided, my favorite and usually most successful method is through stem cuttings. It’s straightforward and yields great results.
- Take Cuttings: On a cool morning, select healthy, vigorous stems that are about 3-4 inches long. Make a clean cut just below a leaf node. This is the point where a leaf joins the stem, and it’s where roots are most likely to form. Remove the lower leaves, leaving just a couple at the very top.
- Apply Rooting Hormone (Optional): If you’re using rooting hormone, dip the cut end of each stem into the powder or gel. Gently tap off any excess.
- Pot Them Up: Fill your small pots or trays with your prepared potting mix. Make a small hole in the center of each, large enough to accommodate the cutting. Place one cutting in each hole and gently firm the soil around it.
- Water Gently: Water the soil thoroughly but carefully. You don’t want to dislodge your cuttings.
- Create Humidity: Place the pots inside a clear plastic bag or cover them with a plastic dome. This traps moisture and creates the humid environment the cuttings need to thrive. Make sure the leaves aren’t touching the plastic directly if possible, as this can encourage rot.
- Find a Cozy Spot: Place the pots in a bright location out of direct sunlight. A north-facing windowsill or a spot under grow lights is ideal.
The “Secret Sauce” (Pro Tips)
Over the years, I’ve learned a few things that often make the difference between success and a bit of disappointment.
- Bottom Heat is Your Friend: If you have access to a seedling heat mat, placing your pots on it can really speed up root development. Violets, like many plants, appreciate a little warmth from below.
- Patience with the Potting Mix: Don’t overwater! The mix should be consistently moist but never soggy. Soggy soil is the fast track to rot, and no one wants that. Let the surface dry out slightly between waterings.
- Watch for the “Pull”: Once your cuttings have developed roots, they’ll become more resistant when you gently tug on them. You’ll also start to see new growth, which is a sure sign they’ve taken.
Aftercare & Troubleshooting
Once you see those first signs of roots and new growth, it’s time to transition your little violets to a slightly less humid environment. Gradually open the plastic bag or dome over a few days to acclimate them. Continue to keep them in bright, indirect light and water them when the top inch of soil feels dry.
The most common issue you might encounter is rot. If you see your cuttings turning mushy, black, or falling over, it’s usually a sign of too much moisture or poor air circulation. If this happens, you might need to discard the affected cuttings and start again, paying closer attention to watering and ventilation.
A Nurturing Closing
Growing new plants from cuttings is such a rewarding journey. It teaches you patience and observation. Don’t be discouraged if not every cutting takes. With a little practice and these tips, you’ll be well on your way to enjoying even more of these charming Viola bertolonii in your garden. Happy propagating!
Resource:
https://identify.plantnet.org/k-world-flora/species/Viola%20bertolonii%20Pio/data