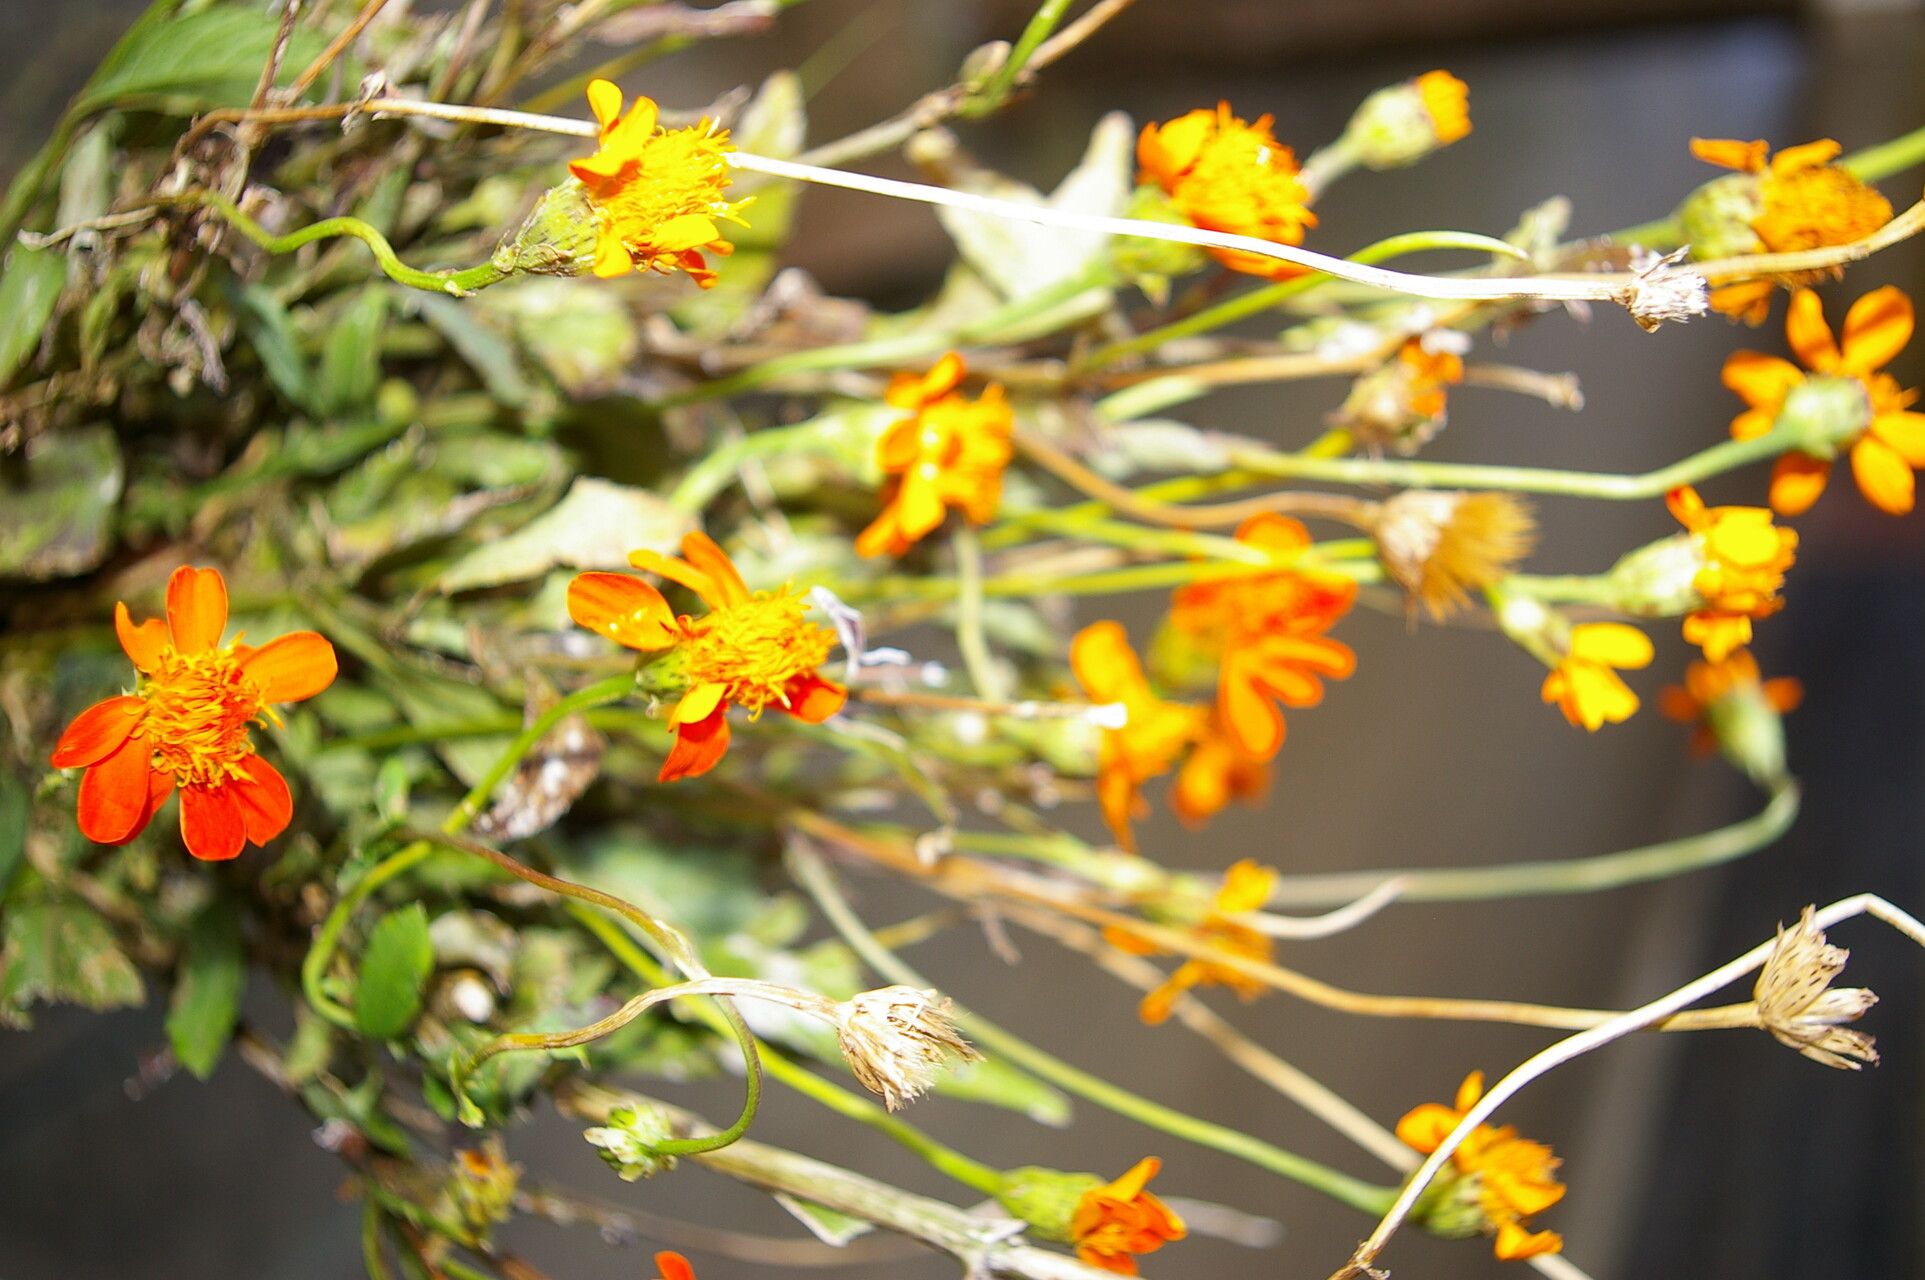
Hello there, fellow garden enthusiasts! I’m so excited to share one of my favorite propagation projects with you today: Comaclinium montanum. If you’re looking for a plant that brings a delightful splash of color and a touch of wild beauty to your garden, this is it. Known for its charming, daisy-like flowers that often have a lovely, ethereal blue hue, Comaclinium montanum is a real gem. And the best part? Growing more of these beauties yourself is incredibly satisfying. For those of you just starting out, I’d say propagating Comaclinium is moderately easy. It’s not quite as foolproof as, say, a succulent, but with a little attention, you’ll see great success.
The Best Time to Start
My absolute favorite time to get this party started is in the late spring or early summer. This is when the plant is really in its active growth phase. You’ll see lots of fresh, vigorous stems and leaves, which makes for the best cuttings. Trying to propagate when the plant is dormant or stressed just doesn’t give you the same kind of readily available material to work with. So, keep an eye on your Comaclinium as the days get longer and warmer – that’s your cue!
Supplies You’ll Need
Gathering your supplies beforehand is half the battle, and it makes the whole process smoother. Here’s what I recommend:
- Sharp Pruning Shears or a Craft Knife: Clean cuts are crucial for preventing disease.
- A Good Potting Mix: I prefer a mix that’s light and drains well. A blend of peat moss or coco coir, perlite, and a bit of compost works wonders. You can also buy specialized seed starting or cutting mixes.
- Small Pots or Trays: Cleanliness is key here!
- Rooting Hormone (Optional but Recommended): This really gives your cuttings a boost. Look for a powder or gel.
- Plastic Bags or a Propagator Lid: To create a humid environment.
- Watering Can with a Fine Rose: For gentle watering.
Propagation Methods
Comaclinium montanum is quite amenable to a couple of common propagation techniques. I’ve had the most luck with stem cuttings.
Stem Cuttings:
- Take Your Cuttings: With your clean shears, snip off healthy, non-flowering stems that are about 4-6 inches long. Look for stems that are slightly firm but not woody. I like to make my cut just below a leaf node (where a leaf attaches to the stem), as this is where roots tend to emerge.
- Prepare the Cuttings: Gently remove the lower leaves from the cutting, leaving just a few at the very top. This prevents them from rotting in the soil. If the leaves are quite large, you can even snip them in half to reduce water loss.
- Apply Rooting Hormone: Dip the cut end of the stem into your rooting hormone, tapping off any excess.
- Plant Your Cuttings: Fill your small pots or trays with your prepared potting mix. Make a small hole in the center of the soil with your finger or a pencil. Insert the cut end of the Comaclinium cutting into the hole, ensuring the leaf nodes are nestled in the soil. Gently firm the soil around the stem.
- Water Gently: Water the soil thoroughly but gently until water drains from the bottom of the pot.
The “Secret Sauce” (Pro Tips)
Here are a few tricks I’ve learned over the years that seem to make all the difference:
- Humidity is Your Friend: Once your cuttings are planted, cover the pots with a clear plastic bag or a propagator lid. This creates a mini-greenhouse effect, keeping the humidity high, which is essential for cuttings to root without drying out. Just make sure the leaves don’t touch the sides of the bag, as this can encourage rot. You can use stakes to prop up the bag if needed.
- Bottom Heat is Magic: If you can, place your pots on a heat mat specifically designed for plants. This gentle warmth from below encourages root development much faster than ambient room temperature alone.
- Don’t Overwater! This is probably the biggest culprit of failure. The soil should be consistently moist, not soggy. Excess water is the fast track to rot, which no one wants for their precious cuttings.
Aftercare & Troubleshooting
Once your cuttings are planted, place them in a bright spot with indirect light. Avoid direct sun, as it can scorch the delicate new growth. Keep the soil consistently moist and the humidity high as I mentioned.
You’ll know your Comaclinium cuttings are rooting when you see new growth emerging from the top of the stem. It usually takes anywhere from 3 to 6 weeks. You can also gently tug on a cutting; if you feel resistance, roots have likely formed.
What about problems? The most common issue you’ll encounter is rot. If you see your cuttings turn black and mushy, that’s rot. It’s usually a sign of too much moisture and not enough air circulation. Unfortunately, a rotted cutting is a goner, but don’t despair! Just discard it, clean your pot, and try again, being more mindful of watering and humidity. Sometimes, cuttings just don’t take, and that’s okay too. It’s all part of the learning process.
A Encouraging Closing
Don’t be discouraged if your first attempt isn’t perfect. Propagating plants is a journey, and each “failure” is just a lesson learned. Be patient, observe your little plants, and enjoy the magic of watching them grow. Soon, you’ll have a whole new collection of beautiful Comaclinium montanum to share with friends or to fill your own garden with their cheerful blooms. Happy propagating!
Resource: