Hello there, fellow plant lovers! It’s so wonderful to connect with you from my little corner of the garden. Today, we’re going to talk about a plant that truly steals my heart every time I see it: Rotheca myricoides, often known as the butterfly bush or blue glory bush. Its delicate, sky-blue flowers are simply enchanting, and seeing them dance in even the slightest breeze feels like pure magic.
Propagating this beauty yourself is incredibly rewarding, too. It feels like you’re spreading a little bit of that garden joy, and honestly, it’s not as daunting as it might sound. I’d say if you’ve dabbled in rooting a few geraniums or hydrangeas, you’re in a good spot to tackle Rotheca myricoides. It requires a touch of patience, but the payoff is well worth it.
The Best Time to Start
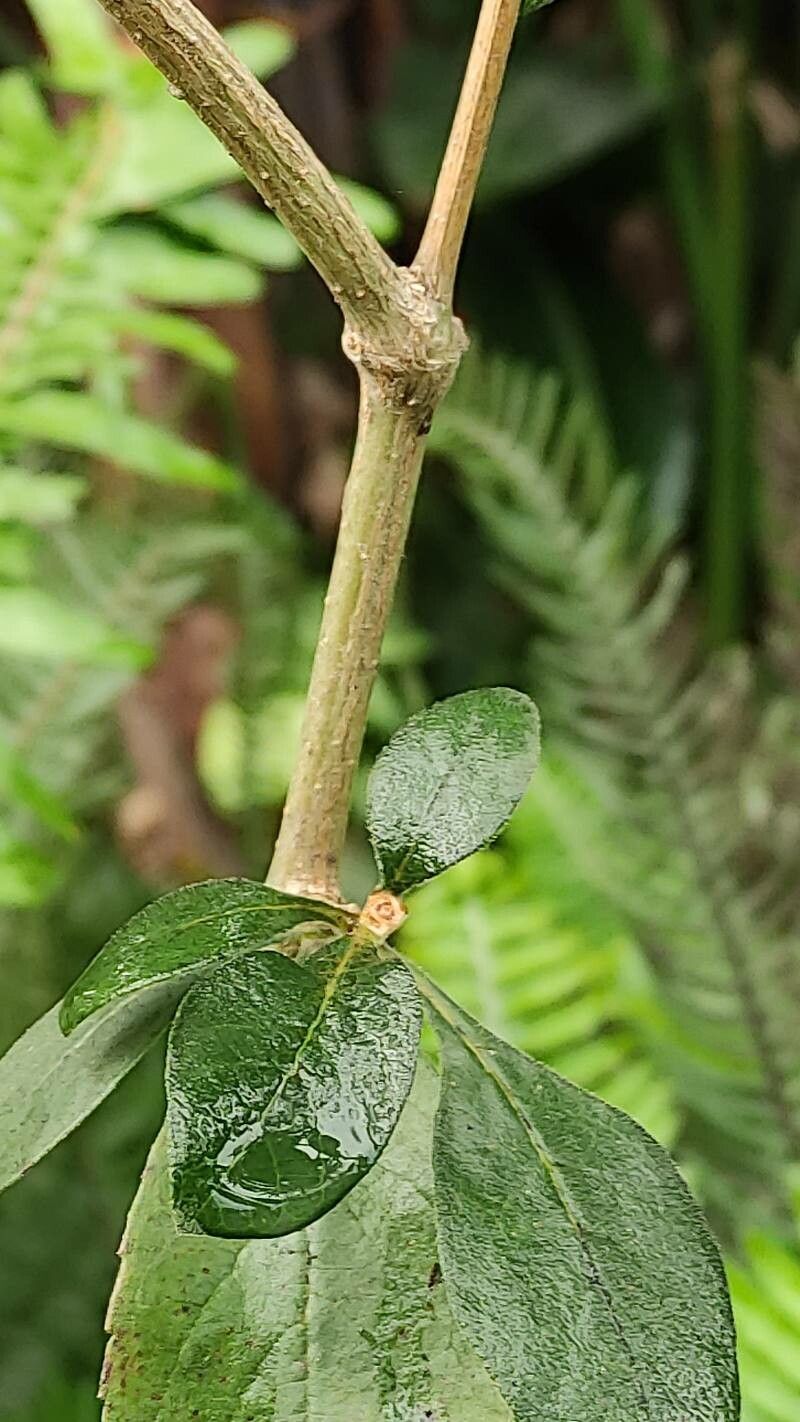
For Rotheca myricoides, I find that late spring to early summer is your golden window. That’s when the plant is actively growing and has plenty of energy to put into developing new roots. You’re looking for stems that are semi-hardwood – not brand new and floppy, but not yet completely woody and stiff. Think of it like a sturdy pencil, not a fresh twig.
Supplies You’ll Need
Gathering your supplies ahead of time makes the whole process smoother. Here’s what I always have on hand:
- Sharp pruning shears or a clean, sharp knife: For taking clean cuts, which reduces stress on the plant.
- Rooting hormone (optional, but recommended): A powder or gel that encourages root development. I’ve had great success with brands containing IBA.
- Well-draining potting mix: A 50/50 blend of perlite and peat moss or coco coir works wonderfully. You want it to hold moisture but not become waterlogged.
- Small pots or propagation trays: Clean, with drainage holes, of course!
- Plastic bags or a clear propagation dome: To create a humid environment for your cuttings.
- Water: For misting.
- Gloves (optional): If you prefer to keep your hands clean.
Propagation Methods
Stem cuttings are definitely my go-to for Rotheca myricoides. They’re reliable and give you a great chance of success.
Stem Cuttings:
- Select your stems: Look for those healthy, semi-hardwood stems we talked about.
- Take the cuttings: Using your clean shears, make a cut just below a leaf node (where a leaf attaches to the stem). You want cuttings that are about 4-6 inches long. Remove any flowers or flower buds – they take energy away from root formation.
- Prepare the cuttings: Strip off the lower leaves, leaving just 2-3 leaves at the top. This reduces water loss.
- Apply rooting hormone: Dip the cut end of each stem into your rooting hormone, tapping off any excess.
- Insert into potting mix: Make a small hole in your prepared potting mix with a pencil or your finger and gently insert the cutting. Firm the soil around it so it stands up on its own.
- Provide humidity: Water the soil gently. Then, cover the pot with a clear plastic bag (make sure the leaves don’t touch the plastic!) or place it under a propagation dome. This creates a mini-greenhouse.
- Place in bright, indirect light: Find a spot that’s warm but out of direct, harsh sunlight.
The “Secret Sauce”
Here are a couple of little tricks I’ve picked up over the years that often make a difference:
- Bottom Heat is Your Friend: If you can, place your pots on a gentle heat mat. This mimics the warmth of the soil in the summer and really encourages those roots to get moving. It’s a game-changer, especially when the air temperature isn’t consistently warm.
- The “Slap Test”: After a few weeks, gently tug on a cutting. If you feel resistance, it means roots are forming! If it comes out easily, it’s likely not rooted yet. Don’t be afraid to leave cuttings in for longer than you think; some take their sweet time.
Aftercare & Troubleshooting
Once you see signs of rooting (that gentle tug resistance!), it’s time to slowly transition your new plant.
- Acclimate gradually: Gradually open the plastic bag or dome over a few days to let the cutting get used to the drier air.
- Watering: Keep the soil consistently moist but not soggy. Water when the top inch of soil feels dry.
- Potting up: Once the roots are well-established and you see new growth, you can transplant your new Rotheca myricoides into a slightly larger pot with good quality potting soil.
- Troubleshooting: The most common issue is rot, which usually happens due to overwatering or poor drainage. If you see a cutting turn black or mushy, it’s best to discard it and try again, ensuring your mix is free-draining and you’re not drowning it. Yellowing leaves can sometimes mean it’s getting too much direct sun, or it’s just naturally shedding older leaves.
So there you have it! Growing your own Rotheca myricoides is a beautiful way to connect with nature and, dare I say, bring a little more blue into your world. Be patient with your little cuttings. Sometimes they surprise you with their resilience. Happy gardening, and may your garden be filled with beautiful blooms!
Resource: