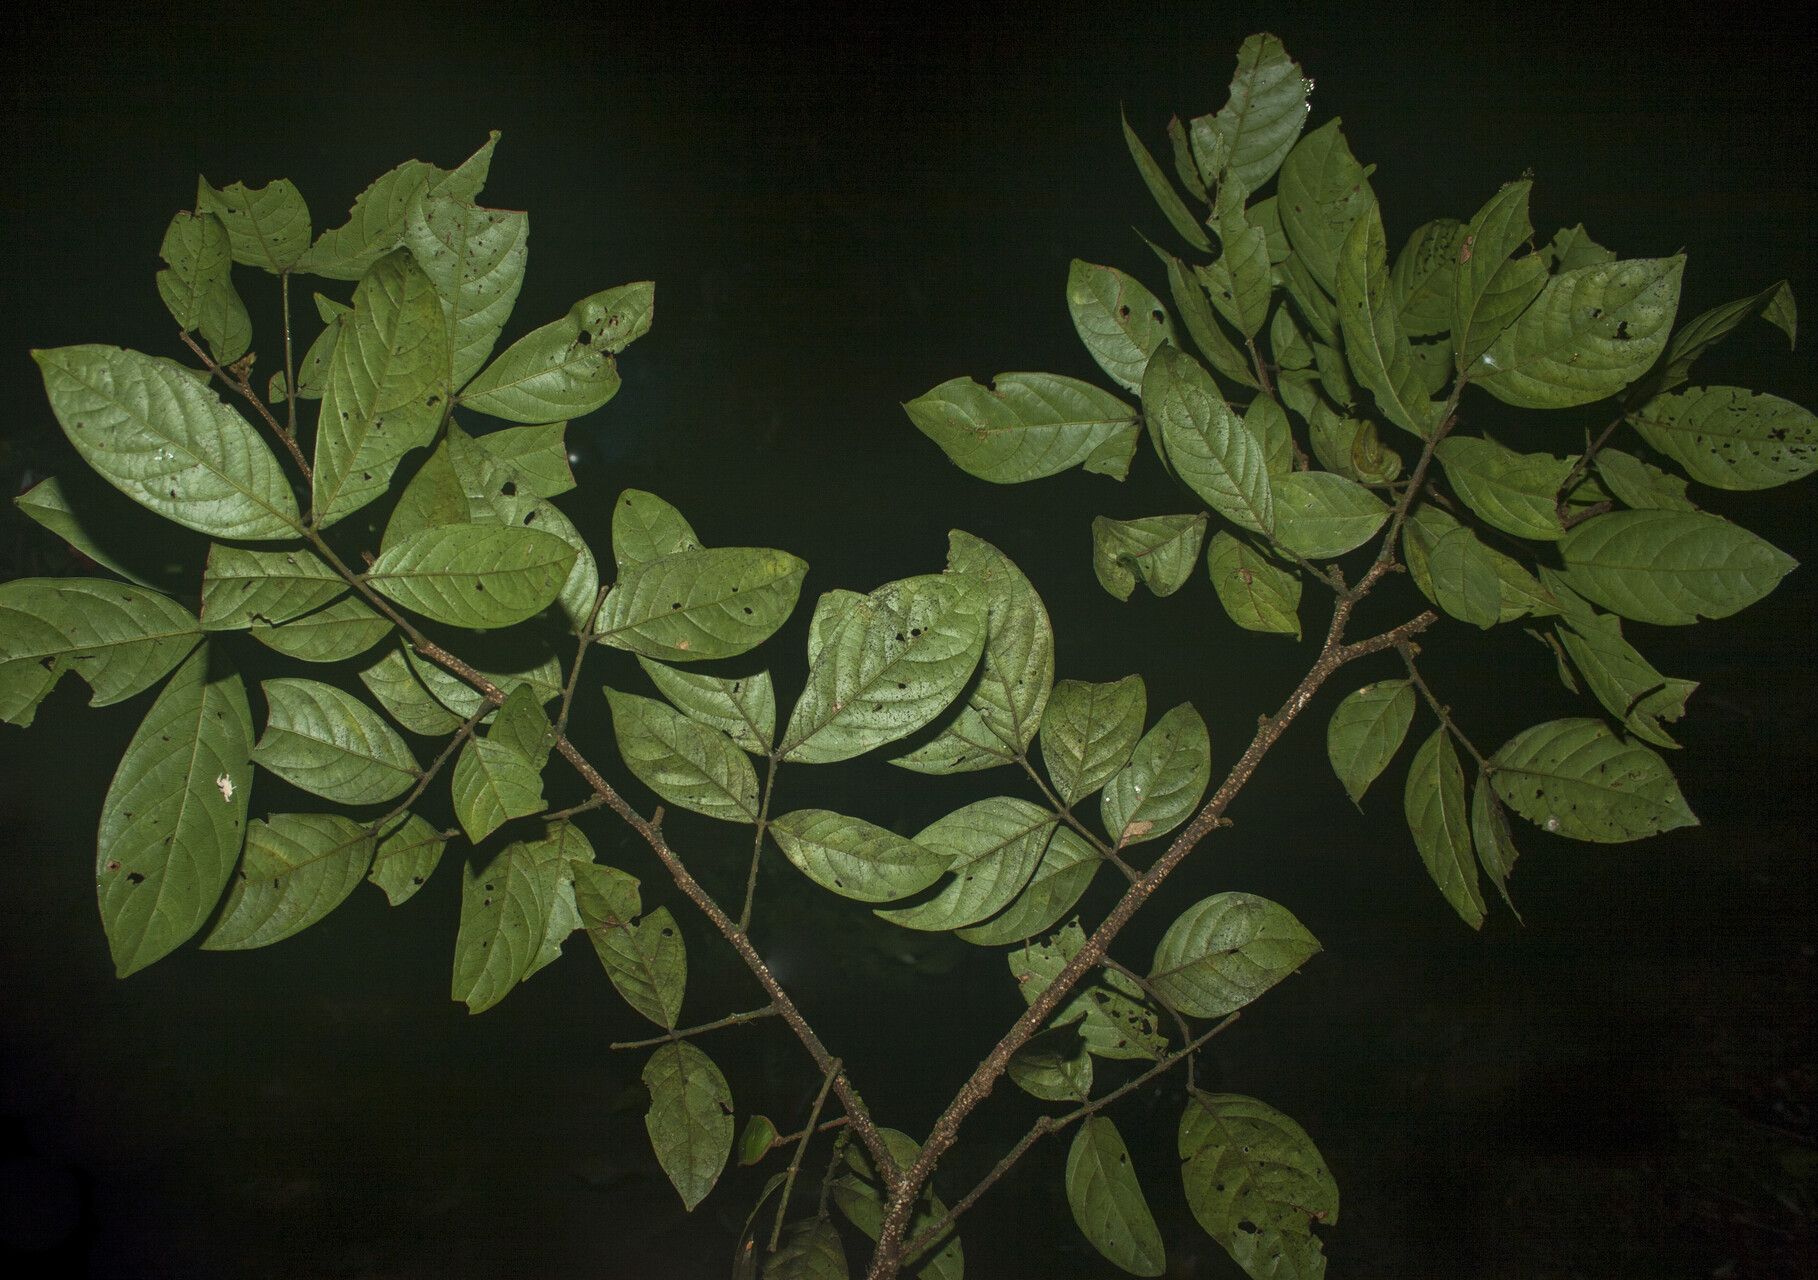
Oh, hello there! Come on in, grab a cup of coffee. Today, we’re diving into the wonderful world of propagating Inga cylindrica. If you have this beautiful plant, you know its graceful, arching stems and lovely foliage are such a joy to have around. And the best part? You can easily make more of these beauties! It’s incredibly rewarding to watch a tiny slip of a plant transform into a new, thriving specimen. For beginners, I’d say Inga cylindrica is a pretty forgiving plant to propagate, which is always a welcome treat, isn’t it?
The Best Time to Start
Honestly, the absolute best time to get your cuttings is during the plant’s active growing season. Think late spring through summer. The plant is full of vigor then, and your cuttings will have the best chance of rooting happily. You can try in early autumn, but you might find things take a bit longer.
Supplies You’ll Need
Before we get our hands dirty, let’s gather our tools. Here’s what I always have on hand:
- Sharp Pruning Shears or a Clean Knife: Essential for making clean cuts.
- Rooting Hormone (Optional but Recommended): This gives your cuttings a little boost.
- Well-Draining Potting Mix: I like a blend of peat moss, perlite, and a bit of compost.
- Small Pots or Propagation Trays: Clean, with drainage holes!
- Clear Plastic Bag or Dome: To create a humid environment.
- Watering Can or Spray Bottle: Gentle watering is key.
Propagation Methods
Inga cylindrica is a star when it comes to stem cuttings. It’s straightforward and usually gives great results.
Step 1: Take Your Cuttings
Look for a healthy, non-flowering stem on your mature plant. Using your clean shears, make a cut just below a leaf node (where the leaf attaches to the stem). You want cuttings that are about 4-6 inches long. Remove the lower leaves, leaving just a few at the top to help the plant with photosynthesis.
Step 2: Prepare for Rooting
You can dip the cut end into rooting hormone, tapping off any excess. This isn’t strictly necessary, but it really can speed things up and increase your success rate.
Step 3: Plant Your Cuttings
Fill your small pots with your prepared potting mix. Make a hole in the center of the soil using a pencil or your finger. Gently insert the cut end of your Inga cylindrica cutting into the hole. Firm the soil gently around the stem to ensure good contact. Water the soil lightly.
Step 4: Create a Humid Environment
This is where the plastic bag or dome comes in. Place either over the pot to create a mini-greenhouse effect. This will keep the humidity high, which is crucial for cuttings that can’t yet absorb water through roots. Make sure the plastic doesn’t touch the leaves too much if possible.
Step 5: Find the Right Spot
Place your potted cuttings in a bright, indirect light location. Avoid direct sunlight, as it can scorch the delicate cuttings. The aim is warmth and gentle light.
The “Secret Sauce” (Pro Tips)
Here are a couple of things I’ve learned over the years that can really make a difference:
- Bottom Heat is Your Friend: If you can, pop your pots on a heat mat designed for seedlings. This gentle warmth from below encourages root development much faster than ambient room temperature alone. It’s a game-changer, especially for less vigorous cuttings.
- Mist, Don’t Drown: While humidity is vital, you don’t want the soil to be waterlogged. Lightly mist the leaves and the inside of your plastic dome every few days if needed. Check the soil moisture – it should be consistently moist but not soggy.
Aftercare & Troubleshooting
Once your cuttings have been in their little humid homes for a few weeks, it’s time to check for roots. Gently tug on a stem. If you feel resistance, congratulations! You’ve got roots.
Once roots are established (you might even see them peeking out the drainage holes), you can start gradually acclimatizing your new plant to normal room humidity. Remove the plastic dome for longer periods each day. Continue to water when the top inch of soil feels dry.
What if things go wrong? The most common issue is rot. This usually happens from too much moisture and not enough air circulation. If a cutting turns black and mushy, sadly, it’s likely a goner. Discard it and start fresh with a clean pot and soil, and be mindful of your watering.
A Little Encouragement
Propagating plants is a journey, and like any good journey, it’s not always perfectly smooth. But with Inga cylindrica, you have a wonderful start. Be patient, keep an eye on your cuttings, and enjoy the magic of new life emerging. Happy propagating!
Resource:
https://identify.plantnet.org/k-world-flora/species/Inga%20cylindrica%20(Vell.)%20Mart./data