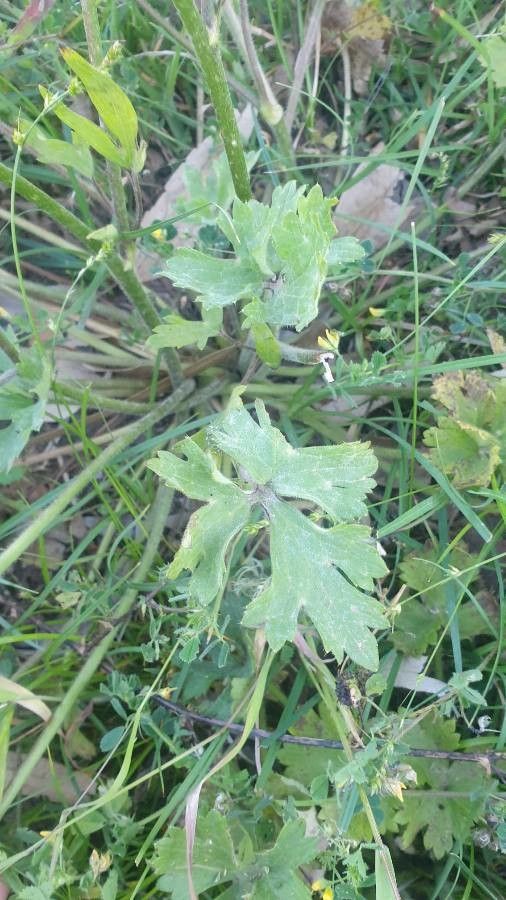
Oh, hello there! Grab a mug, settle in, and let’s talk about a plant that truly makes my heart sing: the Ranunculus constantinopolitanus. You know, the one with those impossibly ruffled, vibrant blooms that look like they came straight out of a fairytale. Growing them from scratch? It’s wonderfully rewarding. Don’t worry, while they can be a tiny bit particular, they’re not out of reach for even the most enthusiastic beginner. I’m excited to share how we can create more of these beauties!
The Best Time to Start
Now, for these particular ranunculus, the magic time to get started is usually late winter or early spring. Think February through April, depending on where you are. This timing aligns perfectly with when they’re gearing up for their big blooming show. Starting them before the real heat of summer hits gives them a good chance to establish themselves.
Supplies You’ll Need
Here’s what you’ll want to have on hand for our propagation adventure:
- Sharp, clean pruning shears or a sharp knife: For making clean cuts.
- A good quality seed-starting mix or a sterile potting mix: We want something that drains well.
- Small pots or trays: With drainage holes, of course!
- Rooting hormone (optional but helpful): A powder or gel can give cuttings a nice boost.
- Perlite or vermiculite: To improve drainage and aeration of your soil mix.
- A spray bottle: For misting.
- Labels and a pen: To keep track of what you’ve planted where.
- A warm spot or heat mat (highly recommended): They love a bit of warmth from below.
Propagation Methods
For our dear Ranunculus constantinopolitanus, the most successful methods often involve their tubers. While you can try from seed, it’s a much longer game and can be a bit unpredictable. Let’s focus on the tubers, which is where I find the most joy and consistent results.
1. Dividing the Tubers
This is my go-to method, and it’s quite straightforward.
- Gently unearth your mature ranunculus plant. Do this during its dormant period, which is typically after flowering and when the foliage starts to die back. You’ll see these little, claw-like tubers at the base.
- Clean off any excess soil. Be careful not to damage them.
- Inspect the tubers. You’re looking for tubers that are firm and have at least one ‘eye’ or bud. If a tuber looks soft, mushy, or has any signs of rot, it’s best to discard it.
- Use your clean knife to carefully divide larger tubers. Make sure each piece has at least one eye. It’s better to have multiple smaller divisions than one large, undivided chunk if possible, as long as each has that precious eye to sprout from.
- Let the divisions air dry for a day or two. This helps any cuts to callus over, reducing the risk of rot when you plant them.
- Plant each division about 2-3 inches deep in your prepared pots filled with your well-draining soil mix. The eye should be pointing upwards.
- Water lightly. Keep the soil consistently moist but not soggy.
2. Taking Root Cuttings (More Advanced)
This is a bit of a trickier technique, but it can work if you have a healthy, established plant.
- During the active growing season, look for healthy, new shoots emerging from the base of the plant. These should be strong and about 3-4 inches long.
- Using your clean shears, take cuttings just below a leaf node. Try to get sections that have at least two sets of leaves.
- Carefully remove the lower leaves. If they’re large, you can even cut them in half to reduce moisture loss.
- Dip the cut end of the cutting into rooting hormone. Tap off any excess.
- Insert the cutting into a pot filled with your seed-starting mix. Make sure the leaf nodes are buried, as that’s where roots will form.
- Water gently and cover the pot with a clear plastic bag or dome. This creates a mini-greenhouse effect.
- Place the pot in a warm location. We’ll talk more about that in a moment!
The “Secret Sauce” (Pro Tips)
Here are a couple of little tricks I’ve picked up over the years that make a real difference:
- Don’t let the leaves of your cuttings touch the water/soil surface. This is especially true for water propagation, but even in soil, excess moisture on foliage can lead to fungal issues. Ensure good air circulation.
- Bottom heat is your best friend. For cuttings, placing them on a heat mat set to around 70-75°F (21-24°C) significantly speeds up root development. It mimics the warmth of spring soil and gives those little roots a real kickstart.
- Patience with tuber divisions is key. Even if you don’t see immediate growth after planting, give them time. The tuber is storing energy, and sometimes it takes a few weeks for that eye to decide it’s ready to wake up.
Aftercare & Troubleshooting
Once your ranunculus divisions have started to show new growth, or your cuttings have developed a decent root system (you can gently tug on a cutting; if there’s resistance, it’s likely rooted), it’s time for a little more attention.
- Gradually acclimate them to less humid conditions. If you used a plastic bag, start by opening it for a few hours a day.
- Continue to keep the soil consistently moist but not wet. Overwatering is the quickest way to invite disaster. Signs of rot include soft, discolored bases, wilting that doesn’t perk up with watering, or a generally unhealthy appearance. If you see rot, remove the affected plant immediately and try to salvage any healthy parts.
- Once they have a few true leaves, you can begin a very diluted feeding. A balanced liquid fertilizer, half-strength, every few weeks, is usually more than enough.
A Encouraging Closing
Growing ranunculus from tubers is such a satisfying journey. Sometimes things don’t go as planned, and that’s perfectly okay! Every gardener, myself included, has faced disappointments. The most important thing is to enjoy the process, learn as you go, and celebrate those little green shoots when they appear. Be patient, give them a little love, and soon you’ll be rewarded with those breathtaking blooms. Happy propagating!
Resource: