Ah, Odontites viscosus! If you’re looking for a pop of charm in your garden, this little gem is simply delightful. Often called Red Bartsia, it brings a lovely splash of color and a touch of wild, meadow-like beauty. Growing it from scratch feels like a little miracle, a way to multiply that magic without spending a fortune. Now, I’ll be honest, it’s not always the easiest plant for absolute beginners, but with a little patience and the right approach, you’ll be well on your way to success. Let’s get those hands dirty!
The Best Time to Start
Timing is everything, especially with plants! For Odontites viscosus, I find late spring to early summer is your sweet spot. This is when the plant is actively growing and has plenty of energy. You’re looking for young, non-flowering shoots. If you wait until the plant has already set seed, it’s put all its effort elsewhere, and propagation can be a bit more of a struggle.
Supplies You’ll Need
Gathering your tools beforehand makes the whole process smoother. Here’s what I like to have on hand:
- Sharp, clean pruning shears or a craft knife: For clean cuts.
- Small pots or trays: About 3-4 inches deep are good.
- Well-draining potting mix: A blend of peat moss or coco coir, perlite, and a bit of compost works beautifully. Seed starting mix is also a great option.
- Perlite or coarse sand: To improve drainage within your mix.
- Clear plastic bags or domes: To create a humid environment.
- Watering can or spray bottle: For gentle watering.
- Optional: Rooting hormone powder: While not always essential for Odontites, it can give an extra boost.
Propagation Methods
Odontites viscosus can be a bit fickle, but I’ve had the most luck with these methods.
Stem Cuttings: My Go-To
This is my preferred method for Odontites as it’s generally quite effective.
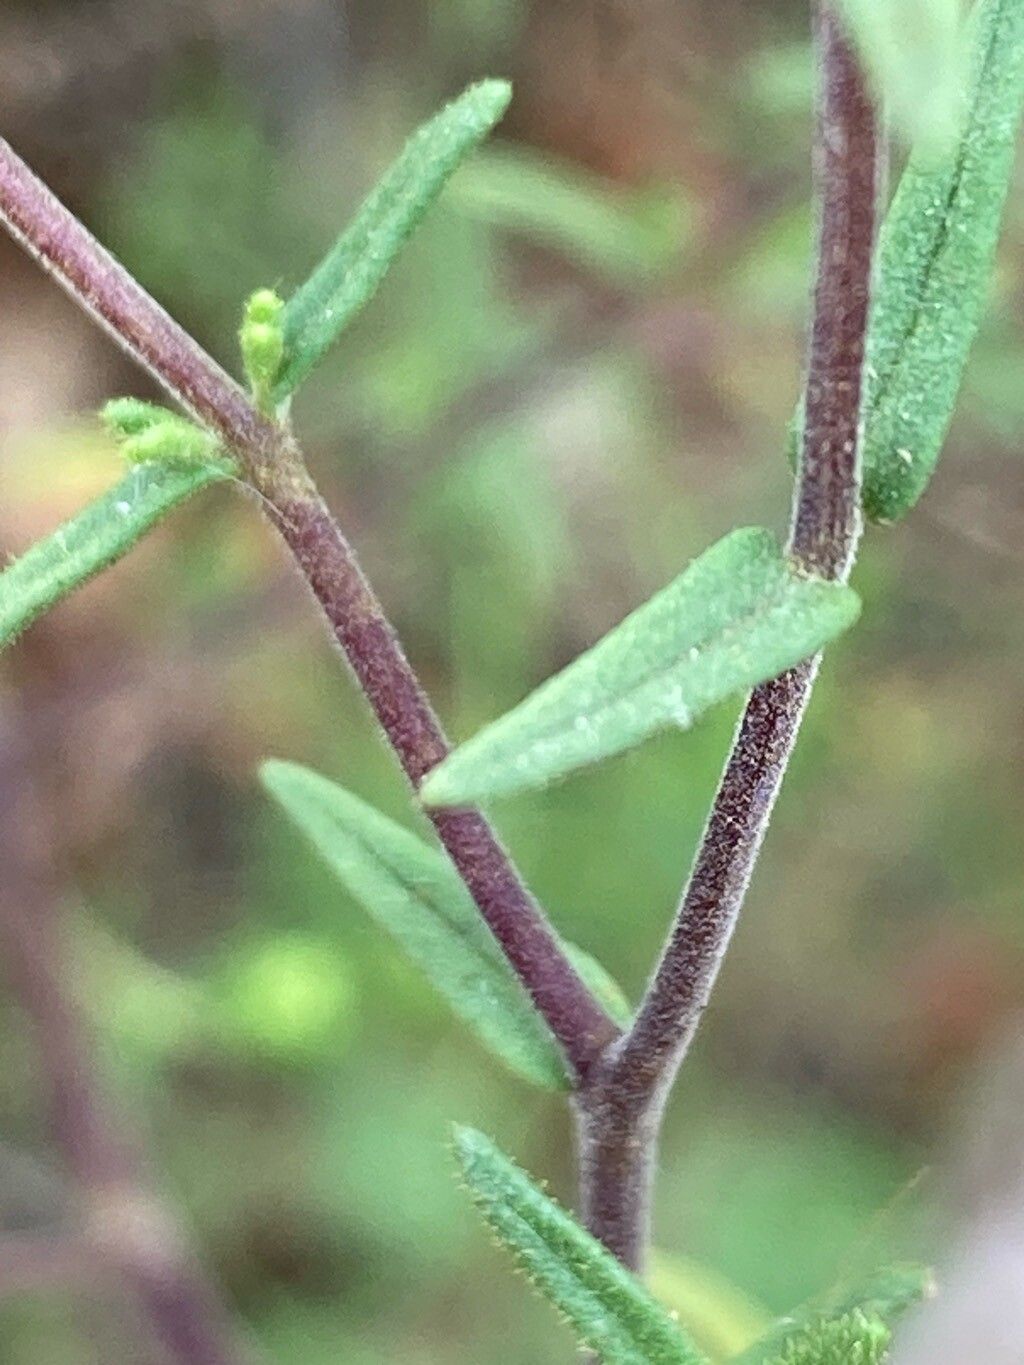
- Take your cuttings: In late spring or early summer, select healthy, non-flowering stems. Look for shoots that are about 3-4 inches long. Using your clean shears, make a clean cut just below a leaf node. A leaf node is where a leaf attaches to the stem – that’s where the magic of root formation happens!
- Prepare the cuttings: Gently remove the lower leaves from the cutting, leaving just a few leaves at the top. This prevents them from rotting in the soil. If your cuttings are quite long, you can even reduce the size of the remaining leaves by cutting them in half.
- Dip in rooting hormone (optional): If you’re using rooting hormone, dip the cut end of the stem into the powder. Tap off any excess.
- Plant the cuttings: Fill your small pots with your prepared potting mix and gently moisten it. Make a small pilot hole in the soil with a pencil or your finger. Insert the cutting into the hole, ensuring the leaf nodes you stripped are below the soil surface. Firm the soil gently around the base of the cutting.
- Create humidity: Mist the cuttings lightly with water. Then, cover the pot with a clear plastic bag or a plastic dome to create a mini-greenhouse. This is crucial!
Water Propagation (Use with Caution)
While I lean towards soil, some folks have success with water.
- Prepare the cuttings: Follow steps 1 and 2 above for preparing your cuttings.
- Place in water: Fill a small jar or glass with clean water. Place the cuttings in the water, making sure no leaves are submerged below the water line. You can secure them with a band if needed.
- Change water regularly: This is key! Change the water every couple of days to keep it fresh and prevent bacteria buildup.
- Monitor for roots: Patience is a virtue here. You should start to see tiny roots emerging from the nodes in a few weeks. Once the roots are about an inch long, you can carefully transplant them into your well-draining potting mix.
The “Secret Sauce” (Pro Tips)
Here’s a little something extra from my garden journal:
- Don’t let those leaves touch the water in stem cuttings! Seriously, this is a recipe for rot. If you’re using a humidity dome and the leaves are brushing against condensation, you might need to prop it up a bit.
- Bottom heat can be a game-changer. If you have a spare seedling heat mat, placing your pots on it can significantly speed up root development for stem cuttings. It mimics that lovely warmth of spring soil.
- Don’t overwater! This is a big one for young cuttings. They are susceptible to damping off (a fungal disease that makes the stem rot at the soil line). Water thoroughly when the top inch of soil feels dry, but avoid waterlogged conditions.
Aftercare & Troubleshooting
Once your cuttings have started to show signs of life – new leaf growth is a great indicator – it’s time for gentle care.
Ventilate your humidity domes gradually over a few days, letting your new plants get used to the drier air. Water them as needed, always letting the topsoil dry out slightly. When they have a decent root system and look sturdy, you can transplant them into slightly larger pots.
The most common problem you’ll face is rot. If a cutting turns black and mushy at the base, it’s usually a sign of too much moisture and poor air circulation. Don’t despair! Remove the affected cutting immediately to prevent it from spreading. Sometimes, a cutting might just fail to root. That’s okay! It happens even to the best of us. Just try again with a fresh batch.
A Encouraging Closing
Propagating Odontites viscosus is a journey, not a race. There will be moments of triumph and perhaps a few ‘oops’ along the way. Be patient with yourself and your little plant babies. Watching a tiny cutting grow into a healthy, vibrant plant is one of the most rewarding joys of gardening. So, go ahead, give it a try. Nature is always ready to surprise you with its resilience and beauty!
Resource:
https://identify.plantnet.org/k-world-flora/species/Odontites%20viscosus%20(L.)%20Clairv./data