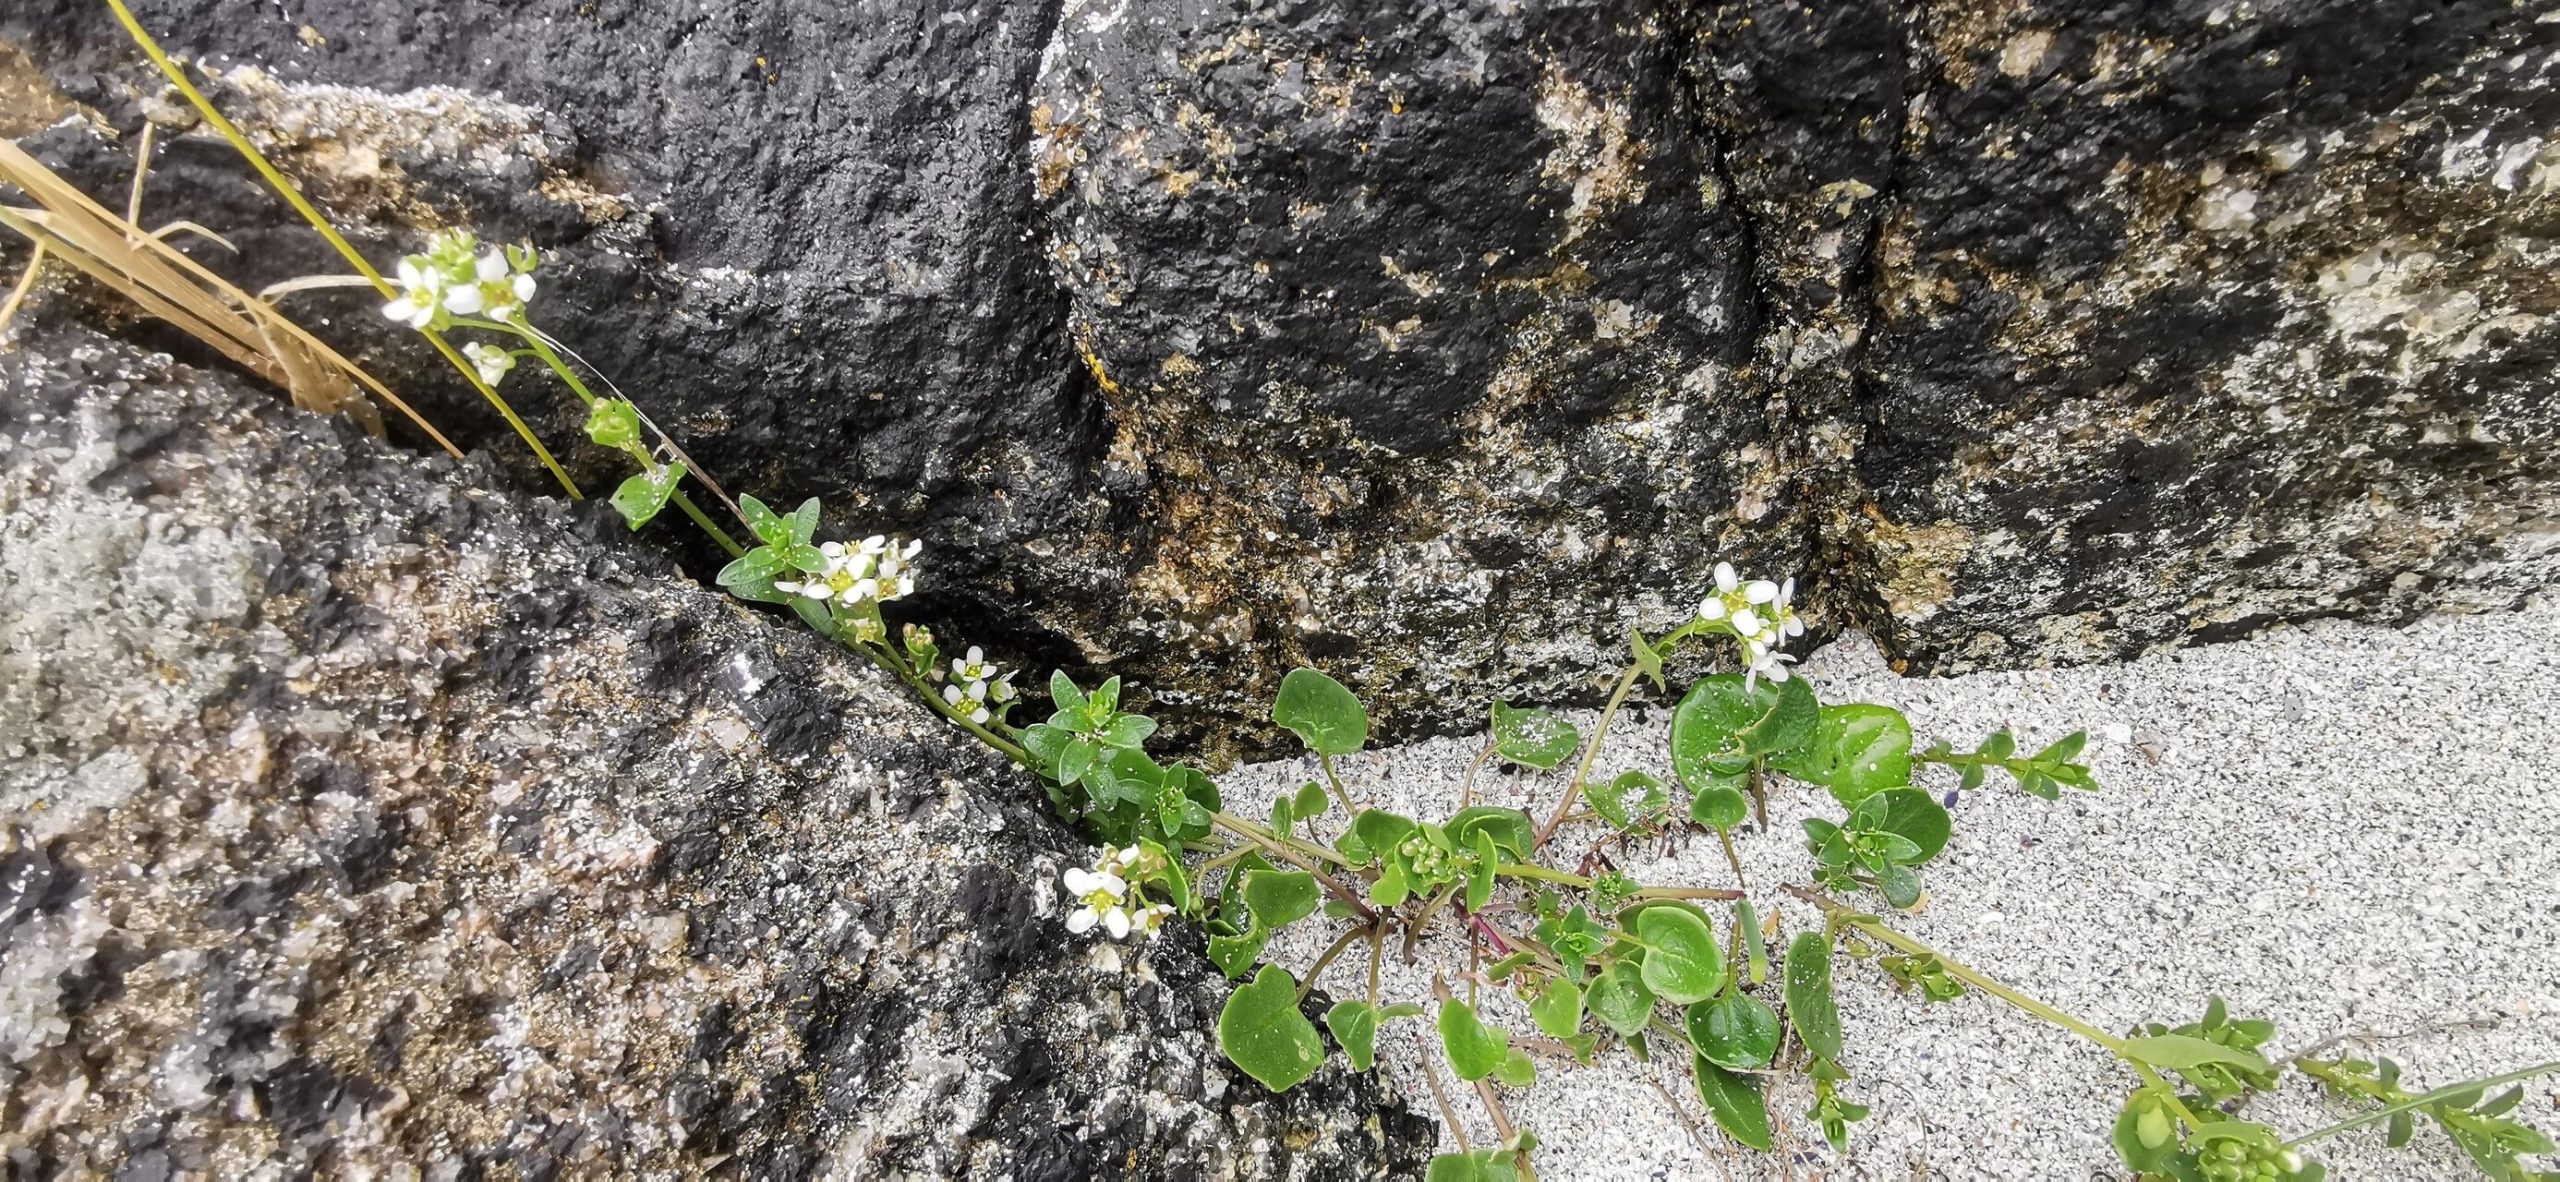
Hello there, fellow plant enthusiasts! Today, we’re diving into the wonderful world of propagating Cochlearia officinalis, also known as Scurvygrass. If you haven’t got your hands on this fascinating little plant yet, you’re in for a treat. It’s a hardy, low-growing perennial with a unique peppery taste that has historically been used to fend off scurvy. Growing it yourself, and even better, propagating it to share or expand your patch, is incredibly rewarding. And the good news? For those of you just starting out with propagation, Cochlearia officinalis is quite forgiving, making it a great beginner-friendly choice.
The Best Time to Start
The absolute sweet spot for propagating Scurvygrass is in late spring or early summer. This is when the plant is actively growing and has plenty of vibrant, healthy stems to work with. You want to aim for cuttings taken from softwood or semi-hardwood growth – think of stems that are flexible but not so tender that they’re floppy. Waiting until after the plant has flowered can also yield good results, as it encourages new vegetative growth.
Supplies You’ll Need
Here’s what you’ll want to have on hand before you get started:
- Sharp pruning shears or a clean hobby knife: For making clean cuts.
- Small pots or seed trays: With good drainage holes, of course!
- Well-draining potting mix: A 50/50 blend of perlite and peat moss or a seed-starting mix works beautifully. You can also mix in a bit of coarse sand for extra aeration.
- Rooting hormone (optional but helpful): A powdered or liquid rooting hormone can give your cuttings a little boost.
- Watering can or spray bottle: For gentle watering.
- Clear plastic bags or domes: To create a humid environment for your cuttings.
- Labels: To keep track of what you’ve planted!
Propagation Methods
Cochlearia officinalis is wonderfully amenable to a couple of straightforward propagation methods.
Stem Cuttings: The Most Reliable Bet
This is my go-to for Scurvygrass. It’s efficient and generally has a high success rate.
- Take your cuttings: Select healthy stems that are about 3-4 inches long. Using your clean shears, make a cut just below a leaf node (the point where a leaf attaches to the stem). Try to get at least two or three nodes on each cutting.
- Prepare the cuttings: Gently remove the lower leaves from the bottom half of the stem. This prevents them from rotting in the soil. If the remaining leaves are very large, you can snip them in half to reduce moisture loss.
- Apply rooting hormone (optional): Dip the cut end of each stem into your rooting hormone, tapping off any excess.
- Plant the cuttings: Fill your pots or trays with your prepared potting mix. Make small holes with your finger or a pencil and insert the cuttings, ensuring at least one leaf node is buried below the surface. Firm the soil gently around the base of each cutting.
- Water gently: Water thoroughly but gently, allowing excess water to drain away.
Division: For Established Plants
If you already have a mature clump of Cochlearia officinalis, dividing it is a simple way to get more plants.
- Dig up the plant: In spring or fall, carefully dig up the entire plant, trying to disturb the roots as little as possible.
- Separate the clumps: Gently pull or use a clean trowel to separate the root ball into smaller sections. Each section should have at least a few healthy shoots and some roots.
- Replant immediately: Replant the divisions in their new locations or in pots with fresh, well-draining soil. Water well.
The “Secret Sauce” (Pro Tips)
After years of tinkering, I’ve picked up a few tricks that really seem to make a difference:
- Don’t let the leaves touch the water (if water propagating): While I’ve focused on soil cuttings, if you do opt for water propagation (which is less common but possible), make absolutely sure that the leaves are above the water level. Only the stem should be submerged. Leaves sitting in water are a fast track to rot.
- Bottom heat is your friend: For stem cuttings, placing your pots on a gentle heat mat can significantly speed up root development. It mimics the warmth that encourages growth in spring. Keep the soil temperature around 70-75°F (21-24°C).
- The humidity tent is crucial: After planting your stem cuttings, cover them with a clear plastic bag or dome. This creates a mini-greenhouse effect, keeping the humidity high, which helps the cuttings stay hydrated until they can establish roots. Peek under regularly to ensure there’s no excessive condensation buildup.
Aftercare & Troubleshooting
Once your cuttings have started to root – you’ll see new leaf growth and feel gentle resistance when you tug slightly – it’s time to start treating them as small plants.
- Gradually acclimate them: If you’ve used a humidity tent, slowly remove it over a few days to help your new plants adjust to normal humidity levels.
- Watering: Water them when the top inch of soil feels dry. Avoid overwatering, as this is a common culprit for root rot.
- Light: Place them in a bright, but indirect light location. Direct sun can scorch delicate new growth.
Signs of trouble usually manifest as wilting or mushy stems, often followed by rot. This is almost always due to overwatering or poor drainage. If you notice a cutting looking sad, check the soil moisture and ensure it’s draining well. Sometimes, a cutting will simply fail to root – don’t be discouraged! It happens to everyone, and you can always try again.
A Little Encouragement
Propagating plants is a journey of patience and observation. It’s about connecting with nature and multiplying the beauty (and deliciousness!) in your garden. Don’t worry if every single cutting doesn’t make it – think of them as experiments, and celebrate every success. Enjoy the process, and before you know it, you’ll have a thriving patch of Cochlearia officinalis to call your own! Happy propagating!
Resource:
https://identify.plantnet.org/k-world-flora/species/Cochlearia%20officinalis%20L./data