Hello there, fellow plant lovers! It’s so wonderful to connect with you again. Today, we’re diving into the enchanting world of Stephania pierrei, and more importantly, how to bring more of this beauty into your life through propagation.
Why You’ll Love Propagating Stephania Pierrei
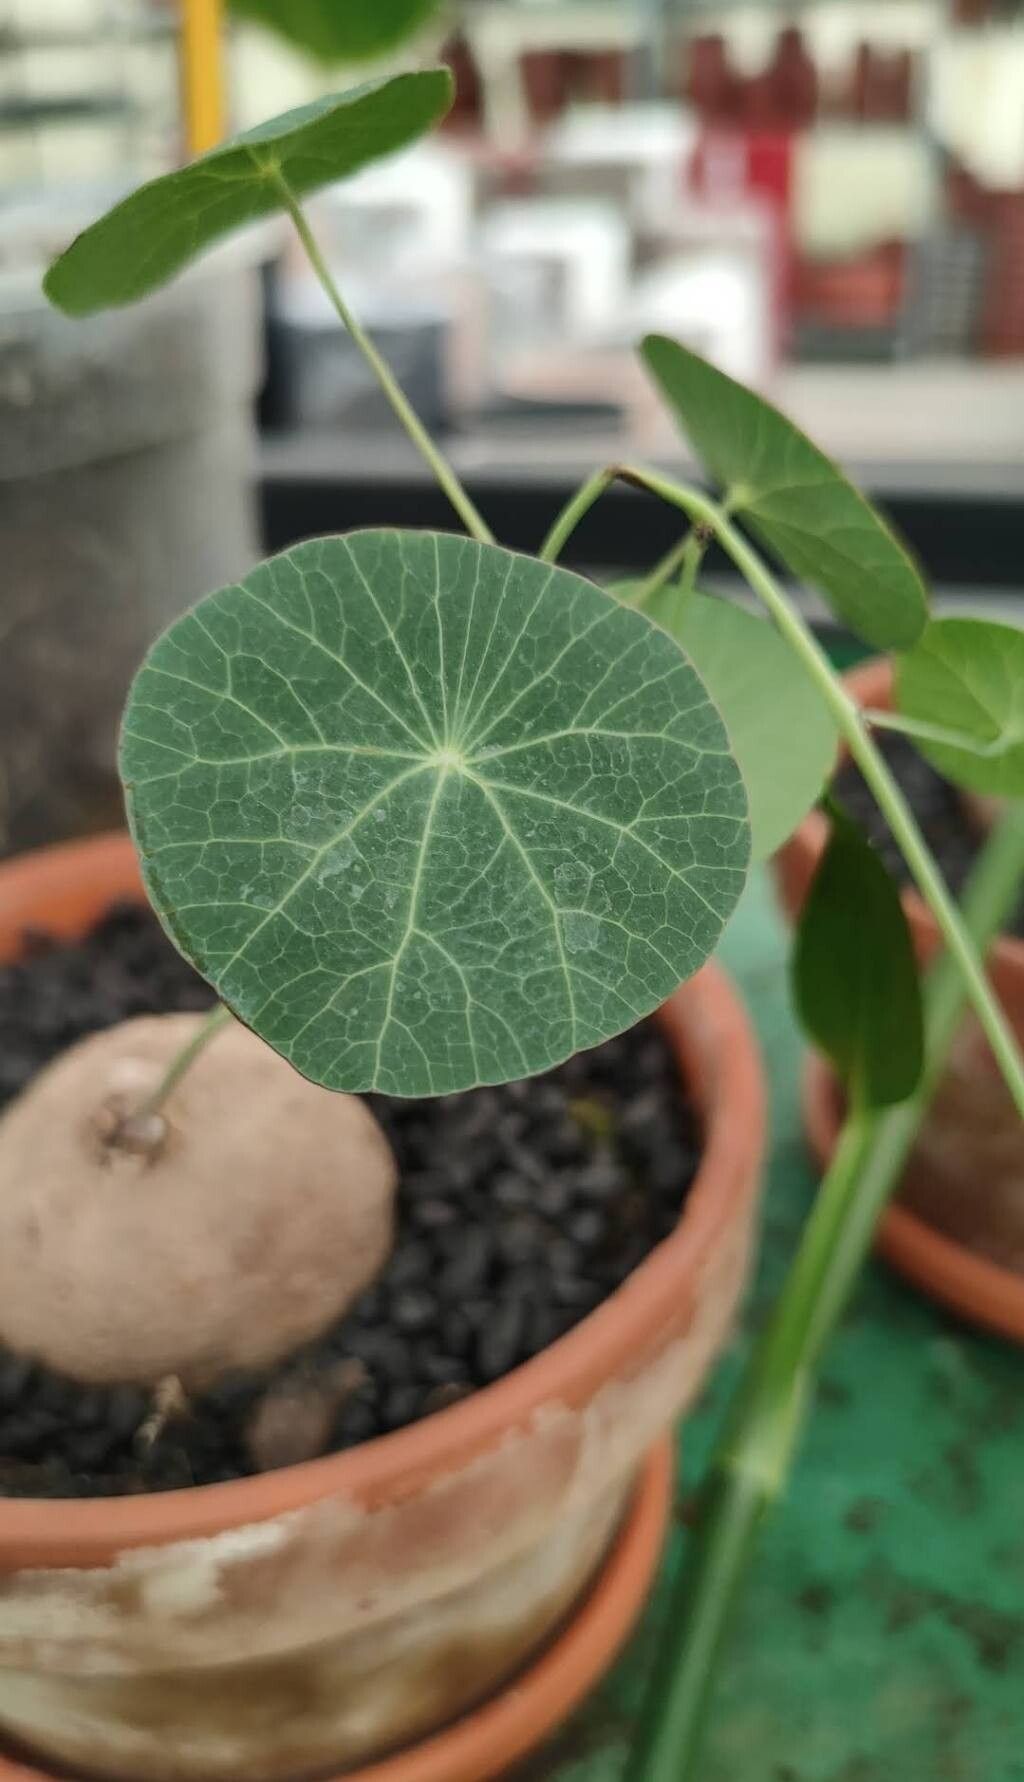
There’s something truly magical about taking a small piece of a plant and watching it develop into a whole new, thriving individual. Stephania pierrei is a stunner with its wonderfully patterned, round leaves that unfurl like delicate green platters. Its caudex, that swollen, often exposed base, adds a sculptural element that’s just captivating. Propagating it yourself is not only rewarding, it’s a fantastic way to expand your collection or share these living artworks with friends. Now, is it a beginner-friendly plant to propagate? I’d say it’s best suited for those who have a little gardening experience under their belt, but don’t let that deter you! With a bit of patience and these tips, you’ll be well on your way.
The Best Time to Start
For the highest success rates, aim to propagate Stephania pierrei during its active growing season. This is typically late spring through summer. You want the plant to be full of energy, ready to put that energy into creating new roots. Trying to propagate when the plant is dormant or just waking up can be a bit trickier.
Supplies You’ll Need
Before we get our hands dirty, let’s gather our tools. Having everything ready makes the whole process much smoother.
- Sharp Pruning Shears or a Knife: Clean cuts are crucial.
- Well-Draining Potting Mix: A mix of perlite, orchid bark, and coco coir works wonderfully. You can also use a cactus/succulent mix and add extra perlite.
- Small Pots or Seed Starting Trays: Something to house your cuttings.
- Rooting Hormone (Optional but Recommended): A powder or gel can give your cuttings a helpful boost.
- Clear Plastic Bag or Dome: To create a humid environment.
- Watering Can with a Fine Rose or Spray Bottle: Gentle watering is key.
- Optional: A heat mat for bottom warmth.
Propagation Methods
Stephania pierrei can be propagated through stem cuttings and, with a careful hand, from division of the caudex. Let’s tackle stem cuttings first, as it’s the most common and generally easiest method.
Stem Cuttings:
This is where we’ll focus most of our energy. You’re essentially taking a healthy piece of stem and encouraging it to grow roots.
- Select Your Cutting: Find a healthy, semi-woody stem. Look for a section that has at least two to three leaf nodes – these are the small bumps on the stem where leaves emerge.
- Make the Cut: Using your clean pruning shears or knife, make a clean cut just below a leaf node.
- Prepare the Cutting: Gently remove the lower leaves from the cutting, leaving one or two at the top. This prevents them from rotting in the soil.
- Apply Rooting Hormone (If Using): Dip the cut end of the stem into your rooting hormone, tapping off any excess.
- Plant Your Cutting: Moisten your potting mix, then insert the cut end of the stem into the mix, ensuring the leaf nodes are buried. Gently firm the soil around the stem.
- Create Humidity: Lightly water the soil. Then, cover the pot with a clear plastic bag or a propagation dome. Make sure the leaves don’t touch the plastic. You might want to prop it up with a few stakes.
- Find the Right Spot: Place the pot in a bright location with indirect light. Avoid direct sun, which can scorch the cutting.
Division of the Caudex:
This method is best performed when you have a mature plant with a well-developed caudex and are repotting. It’s a bit more involved and carries a slightly higher risk, so proceed with care.
- Gently Remove from Pot: Carefully take your Stephania pierrei out of its pot.
- Inspect the Caudex: Gently brush away excess soil to examine the caudex. Look for natural divisions or offsets that have their own roots.
- Make the Split: Using a very clean, sharp knife or trowel, carefully cut through the caudex to separate a portion, ensuring the piece you divide has at least one growing point and some roots attached.
- Allow to Callous: This is critical! Let the cut surface of both the parent plant and the new division air dry and callous over for a few days in a dry, well-ventilated spot. This prevents rot.
- Pot Up: Pot the divided sections into their own well-draining soil, as described above. Water very sparingly initially.
The “Secret Sauce” (Pro Tips)
Here are a few little tricks I’ve learned over the years that can make a big difference:
- Don’t Let Leaves Touch the Water/Soil: Especially in stem cuttings, any leaves submerged in water or constantly touching damp soil are an invitation for rot. Keep them high and dry.
- Bottom Heat is Your Friend: For stem cuttings, placing them on a seedling heat mat can significantly speed up root development. The warmth encourages root growth from below.
- Airing Out is Key: Even with a humidity dome, it’s a good idea to remove the cover for an hour or so each day to allow for air circulation and prevent fungal issues.
Aftercare & Troubleshooting
Once you start seeing signs of new growth, it’s time to transition to a slightly different care routine.
- When Roots Appear: You’ll know your stem cutting has rooted when you see new leaf growth. You can also gently tug on the cutting; if there’s resistance, roots have formed. Gradually acclimatize the new plant to normal room humidity by slowly increasing the time the cover is off.
- Watering: Once rooted and settled, water your new Stephania pierrei thoroughly when the soil is completely dry. They don’t like to sit in soggy conditions.
- Signs of Failure: The most common issue is rot, which usually appears as a black, mushy stem or caudex. This is often due to overwatering or poor drainage. If you suspect rot, carefully remove the affected plant from its pot, trim away any rotted material with a clean knife, and let it callous over before repotting in fresh, dry soil. Another sign of failure is if the cutting simply shrivels up and shows no signs of rooting or growth. This can happen if it’s too dry, not warm enough, or if the cutting wasn’t viable to begin with.
Keep Growing!
Propagating Stephania pierrei is a wonderfully rewarding journey. Be patient with your little cuttings, enjoy the process of watching them develop, and don’t be discouraged if your first attempt isn’t perfect. Every gardener learns through experience, and I’m so excited for you to embark on this green adventure! Happy propagating!
Resource:
https://identify.plantnet.org/k-world-flora/species/Stephania%20pierrei%20Diels/data