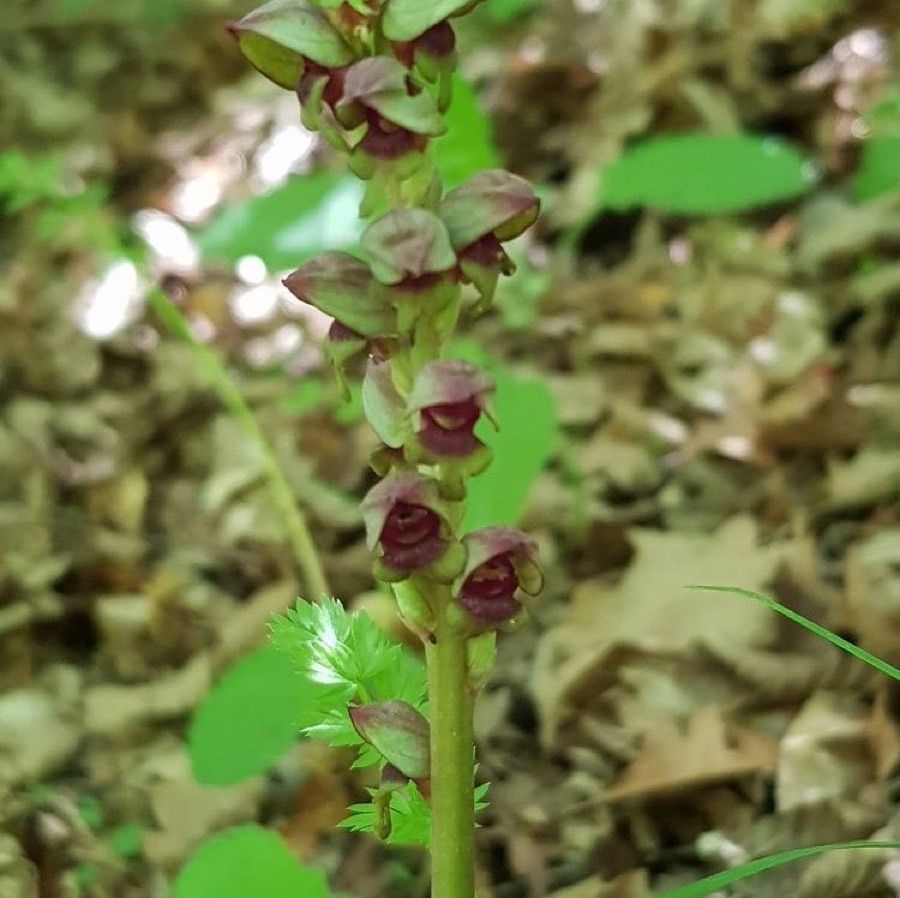
Hello fellow plant enthusiasts! Today, we’re diving into the delightful world of Steveniella satyrioides. You know, those charming little plants with their unique foliage and often surprising blooms? There’s something truly special about creating more of these beauties from a single parent plant. It’s like magic, really, and oh-so-satisfying when you see those first tiny roots emerge. While this particular plant might pose a slight challenge for absolute beginners, with a little patience and the right approach, you’ll be well on your way to success.
The Best Time to Start
For Steveniella satyrioides, the sweetest spot for propagation is usually in the late spring or early summer. This is when the plant is actively growing and has plenty of energy to put into new roots. You’ll want to choose healthy, vigorous stems that haven’t yet flowered, if possible. Think of it as catching your plant at its peak performance!
Supplies You’ll Need
Here’s what I usually have on hand when I’m ready to propagate:
- Sharp, clean pruning shears or a scalpel: Essential for making clean cuts to minimize damage.
- Small pots or seed trays: Whatever suits the size of your cuttings. Ensure they have drainage holes!
- A good propagation mix: I like a blend of perlite and peat moss, or a specialized seed-starting mix. It needs to be airy and well-draining.
- Rooting hormone powder or gel (optional but helpful): This little boost can really speed up the process.
- A clear plastic bag or a propagation dome: To create a humid environment for your cuttings.
- Water: For cleaning your tools and for any water propagation experiments.
Propagation Methods
The most reliable way I’ve found to propagate Steveniella satyrioides is through stem cuttings. It’s straightforward and gives you a great chance of success.
- Select Your Cuttings: Look for healthy, non-flowering stems. Aim for cuttings that are about 4-6 inches long.
- Make the Cut: Using your sharp shears or scalpel, make a clean cut just below a leaf node. A leaf node is that little bump on the stem where leaves grow from. This is where the magic of root formation happens.
- Prepare the Cutting: Gently remove the lower leaves, leaving just a few at the top. This prevents them from rotting in the soil or water and encourages the plant to focus energy on root development.
- Apply Rooting Hormone (Optional): If you’re using rooting hormone, dip the cut end of the stem into the powder or gel. Tap off any excess.
- Plant Your Cuttings: Fill your chosen pots with your propagation mix. Make a small hole in the center with your finger or a pencil, and insert the cut end of the stem. Gently firm the soil around it.
- Water Gently: Water the soil thoroughly but gently so you don’t dislodge the cutting.
- Create a Humid Environment: Cover the pot with a clear plastic bag, sealing it loosely around the rim, or place it under a propagation dome. This traps humidity, which is crucial for cuttings to root. Place the pot in a warm spot with bright, indirect light.
The “Secret Sauce” (Pro Tips)
Here are a few things I’ve learned over the years that make a real difference:
- The Art of the Leaf Node: Remember that leaf node? It’s king! Always make your cut directly beneath it. It’s packed with growth hormones, giving your cutting the best start. Don’t shy away from using a sharp knife for a clean slice – think of it as a clean surgery.
- Bottom Heat is Your Friend: If you have the option, placing your potted cuttings on a seedling heat mat can dramatically speed up root development. It mimics the warmth of spring soil and gives those roots a cozy place to start. Just make sure the mat isn’t too hot – slightly warm to the touch is perfect.
- Patience is a Virtue (and a Must-Have): I know it’s tempting to peek every five minutes, but trust me, leave the cuttings undisturbed as much as possible. Resist the urge to pull them out to check for roots. You’ll know they’re ready when you see new leaf growth or gently tug and feel resistance.
Aftercare & Troubleshooting
Once your cuttings show those first signs of new growth or you feel that gentle resistance when tugging, it’s time for them to transition.
- Acclimatize: Gradually remove the plastic bag or dome over a week or so, allowing the new plant to adjust to normal humidity levels.
- Watering: Water when the top inch of soil feels dry. Overwatering is the most common pitfall here; you want the soil to be moist, not soggy.
- Light: Keep them in bright, indirect light. Direct sun can scorch delicate new growth.
Now, what if things don’t go as planned? The most common issue is rot. If your cutting goes mushy, turns black, or smells off, it’s likely succumbed to rot. This usually happens due to too much moisture and poor air circulation. If you spot it early, you might be able to salvage a healthy section, but often, it’s best to discard it to prevent spreading to other cuttings. Don’t get discouraged! Every gardener has had their share of failed attempts. It’s part of the learning process.
A Encouraging Closing
And there you have it! Propagating Steveniella satyrioides is a rewarding journey. It takes a little practice, a touch of patience, and a whole lot of love for these wonderful plants. So grab your shears, get your hands dirty, and enjoy the process of creating new life. Happy propagating!
Resource: