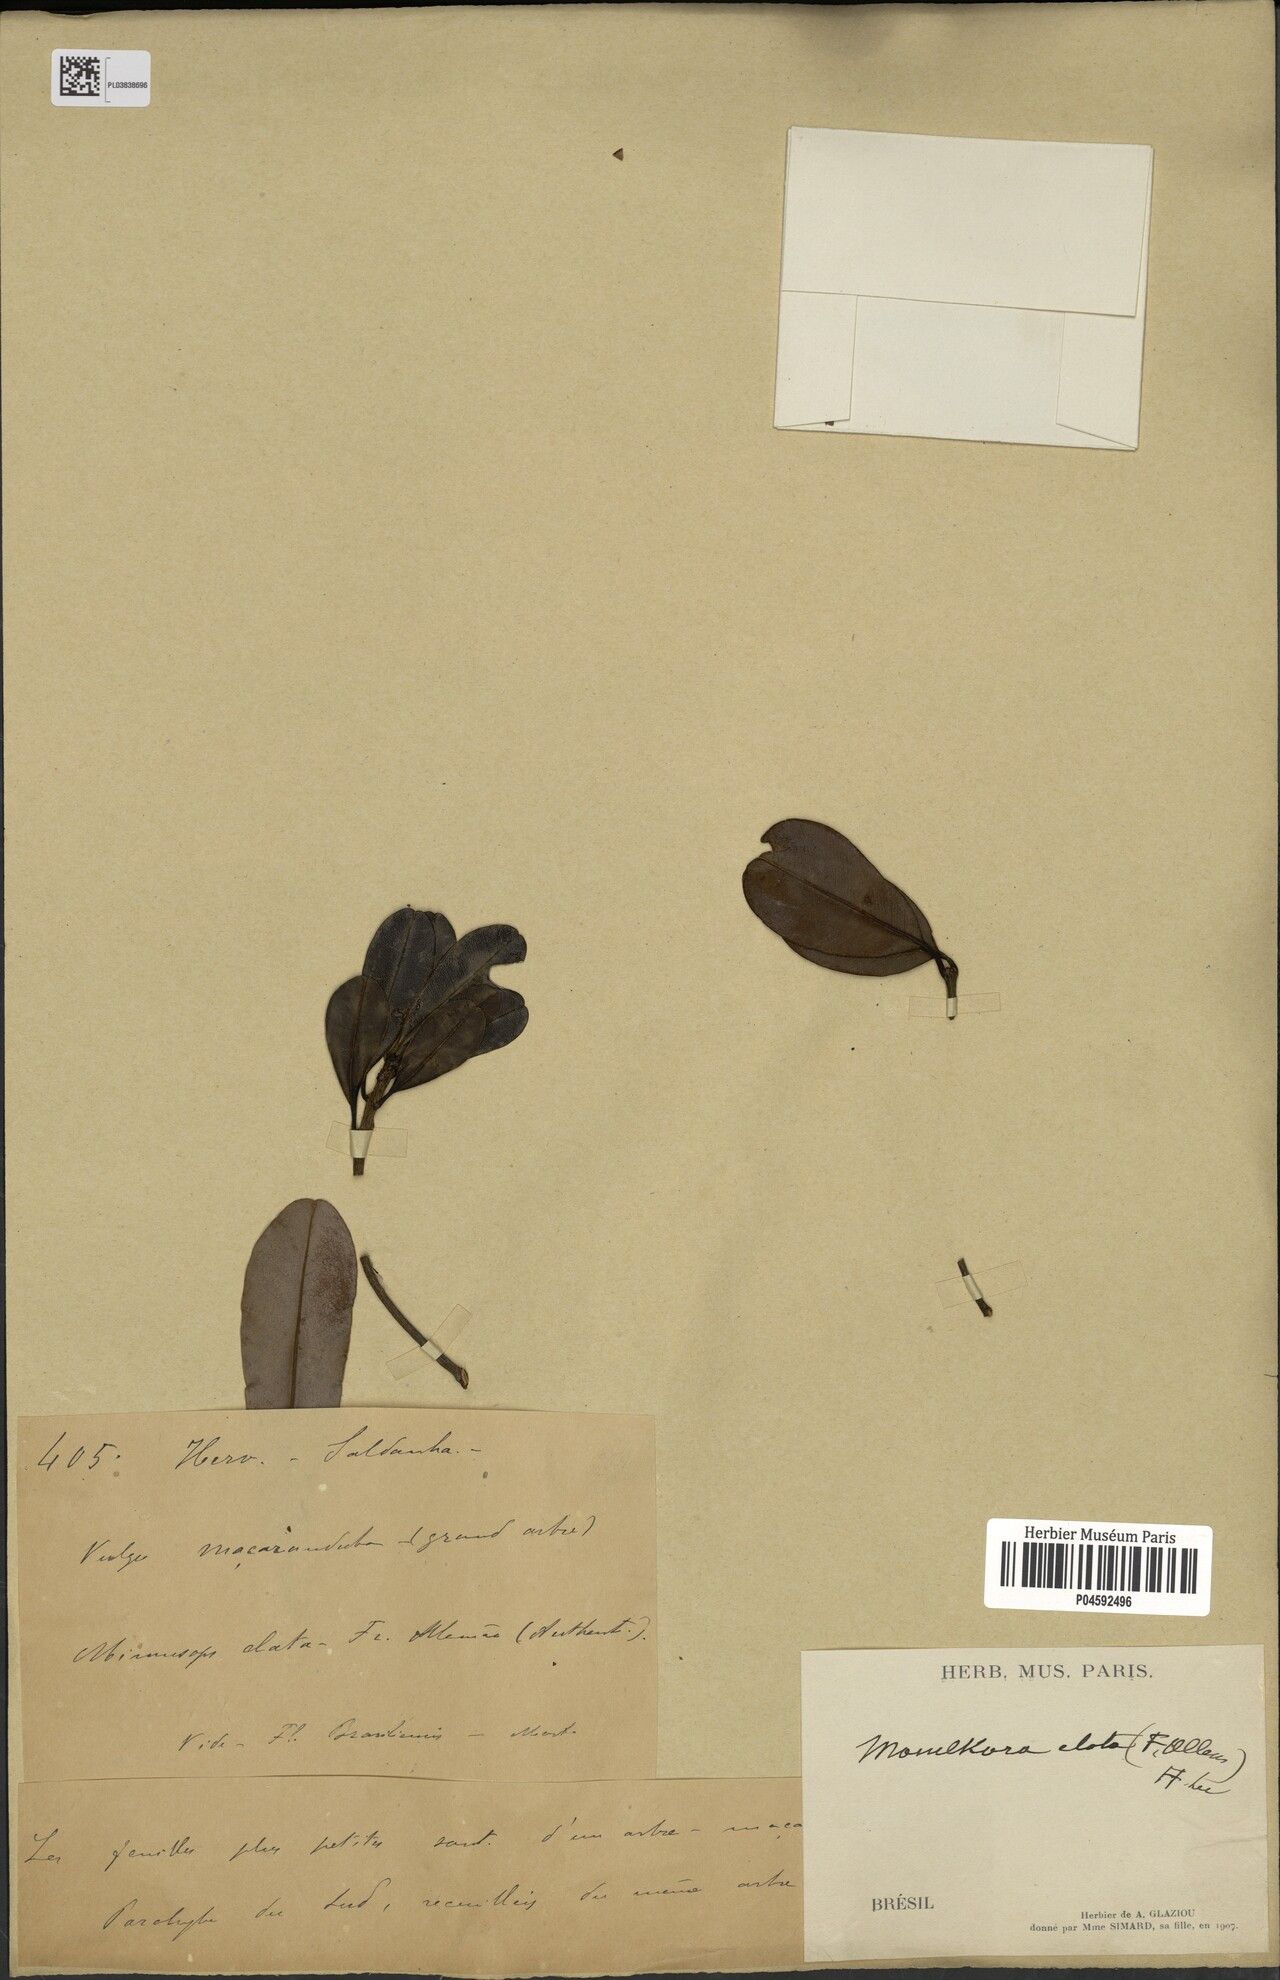
Hello there, fellow plant enthusiasts! Grab your favorite mug, let’s chat about a truly special tree: Manilkara elata. You might know it as the Bullet Wood, or perhaps its common name, Mast Tree. This beauty is known for its incredibly dense, durable wood, but it’s also a lovely ornamental with glossy, leathery leaves and, in some regions, fragrant white flowers. For me, propagating Manilkara elata is a bit like coaxing a shy friend into showing their true colors. It’s not the absolute easiest plant for a complete beginner to start from scratch, but with a little patience and the right approach, the reward of growing your own from a simple cutting is immense.
The Best Time to Start
My favorite time to dive into propagating Manilkara elata is during its active growing season, which typically falls in the late spring or early summer. Look for new, but not overly soft, growth. This is when the plant has the most energy to put into forming roots. Avoid trying this during extreme heat or when the plant is stressed.
Supplies You’ll Need
Here’s what I keep on hand when I’m ready to get propagating:
- Sharp, clean pruning shears or a knife. A clean cut is crucial to prevent disease.
- Rooting hormone powder or gel. This is a lifesaver for encouraging root development.
- A well-draining potting mix. I usually make my own by combining equal parts perlite, coarse sand, and a good quality potting soil. You can also buy specialized succulent or cactus mixes.
- Small pots or trays with drainage holes.
- A plastic bag or clear dome to create a humid environment.
- Optional: Bottom heat mat. This can really speed things up!
Propagation Methods
For Manilkara elata, stem cuttings are generally the go-to method for me.
Stem Cuttings:
- Select your cutting: Find a healthy, semi-hardwood stem that is about 6-8 inches long. You want a piece that has grown this season but isn’t brand new, tender growth. Pinch off any lower leaves.
- Make the cut: Use your clean shears to make a clean cut right below a leaf node. This is where roots tend to form most readily.
- Dip and plant: Moisten the cut end of the stem and dip it into your rooting hormone. Tap off any excess.
- Insert into medium: Make a small hole in your prepared potting mix with a pencil or dowel. Gently insert the cutting into the hole, making sure the lowest leaf nodes are buried. Firm the soil around the base of the cutting.
- Water gently: Water the mix thoroughly but be careful not to dislodge the cutting.
- Create humidity: Cover the pot with a clear plastic bag or a propagator lid. Ensure the leaves do not touch the plastic. This will create a humid mini-greenhouse.
- Place in bright, indirect light: Find a spot that gets plenty of bright light, but avoid direct sun, which can scorch the leaves.
The “Secret Sauce” (Pro Tips)
Here are a few tricks that have made all the difference for me:
- The “Wound” Trick: Sometimes, with trickier plants, I very gently scrape a tiny sliver of the bark off the bottom inch of the cutting on one side. This exposes more cambium layer for the rooting hormone to work on. Be super light-handed with this!
- Bottom Heat is Your Friend: If you can, placing your propagation tray on a bottom heat mat set to around 70-75°F (21-24°C) will dramatically increase your success rate. It mimics the warmth from the sun reaching the soil in nature and encourages those roots to wake up.
- Don’t Overwater Early On: It’s tempting to keep things super moist, but a soggy environment is a rot invitation. Water when the top inch of the soil feels dry, rather than keeping it constantly wet.
Aftercare & Troubleshooting
Once you start seeing new leaf growth or a gentle tug reveals resistance (indicating roots!), you’re on your way! Gradually remove the plastic covering over a few days to acclimate your new plant to normal humidity. Continue to water when the top soil is dry.
The biggest challenge you might face is rot. If your cutting turns mushy, black, or just wilts dramatically without any signs of rooting, it’s likely rotted. This is often due to too much moisture and poor air circulation. If you see this, discard the affected cutting and try again, making sure your potting mix is airy and you’re not overwatering.
A Encouraging Closing
Growing plants from cuttings is such a fulfilling part of gardening. It connects you to the life cycle of a plant in a deeply personal way. Be patient with your Manilkara elata cuttings. They might take their sweet time, but when they finally put on that first flush of new growth, it’s a triumph worth celebrating. Enjoy the process, learn from each attempt, and you’ll be rewarded with a beautiful new tree!
Resource: