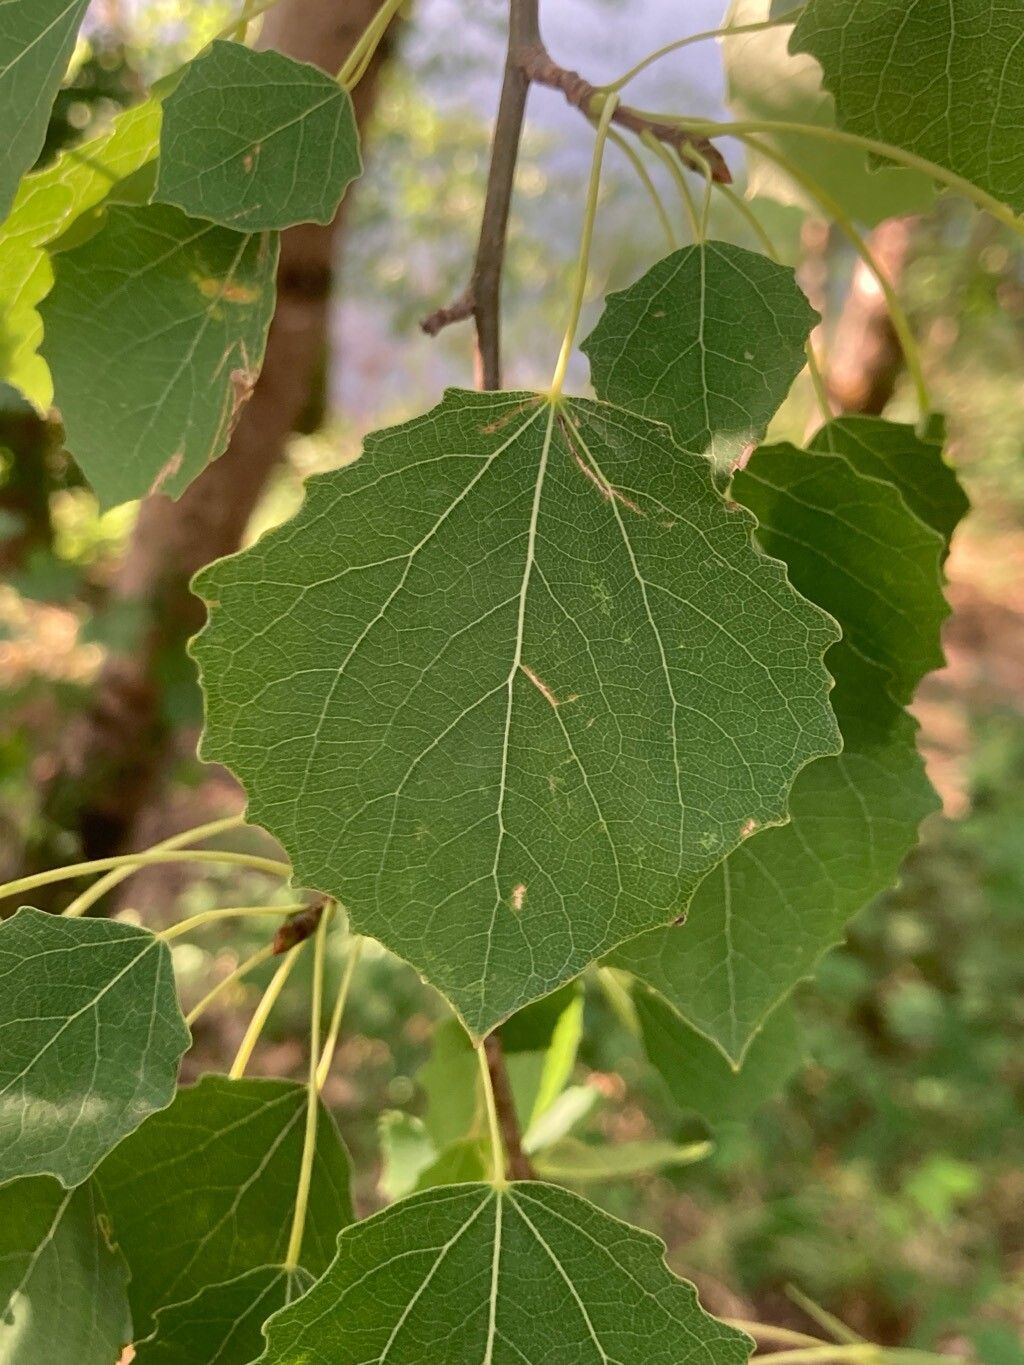
Hello there, fellow garden enthusiasts! Today, we’re going to talk about a tree that truly captures the magic of movement in the garden: Populus tremula, or the trembling aspen. You know, those lovely trees with leaves that seem to dance and shimmer in even the slightest breeze? Their delicate rustling is pure music to my ears. Propagating them is such a wonderfully rewarding endeavor. You get to witness the miracle of new life, and frankly, it’s much kinder to your wallet than buying mature specimens! For beginners, I’d say Populus tremula is moderately easy to propagate, especially with a few key tips.
The Best Time to Start
When you’re thinking about getting your Populus tremula cuttings going, the sweet spot is usually in late spring or early summer. This is when the plant is actively growing, and the new shoots are nice and pliable. They have plenty of energy to push out roots once they’re set up for success. Some folks have luck with semi-hardwood cuttings later in the season, but for your first try, stick with those tender young stems.
Supplies You’ll Need
Don’t worry, it’s not a complicated list of fancy equipment! Here’s what you’ll want to have on hand:
- Sharp Pruning Shears or a Clean Knife: For making clean cuts.
- Rooting Hormone (Optional, but Recommended): Look for one containing IBA (indole-3-butyric acid). It really gives your cuttings a boost.
- Potting Mix: A well-draining mix is crucial. I like to use a blend of equal parts peat moss or coco coir and perlite or coarse sand. This ensures good aeration and prevents waterlogging.
- Small Pots or Trays: With drainage holes, of course!
- Plastic Bags or a Mini Greenhouse: To create a humid environment.
- Water: For misting and initial watering.
- Labels: Because trust me, you’ll forget what plant is what!
Propagation Methods
Most Populus tremula are happy to be propagated from stem cuttings. It’s straightforward, and you can get several new plants from a single parent tree.
- Taking Cuttings: In late spring or early summer, select healthy, non-flowering shoots that are about 4-6 inches long. Make a clean cut just below a leaf node (where a leaf attaches to the stem) using your sharp shears or knife. Remove the lower leaves, leaving just a few at the top.
- Preparing the Cuttings: If you’re using rooting hormone, dip the cut end of each cutting into it, tapping off any excess.
- Planting the Cuttings: Fill your small pots with your prepared potting mix. Moisten the mix thoroughly so it’s damp but not waterlogged. Make a hole in the center of each pot with your finger or a pencil. Gently insert the cut end of your prepared cutting into the hole, making sure the nodes where you removed leaves are buried. Firm the soil gently around the cutting.
- Creating Humidity: Water the soil lightly. Then, cover the pots with a plastic bag or place them in a mini greenhouse. This traps humidity, which is super important for cuttings that don’t have roots yet. You can support the plastic bag with stakes so it doesn’t touch the leaves.
The “Secret Sauce” (Pro Tips)
Here are a few tricks I’ve picked up over the years that make a real difference:
- Take More Than You Think You Need: Not every cutting will take. Have a few extra ready to go, just in case. It’s better to have too many than to wish you’d taken more!
- Bottom Heat is Your Friend: If you can, place your pots on a heated propagation mat. This gentle warmth encourages root development from below, giving your cuttings a significant advantage. It really speeds things up.
- Cleanliness is King: Always use clean tools and pots. This helps prevent any fungal issues or diseases from setting in, which can be the downfall of tender cuttings. A quick soak in a bleach solution for reused pots is a good idea.
Aftercare & Troubleshooting
Once your cuttings are planted, keep them in a bright spot, but avoid direct, harsh sunlight, which can scorch them. Mist the leaves regularly and check the soil moisture. It should stay consistently damp but never soggy.
You’ll know your cuttings are taking root when you see new leaf growth – a true sign of success! This usually takes a few weeks, sometimes a couple of months. Gently tugging on a cutting will also reveal resistance if roots have formed.
What about when things go wrong? The most common culprit is rot. If you see your cuttings turning mushy or black, it’s often due to overwatering and poor drainage. In this case, it’s a tough loss, but you can learn from it. Ensure your soil mix is airy and that your pots have good drainage. If you see mold on the soil surface, it’s also a sign of too much moisture.
A Encouraging Closing
Propagating Populus tremula is a journey, and like all good gardening adventures, it requires a dash of patience and a whole lot of hope. Don’t be discouraged if your first attempt isn’t perfect. Each plant you coax into existence is a testament to your dedication and a beautiful addition to your green haven. Enjoy the process, celebrate every tiny sprout, and happy propagating!
Resource:
https://identify.plantnet.org/k-world-flora/species/Populus%20tremula%20L./data