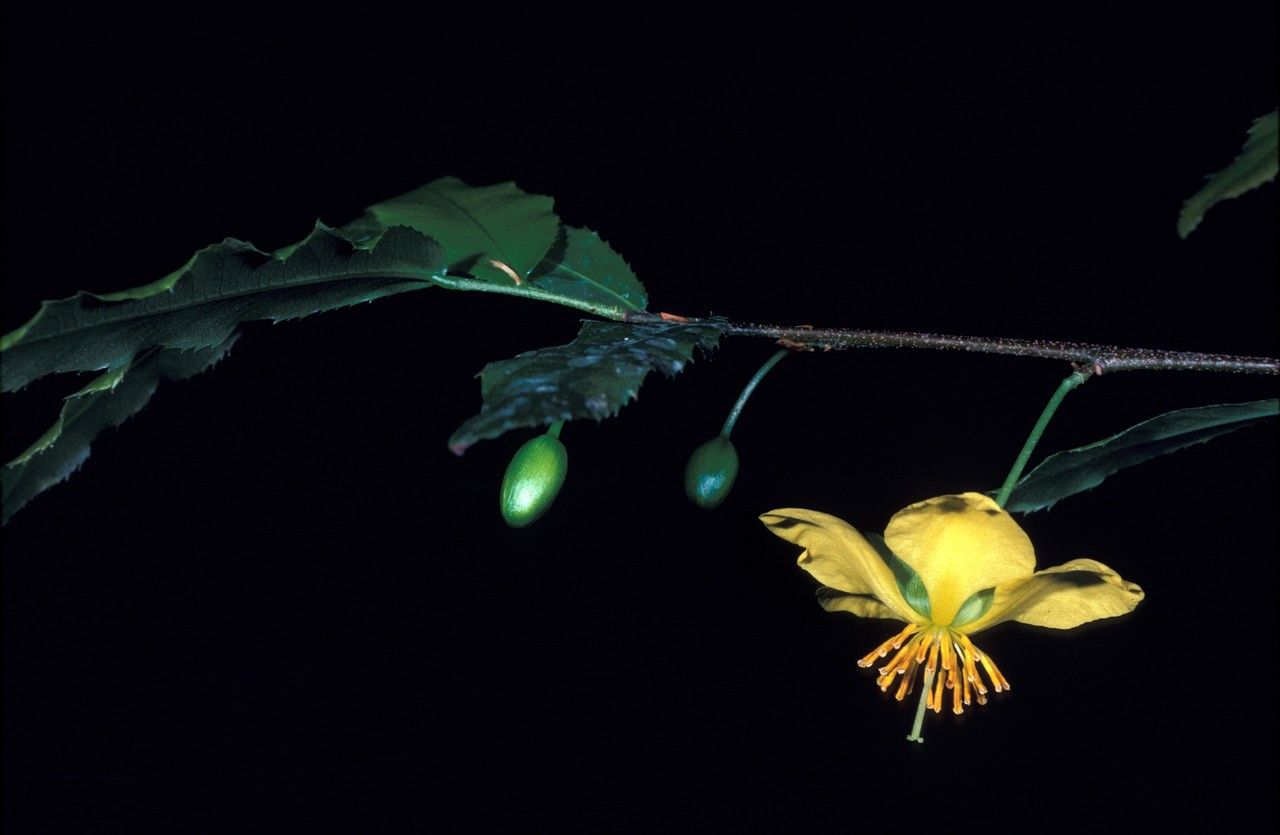
Hey there, fellow plant lovers! Today, we’re diving into the delightful world of propagating Ochna atropurpurea. You know, that charming little shrub with its bright yellow flowers that just seem to burst with sunshine? It’s a joy to have in the garden, and truthfully, it’s pretty rewarding to be able to create more of them from something you already love.
Why Bother Propagating Ochna atropurpurea?
For me, the magic is in seeing a tiny cutting transform into a vibrant new plant. It’s a connection to nature, a way to stretch your gardening budget, and honestly, a wonderful way to share your passion with friends. When it comes to Ochna atropurpurea, is it easy or tough? I’d say it’s a moderately easy plant to propagate, especially if you’re willing to give it a little TLC. It’s a great project for those who have dabbled a bit in plant propagation already.
When is the Best Time to Get Started?
Timing is everything, right? For the best results with Ochna atropurpurea, I always aim to take cuttings in late spring or early summer. This is when the plant is actively growing and has plenty of energy to put into developing new roots. Look for stems that are semi-hardened – they’ll be a bit flexible but not completely soft and green.
What You’ll Need to Get Going
Gathering your supplies makes the whole process smoother. Here’s what I usually have on hand:
- Sharp Pruning Shears or a Clean Knife: For making precise cuts.
- Rooting Hormone (Optional, but Recommended): A little booster can make a big difference. I like the powder kind.
- Well-Draining Potting Mix: A sharp sand and perlite blend works wonderfully. You can also use a standard potting mix with extra perlite added.
- Small Pots or Seed Trays: Clean containers are crucial to prevent disease.
- Plastic Bags or a Clear Dome: To create a humid environment.
- Watering Can with a Fine Rose: For gentle watering.
Getting Your Ochna at Sometimes a Sweet Little Start: Propagation Methods
I’ve found two main methods work best for Ochna atropurpurea: stem cuttings and, for the more adventurous, sometimes even layering can be successful if you have a low-hanging branch. Let’s focus on stem cuttings, as they’re generally the most accessible.
Stem Cuttings: The Go-To Method
- Select Your Cuttings: From a healthy, established Ochna, choose stems that are about 4-6 inches long and have at least two sets of leaves. Make a clean cut just below a leaf node (where a leaf attaches to the stem).
- Prepare the Cuttings: Gently remove the lower leaves from the cutting, leaving just a couple of leaves at the top. If the leaves are large, you can even cut them in half horizontally to reduce water loss.
- Apply Rooting Hormone: Dip the cut end of the stem into your rooting hormone, tapping off any excess.
- Plant Your Cuttings: Fill your clean pots with your well-draining potting mix. Make a small hole in the center with your finger or a pencil. Insert the cut end of the stem into the hole, ensuring the leaf nodes are covered. Gently firm the soil around the cutting.
- Water Gently: Water the soil thoroughly but carefully, making sure not to wash away the rooting hormone or dislodge the cutting.
- Create a Humid Environment: Cover the pot with a plastic bag, securing it around the rim of the pot. You can use a clear dome if you have one. This traps moisture, which is vital for rooting. Ensure the plastic doesn’t touch the leaves too much.
The “Secret Sauce” – My Insider Tips
Here are a couple of things I’ve learned over the years that can really boost your propagation success.
- Bottom Heat is Your Friend: If you can, place your pots on a heat mat. This gentle warmth encourages root development from below and can significantly speed up the process.
- Don’t Drown Your Dreams: While humidity is key, avoid waterlogged soil. If you see actual water pooling on the surface after watering, your mix might be too heavy, or you’ve watered too much. Let the top inch of soil dry out slightly between waterings.
Aftercare & What to Watch For
Once your cuttings are planted, place them in a bright spot but out of direct sunlight. That intense sun can scorch those tender new cuttings. Keep the soil consistently moist, but not soggy.
You’ll start to see signs of life within a few weeks, but be patient! I usually wait at least 4-8 weeks before gently tugging on a cutting to see if it has developed roots. If there’s resistance, you’ve got roots! That’s when you can remove the plastic cover and begin to gradually acclimate your new plant to drier air.
What if things go wrong? The most common culprit is rot. If your cutting turns black and mushy, it’s likely gotten too wet or too cold. Don’t be disheartened; just start again with a fresh cutting and perhaps adjust your watering or location.
Happy Propagating!
Watching those first tiny roots emerge is such a thrill. Remember, gardening is all about patience and learning. Even if your first attempt isn’t perfect, you’ll gain valuable experience. So grab your shears, find a healthy stem, and enjoy the wonderful process of growing more beauty for your garden. Happy propagating!
Resource:
https://identify.plantnet.org/k-world-flora/species/Ochna%20atropurpurea%20DC./data