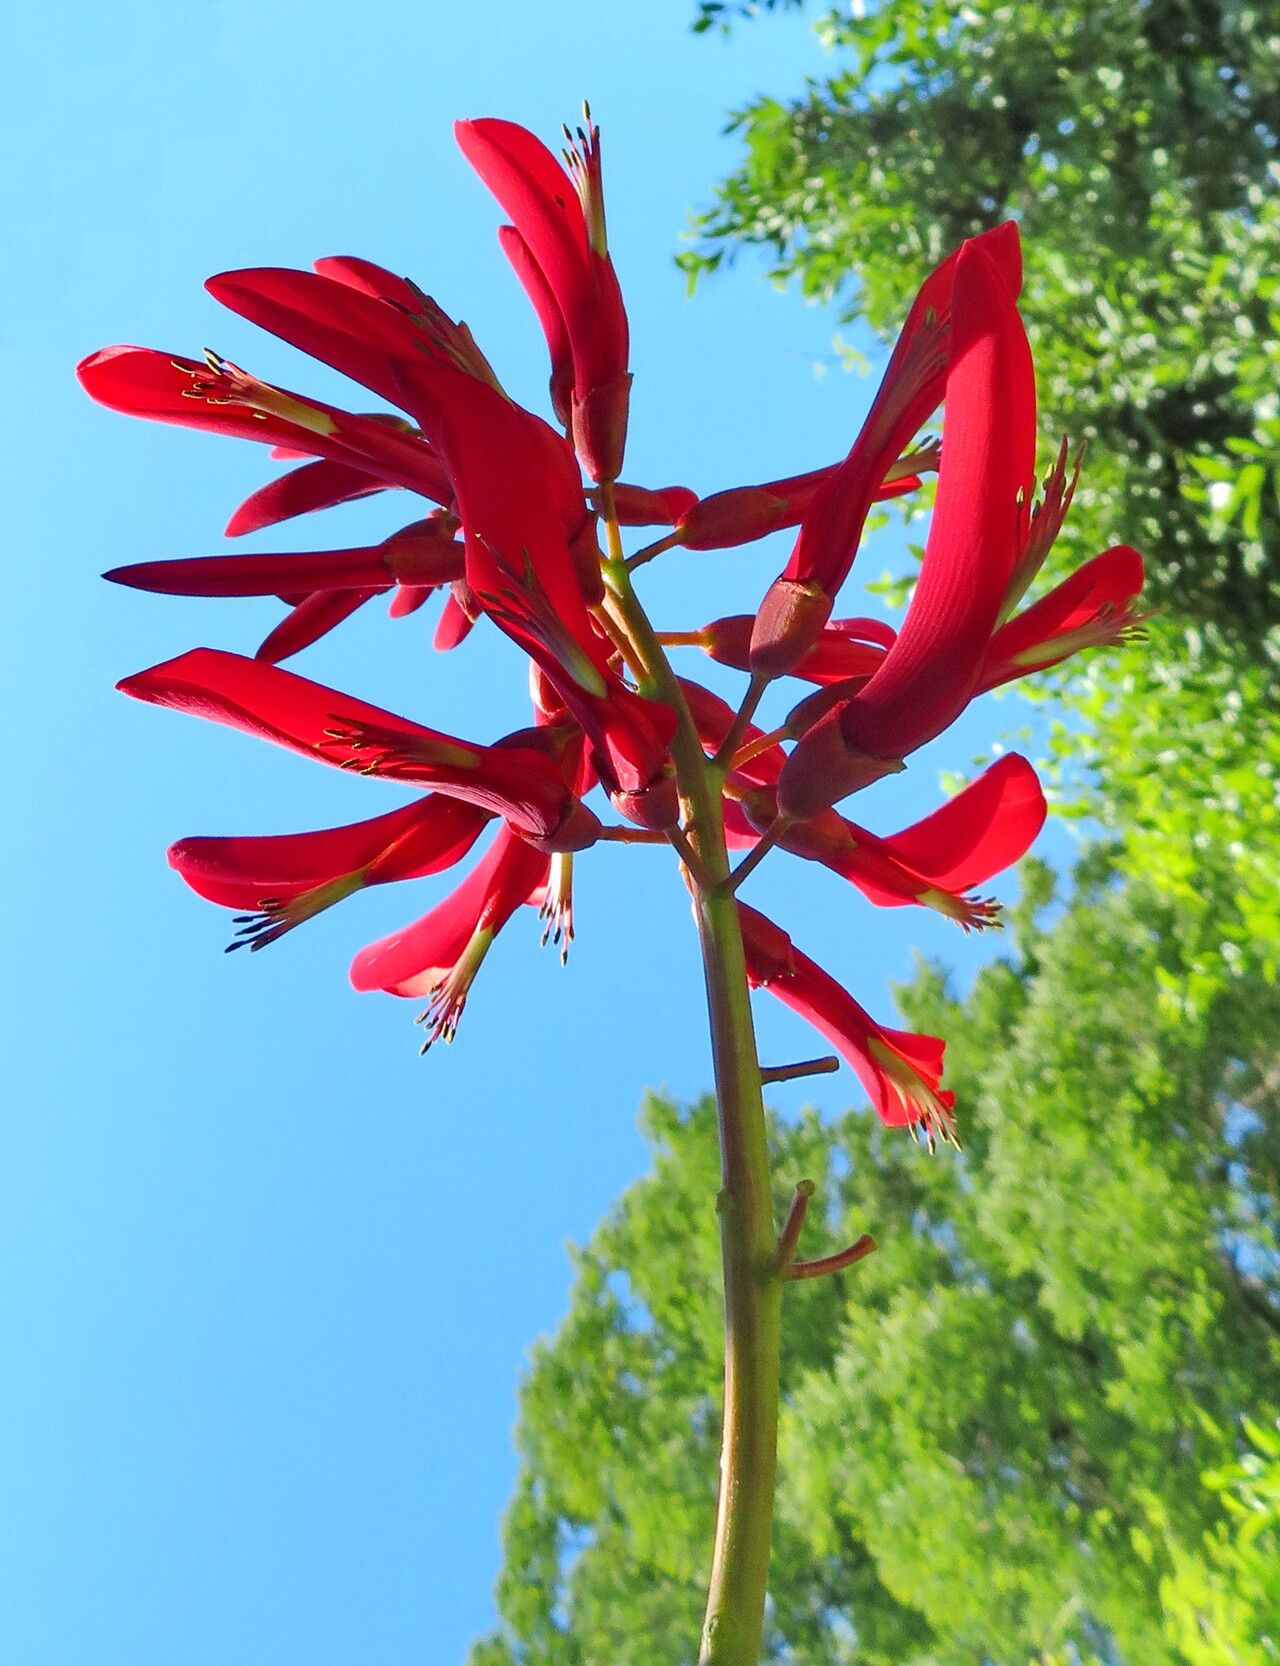
Ah, Erythrina variegata! If you’re looking for a plant that brings a vibrant splash of color and a touch of the tropics to your garden, you’ve found a winner. Often called the Coral Tree or Tiger’s Claw, its striking coral-red flowers are a sight to behold, and the variegated foliage adds another layer of visual interest. And the best part? Growing more of these beauties from cuttings is surprisingly straightforward. I’ve been coaxing new life from my Erythrinas for years, and I’m always thrilled to share the magic with fellow gardeners. While some propagation can feel intimidating, I think you’ll find this one to be quite accessible, even if you’re just starting out.
The Best Time to Start
For Erythrina variegata, spring and early summer are your golden windows. This is when the plant is actively growing, meaning it has the energy reserves to push out roots and establish itself quickly. Aim for when the growth is vigorous but before the intense heat of midsummer sets in.
Supplies You’ll Need
Here’s what I always have on hand when I’m ready to propagate:
- Sharp, clean pruning shears or a knife: A clean cut is crucial to prevent disease.
- Rooting hormone (optional but recommended): A little powder or gel can significantly boost success rates.
- Well-draining potting mix: I usually go with a blend of equal parts peat moss or coco coir, perlite, and coarse sand.
- Small pots or trays: Make sure they have drainage holes.
- Plastic bags or a propagator: To create a humid environment.
- Watering can or spray bottle: For gentle watering.
Propagation Methods: Stem Cuttings are Your Friend!
For Erythrina variegata, taking stem cuttings is my go-to method. It’s reliable and efficient.
- Select Your Cuttings: Look for healthy, semi-hardwood stems that are about pencil-thick. You want pieces that have started to firm up but aren’t old and woody. Aim for cuttings that are around 6 to 8 inches long. Make your cuts just below a leaf node. This is where roots are most likely to form.
- Prepare the Cuttings: Gently remove the lower leaves, leaving just a few at the top. This reduces water loss and prevents leaves from rotting in the soil.
- Apply Rooting Hormone (Optional): Dip the cut end of each stem into your rooting hormone powder or gel. Tap off any excess.
- Plant Your Cuttings: Fill your pots or trays with your well-draining potting mix. Make a hole in the center with a pencil or your finger. Insert the cut end of the stem into the hole, ensuring the bottom leaf nodes are buried. Water gently to settle the soil around the cutting.
- Create a Humid Environment: Cover the pots with a clear plastic bag, securing it around the pot with a rubber band. You can also use a mini-greenhouse or propagator. This traps moisture, which is vital for cuttings to root.
The “Secret Sauce” (Pro Tips)
Here are a couple of things I’ve learned that really make a difference:
- Bottom Heat is a Game-Changer: If you have a seedling heat mat, pop your pots on it. Gentle warmth from below encourages root development much faster than just ambient room temperature. It’s like giving the roots a cozy boost!
- Don’t Drown Your Cuttings: While humidity is key, overwatering is the fastest way to kill a cutting. The soil should be consistently moist but never soggy. I often use a spray bottle at first to mist the leaves and the surface of the soil.
Aftercare & Troubleshooting
Once your cuttings have calloused over and are showing signs of new growth (tiny leaves unfurling at the top), it’s time to start weaning them off their plastic tent. Gradually increase ventilation over a week or two by opening the bag a little more each day.
Keep the soil consistently moist but not waterlogged. You’ll know your cuttings have rooted when you feel a slight resistance if you gently tug on them. You might also see new leaves emerging. At this point, you can transplant them into individual pots if they were in a larger tray.
The most common issue you’ll encounter is rot. If a cutting turns mushy and black, it’s usually a sign of too much moisture and not enough air circulation. Unfortunately, these are usually a loss. Watch out for wilting leaves too, which can indicate either underwatering or that the cutting hasn’t developed roots yet.
A Little Patience, A Lot of Joy
Propagating Erythrina variegata is a rewarding journey. It takes a bit of patience, but seeing those first tiny roots emerge and then watching your new plant grow is incredibly satisfying. Don’t be discouraged if not every cutting makes it; that’s part of the learning process for any gardener. Just enjoy the act of nurturing and watch your own corner of the tropics expand! Happy growing!
Resource:
https://identify.plantnet.org/k-world-flora/species/Erythrina%20variegata%20L./data