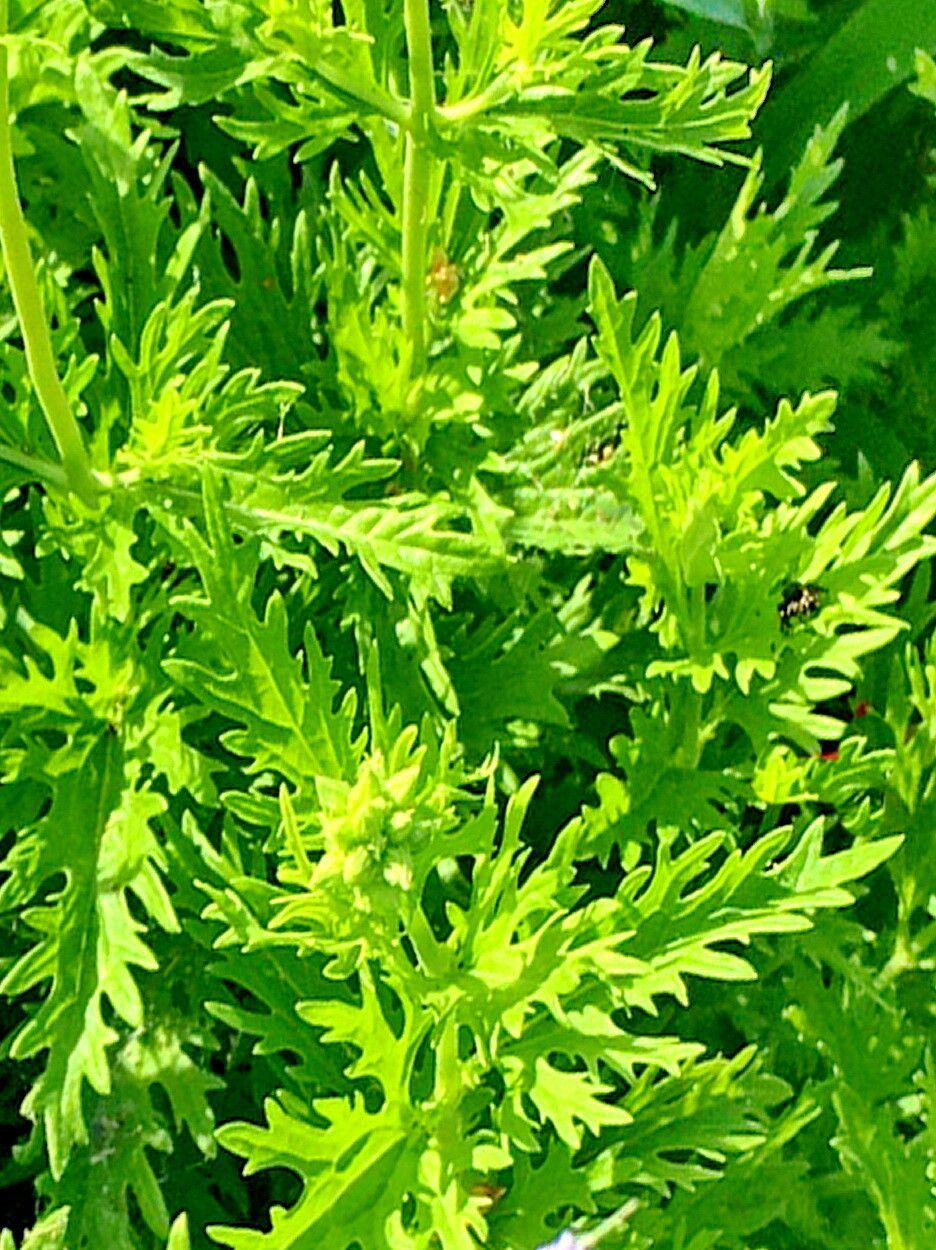
Hello there, fellow plant enthusiast! Today, we’re diving into the wonderful world of Conoclinium dissectum, often known as the delicate skeleton-leaf eupatorium or, my personal favorite, the “butterfly magnet”! If you’ve ever admired its airy, lace-like foliage and its uncanny ability to attract all sorts of pollinators to your garden, you’re in luck. Propagating this beauty is not only a rewarding way to fill your garden space with more of them, but it’s also surprisingly accessible. Don’t worry if you’re new to plant propagation; this one is a friendly soul.
The Best Time to Start
For the highest success rate with Conoclinium dissectum, I find that late spring to early summer is your golden ticket. This is when the plant is actively growing after the initial spring surge. You’re looking for new, healthy growth that isn’t too woody. Think of it as capturing the plant at its most vibrant and energetic – that’s the stuff that roots easily!
Supplies You’ll Need
Gathering your tools is half the battle, and it makes the whole process so much smoother. Here’s what I keep on hand:
- Sharp pruning shears or a clean, sharp knife: For making clean cuts.
- Potting mix: A well-draining blend is crucial. I like to mix about two parts peat moss or coco coir with one part perlite or coarse sand. This keeps things airy and prevents waterlogging.
- Small pots or seedling trays: Clean ones, please!
- Rooting hormone (optional but recommended): A powdered or gel form can significantly speed up root development.
- Watering can with a fine rose: For gentle watering.
- Plastic bags or a propagation dome: To create a humid environment.
- Labels: Trust me, you’ll thank me later when you have a tray full of similar-looking cuttings!
Propagation Methods
Conoclinium dissectum is quite amenable to a couple of straightforward methods. My go-to is usually stem cuttings.
1. Stem Cuttings:
This is my preferred method for Conoclinium dissectum. It’s efficient and usually yields a good number of new plants.
- Take Your Cuttings: Select healthy stems from your established plant. Look for stems that are about 4-6 inches long. Use your sharp shears to make a clean cut just below a leaf node (the point where a leaf attaches to the stem).
- Prepare the Cuttings: Gently remove the lower leaves from each cutting, leaving just a couple of sets at the very top. This prevents them from rotting in the soil.
- Apply Rooting Hormone (Optional): Dip the cut end of each stem into your rooting hormone, tapping off any excess.
- Plant Your Cuttings: Fill your clean pots or trays with your prepared potting mix. Moisten the mix thoroughly. Make a small hole with your finger or a pencil, and insert the cut end of the stem. Gently firm the soil around the cutting to ensure good contact.
- Create a Humid Environment: Water gently again. Then, cover the pots with a clear plastic bag, securing it around the rim with a rubber band, or place them under a propagation dome. This traps moisture and keeps the cuttings from drying out.
2. Water Propagation:
This method is lovely to watch, as you can see the roots forming!
- Prepare Your Cuttings: Follow the same steps as above for taking and preparing your stem cuttings.
- Place in Water: Fill a clean jar or glass with fresh water. Place your cuttings in the water, ensuring that no leaves are submerged below the waterline.
- Change Water Regularly: Change the water every couple of days to keep it fresh and prevent bacterial growth.
- Wait for Roots: You should start to see tiny white roots emerge from the nodes in a few weeks.
The “Secret Sauce” (Pro Tips)
Here are a few little tricks I’ve picked up over the years that can really help your cuttings thrive:
- Don’t let the leaves touch the water: This is critical for water propagation! Submerged leaves will rot and can take your whole cutting with them.
- Use bottom heat: If you have a gentle heat mat designed for seedlings, placing your pots on it can significantly speed up root development. Conoclinium dissectum loves a little warmth to get its roots going.
- Don’t overwater: While humidity is key, soggy soil is the enemy of new cuttings. Let the top inch of soil dry out slightly between waterings.
Aftercare & Troubleshooting
Once you start seeing little white roots emerging from the drainage holes of your pots (or good root growth in water), it’s time for a little transition.
- Acclimate Slowly: If you used a plastic bag, gradually remove it over a few days to let your new plants get used to normal humidity.
- Potting Up: Once your cuttings have a decent root system, gently transplant them into their own individual pots with a good quality potting mix.
- Watering: Keep the soil consistently moist but not waterlogged.
- Light: Place your new plants in a bright location, but out of direct, harsh sunlight for the first week or two. Gradually introduce them to more sun.
The most common issue you might encounter is rot, which usually stems from overwatering or poor drainage. If your cutting turns black or mushy, it’s likely time to discard it and try again. Sometimes, cuttings just don’t take. Don’t get discouraged! Gardening is a journey, and each attempt teaches you something valuable.
A Encouraging Closing
Isn’t it wonderful to think of all the new life you can create from just a few stems? Propagating Conoclinium dissectum is a delightful way to expand your garden and share these beauties with friends. Be patient with your cuttings, give them a little TLC, and before you know it, you’ll have a miniature forest of these lovely butterfly magnets. Happy propagating!
Resource:
https://identify.plantnet.org/k-world-flora/species/Conoclinium%20dissectum%20A.Gray/data