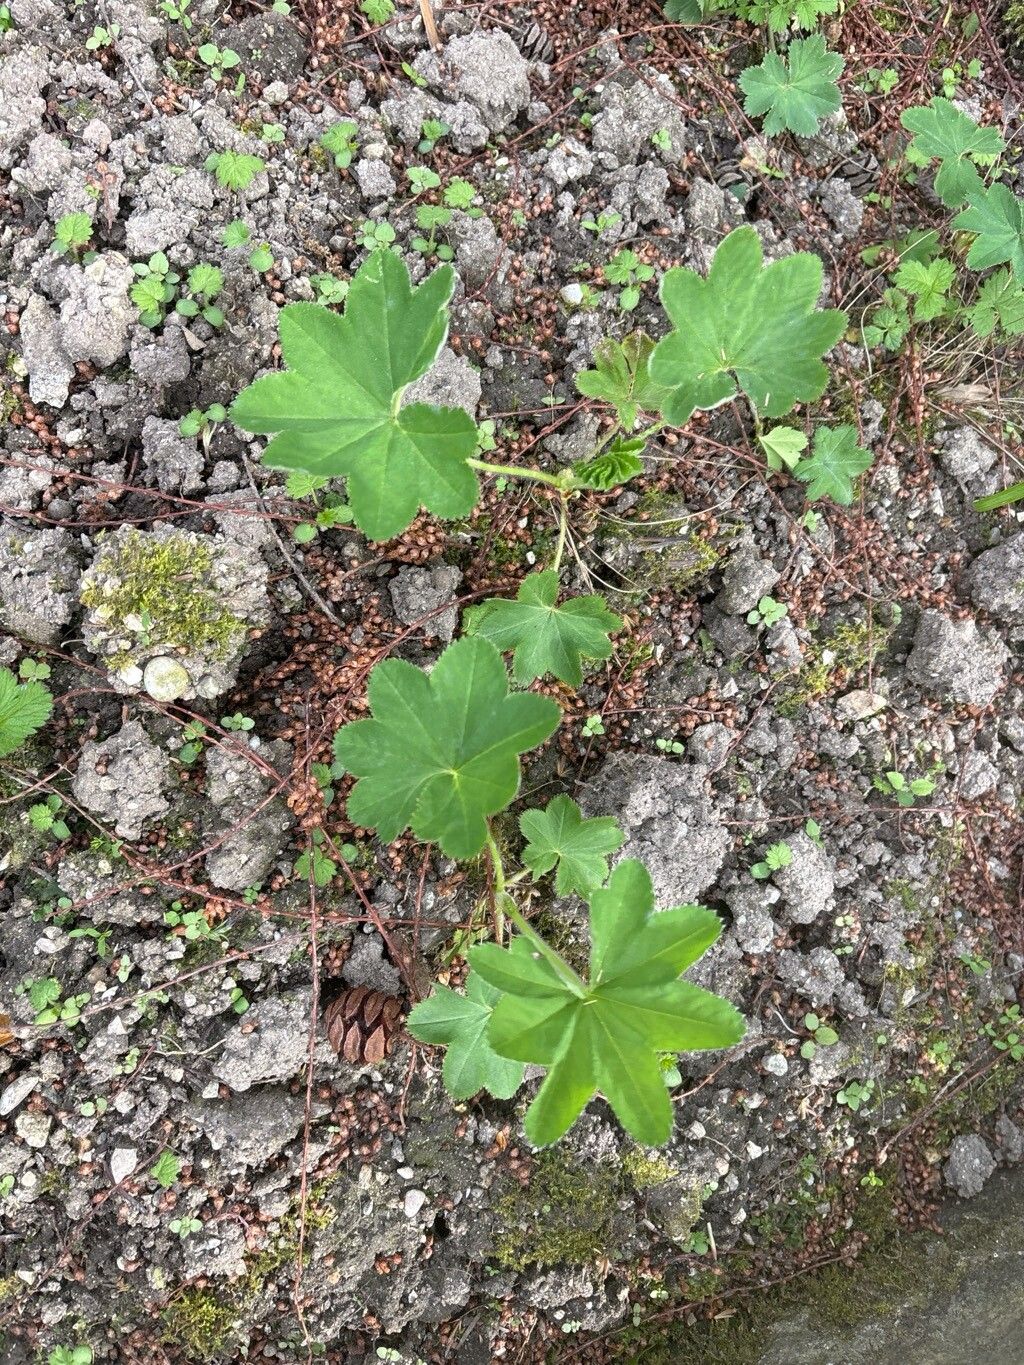
Oh, Alchemilla flabellata! If you’re not familiar with this garden beauty, you’re in for a treat. Often called “Fan Lady’s Mantle,” it’s got these lovely, hand-shaped leaves that hold onto dew in the most magical way. It creates this soft, mounding effect, perfect for edging beds or filling in those awkward bare spots. And the best part? Propagating it is actually quite forgiving. I’d say it’s a wonderful plant for beginners looking to try their hand at multiplying their greenery.
The Best Time to Start
For Alchemilla flabellata, I’ve found the sweet spot is late spring or early summer. This is when the plant is actively growing and has a good amount of vigor. You’re essentially taking advantage of its natural energy burst to get new plants established. Trying to propagate too early, when things are still waking up, or too late in the season, when growth is slowing down, can just make things harder on yourself.
Supplies You’ll Need
To get started, you’ll want a few things on hand:
- Sharp pruning shears or a clean knife.
- A well-draining potting mix. I like a blend of peat moss, perlite, and a bit of compost.
- Small pots or seed trays with drainage holes.
- Optional: Rooting hormone. While not strictly necessary for Alchemilla, it can give you an extra boost.
- A watering can with a fine rose or a spray bottle.
- Labels and a marker. Trust me, you’ll forget what you planted and when!
Propagation Methods
Let’s dive into a couple of easy ways to get more of this lovely plant.
Stem Cuttings: My Go-To
This is probably the most successful method for Alchemilla flabellata.
- Find healthy stems. Look for new growth that is firm but not woody. About 4-6 inches long is ideal.
- Make the cut. Using your sharp shears, cut just below a leaf node (where a leaf attaches to the stem).
- Prepare the cutting. Gently remove the lower leaves, leaving just a few at the top. If you’re using rooting hormone, dip the cut end into it now.
- Plant your cuttings. Fill your small pots with your chosen potting mix. Make a hole with your finger or a pencil and insert the cutting. Gently firm the soil around it.
- Water gently. Give the pots a good watering, making sure the soil is moist but not waterlogged.
Division: Simple and Effective
If your Alchemilla is already a good size, division is a fantastic way to go.
- Dig it up. On a cool, overcast day, carefully dig up the entire plant.
- Inspect the roots. Gently shake off excess soil to see the root system.
- Divide the clump. You can usually pull clumps apart with your hands, or if it’s a bit stubborn, use your trowel or a clean spade to cut through the roots. Aim for sections with both roots and foliage.
- Replant immediately. Pot up the divisions or plant them directly back into your garden, giving them a good watering.
The “Secret Sauce” (Pro Tips)
Here are a few things I’ve learned over the years that really help:
- Don’t overcrowd. When I plant cuttings, I like to give each stem its own little space. They perform so much better when they aren’t competing for light and air.
- A gentle misting is your friend. For stem cuttings, I like to mist them lightly with water every couple of days, especially if it’s warm and dry. This keeps the leaves hydrated while the roots develop.
- Rooting hormone isn’t magical, but it helps. While Alchemilla is pretty easy, if you are using rooting hormone, make sure to tap off any excess powder. Too much can actually hinder root development.
Aftercare & Troubleshooting
Once your cuttings have rooted (you can check gently by giving them a little tug – if there’s resistance, you’ve got roots!), it’s time to treat them like little seedlings. Keep them consistently moist but not soggy. As they grow stronger, you can start to gradually introduce them to conditions similar to where they’ll be planted permanently.
The biggest issue I see is rot. This usually happens from overwatering. If you see a cutting turning mushy, yellowing, or developing dark spots, it’s likely getting too much moisture and not enough air circulation. If it’s early enough, you might be able to salvage it by removing the affected part and letting it dry out a bit, but often it’s best to start again.
A Encouraging Closing
Propagating Alchemilla flabellata is a truly rewarding experience. It’s a wonderful way to fill your garden with more of those charming, dew-catching mounds. Be patient with the process, enjoy observing the changes, and don’t be discouraged if your first attempt isn’t perfect. Happy gardening!
Resource:
https://identify.plantnet.org/k-world-flora/species/Alchemilla%20flabellata%20Buser/data