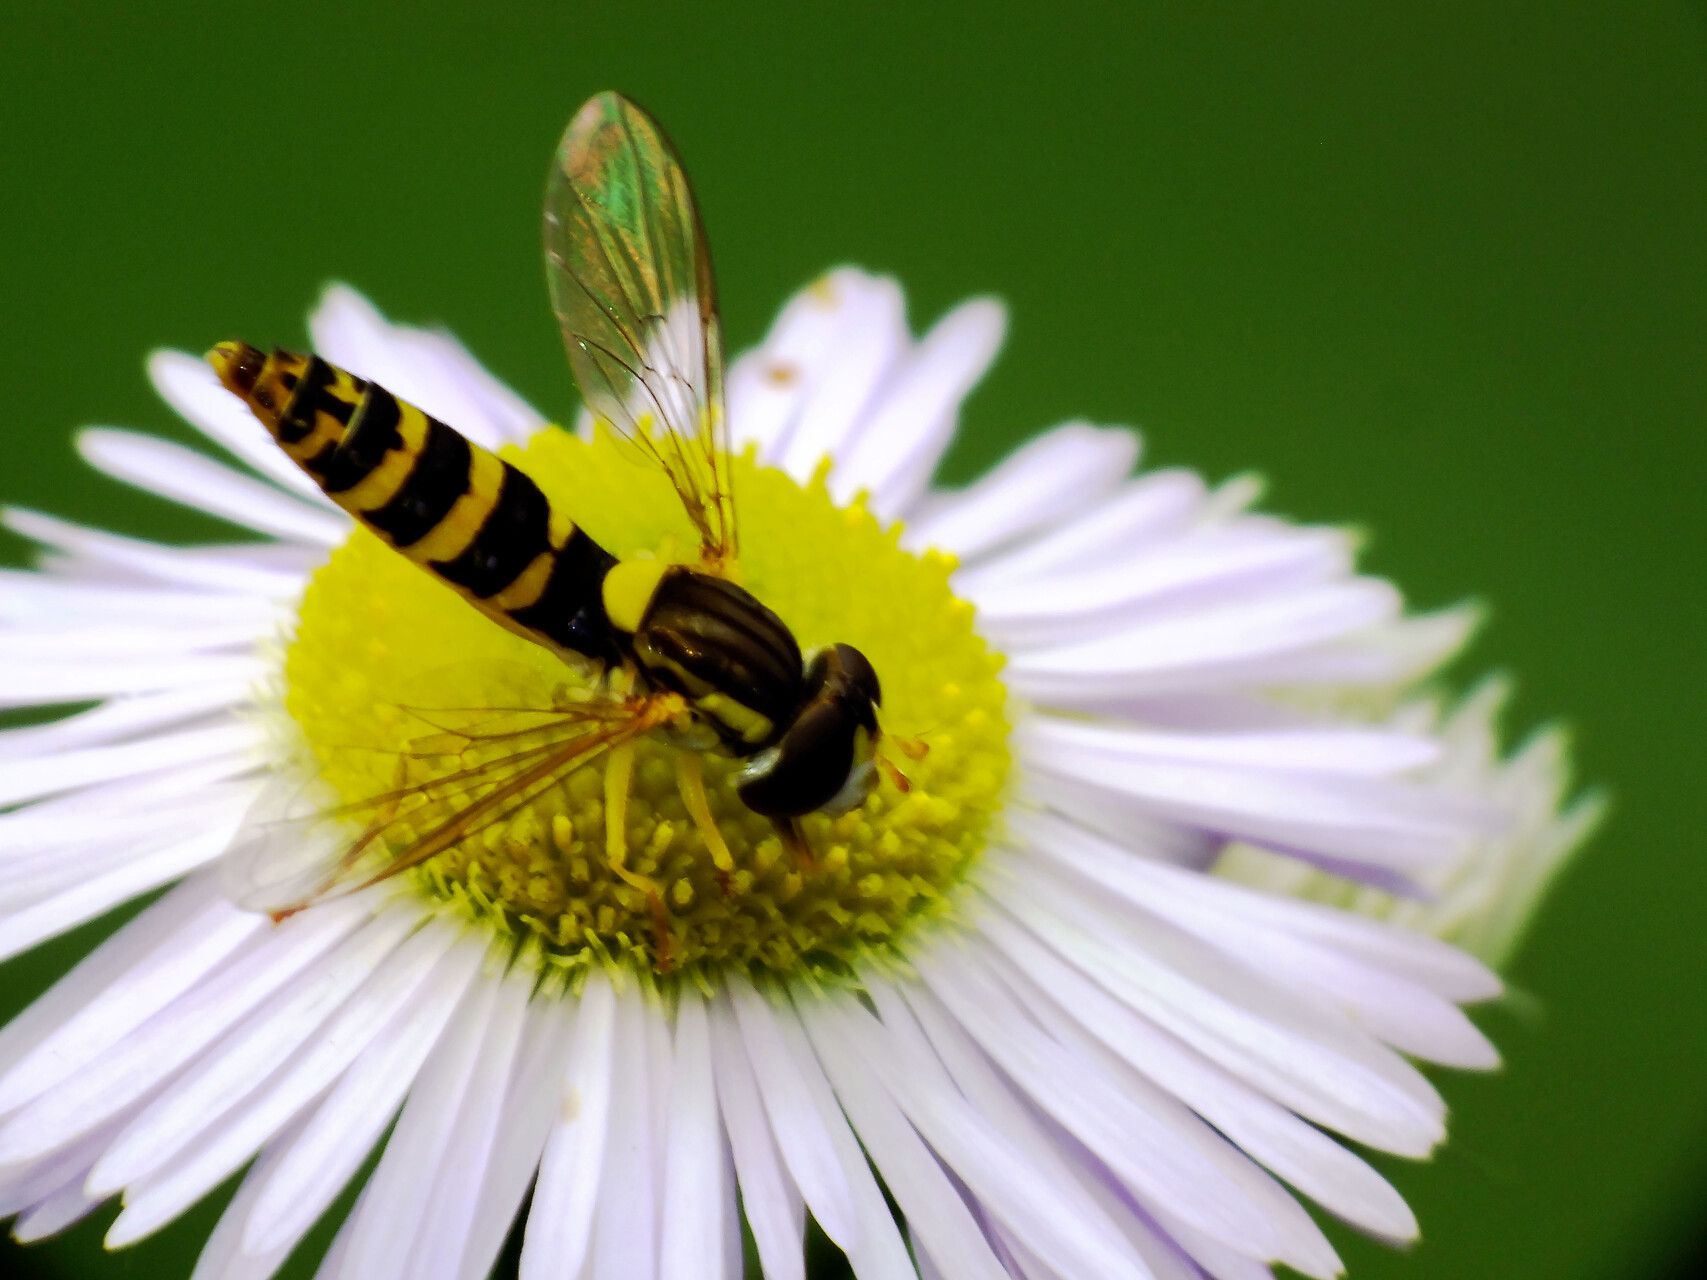
Well hello there, fellow garden lovers! It’s your friendly neighborhood horticulturalist, here to chat about one of my absolute favorite groundcovers: Erigeron aliceae, often called Alice’s Fleabane. If you’ve ever seen a carpet of those darling little daisy-like flowers, probably a soft lavender or white, blanketing a sunny hillside or spilling over a garden wall, you’ve probably fallen a little bit in love too. They bring such a cheerful, airy presence, and the best part? They’re surprisingly easy to propagate, which means you can soon have your own thriving patches of this delightful plant without breaking the bank. Even for beginners, this is a fantastic plant to get your hands dirty with.
The Best Time to Start
For the best chance of success, I like to start my Erigeron aliceae propagation in late spring or early summer. This is when the plant is actively growing and has plenty of energy to put into new roots. You’re looking for stems that are firm but not yet woody – think of them as young and pliable. If you miss this window, don’t despair! You can often get away with mid-summer cuttings too, but try to get them in before the real heat of the season sets in.
Supplies You’ll Need
Before we dive into the fun part, let’s gather our tools. Having everything ready makes the process so much smoother:
- Sharp pruning shears or a clean sharp knife: For making nice, clean cuts on your cuttings.
- Small pots or a seed-starting tray: Clean ones, please! We don’t want any lingering diseases.
- Potting mix: A good quality seed-starting mix or a light, well-draining potting soil is perfect. You can also mix in a bit of perlite for extra drainage.
- Rooting hormone (optional but recommended for stem cuttings): This really gives your cuttings a boost.
- Watering can with a fine rose or a spray bottle: For gentle watering.
- Plastic bags or propagation domes: To create a humid environment.
- Labels and a marker: So you don’t forget what you planted where!
Propagation Methods
Erigeron aliceae is a generous plant, and thankfully, it’s happy to be multiplied in a couple of straightforward ways.
Stem Cuttings: My Go-To Method
This is probably my favorite technique for Erigeron aliceae.
- Take the Cuttings: On a bright, sunny morning (after the dew has dried), select healthy, non-flowering stems. Using your sharp shears, cut pieces that are about 4-6 inches long. Try to make your cuts just below a leaf node – that little bump on the stem where leaves emerge.
- Prepare the Cuttings: Gently remove the lower leaves from the cutting, leaving just 2-3 leaves at the very top. This prevents them from rotting once they’re in the soil. If the remaining leaves are quite large, I often snip them in half to reduce water loss.
- Apply Rooting Hormone (Optional): Dip the cut end of each stem into your rooting hormone powder or gel. Tap off any excess.
- Plant the Cuttings: Fill your small pots or seed tray with your prepared potting mix. Moisten it thoroughly so it’s damp but not soggy. Make a small hole in the center of the pot with your finger or a pencil.
- Insert and Firm: Carefully insert the cut end of each prepared stem into the hole. Gently firm the soil around the base of the cutting to ensure good contact.
- Water and Cover: Water again very gently. Place the pots or tray inside a clear plastic bag or cover with a propagation dome. This creates a mini-greenhouse effect, keeping the humidity high.
Division: A Simpler Approach
If your plant has become a bit bushy and you want to give it some breathing room, division is a wonderful way to get more plants and rejuvenate the parent.
- Dig Up the Plant: In early spring or fall, when the weather is cooler and the plant isn’t in active bloom, carefully dig up the whole clump. You can do this with a trowel or a small spade.
- Gently Separate: The roots of Erigeron aliceae are generally quite fibrous and easy to pull apart. You can often achieve separation with just your hands. If they’re a bit stubborn, use a clean, sharp knife or two forks to gently tease the root ball into smaller sections. Make sure each section has plenty of healthy roots and at least a few stems.
- Replant: Replant the divided sections back into your garden or into pots with fresh soil, giving them ample space to grow. Water them in well.
The “Secret Sauce” (Pro Tips)
Here are a few little tricks I’ve learned over the years that can make all the difference:
- Don’t let those lower leaves touch the soil! Seriously, this is a prime spot for rot to set in. Keep them trimmed right back.
- Bottom heat is your friend for stem cuttings. If you have a seedling heat mat, placing your pots on it can significantly speed up root development. It mimics the warmth of spring soil.
- Keep them out of direct scorching sun once they’re covered. Bright, indirect light is ideal. Direct sun through the plastic can cook your tender cuttings.
Aftercare & Troubleshooting
Once your cuttings have happily rooted (you’ll know because you’ll see new growth and they’ll resist a gentle tug), it’s time for the next phase.
- Acclimatize: Gradually remove the plastic bag or dome over a few days. Start by opening it for an hour or two, then longer periods. This helps them adjust to drier air.
- Watering: Water them when the top inch of soil feels dry. Avoid waterlogging them, as this is their biggest enemy.
- Transplanting: Once they’re a few inches tall and have a good root system, you can transplant them into larger pots or their garden homes.
Now, what about when things go wrong? The most common culprit for cuttings failing is rot. If your cuttings turn mushy and black at the base, or if the leaves start to yellow and wilt dramatically, it’s usually a sign of too much moisture or insufficient airflow. Don’t be discouraged! It happens to us all. Often, it’s just a matter of adjusting your watering, ensuring better drainage, or improving air circulation. Sometimes, a cutting just doesn’t have what it takes, and that’s okay.
A Encouraging Closing
Propagating plants is a journey, and Erigeron aliceae is a delightful companion for that journey. Be patient with your new little plants, give them a little extra care, and celebrate every tiny sprout and new leaf. Soon, you’ll have a beautiful cascade of these charming flowers to enjoy, and you’ll have the immense satisfaction of knowing you grew them yourself. Happy gardening!
Resource:
https://identify.plantnet.org/k-world-flora/species/Erigeron%20aliceae%20Howell/data