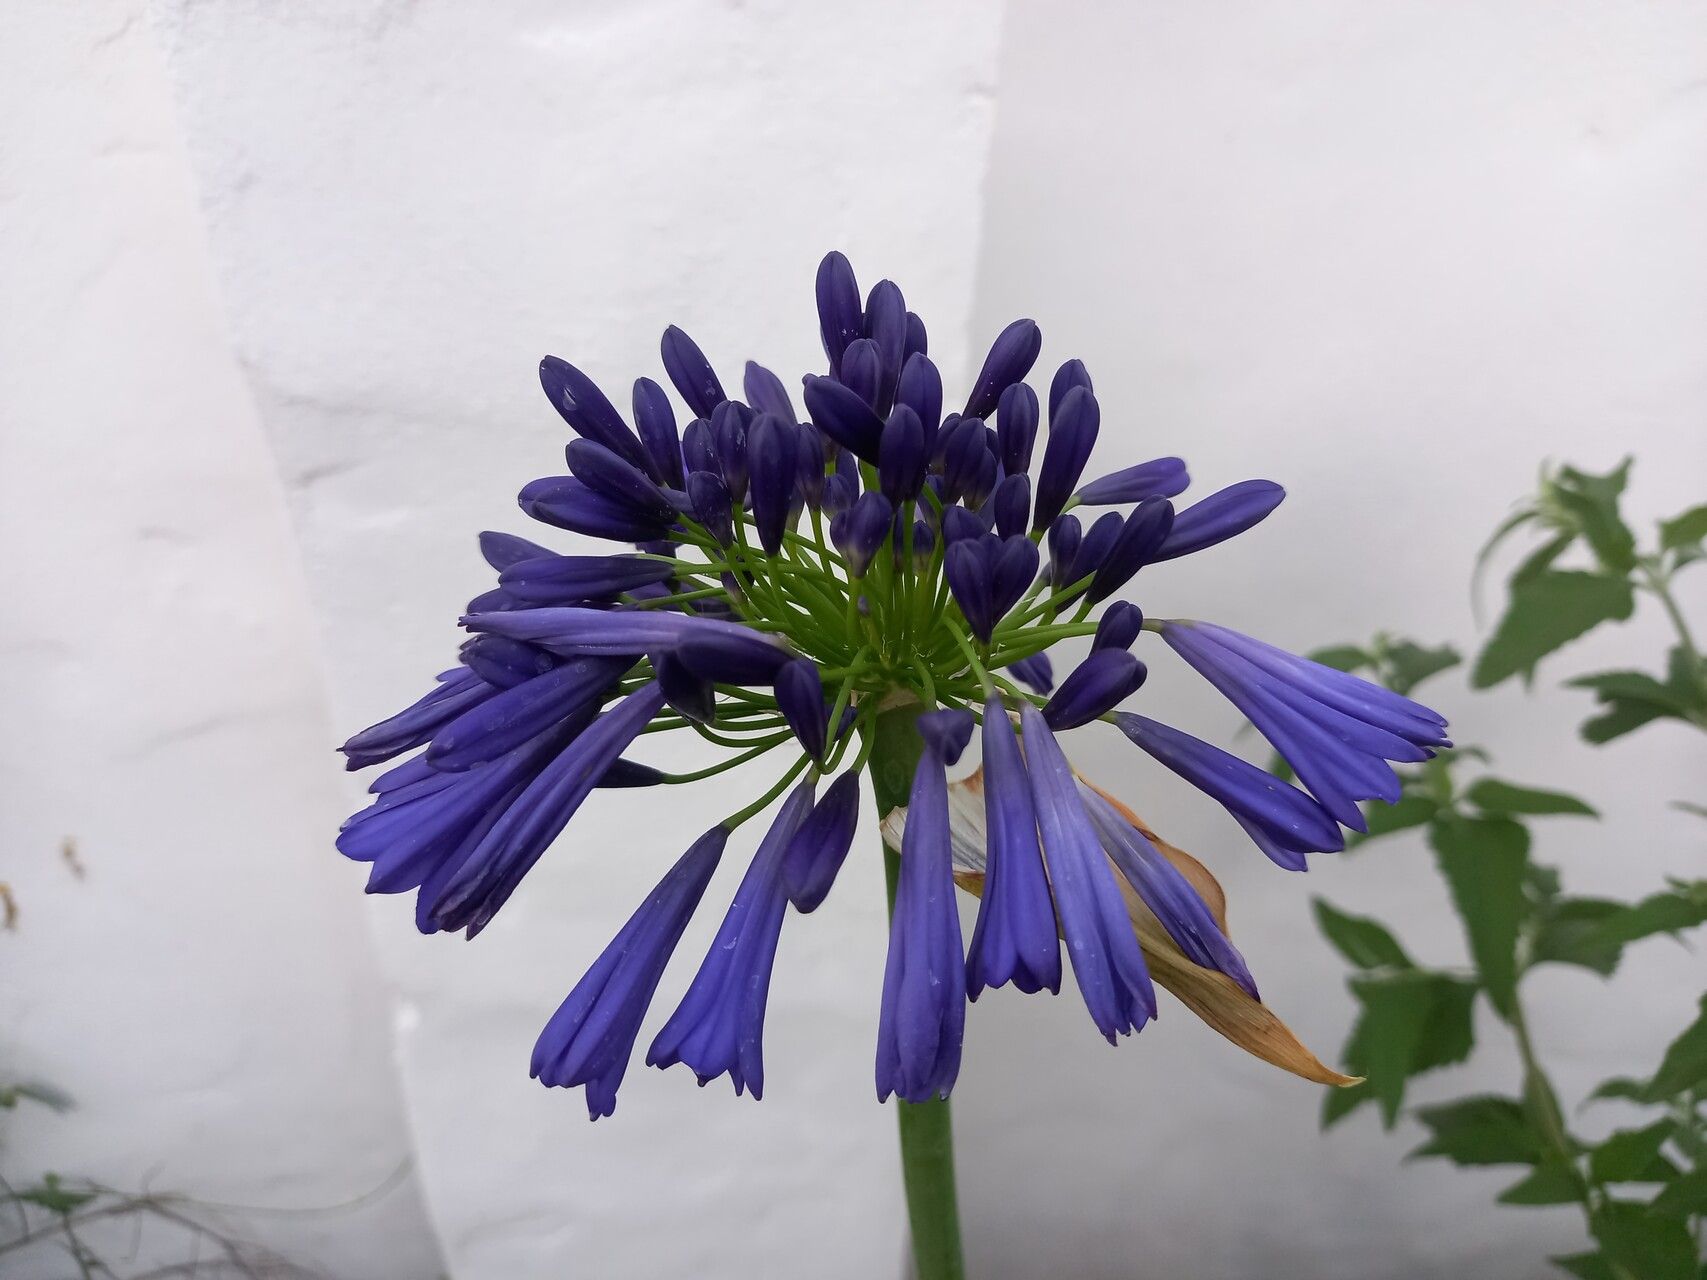
Oh, Agapanthus inapertus! Isn’t it just a marvel? Those elegant, deep blue, bell-shaped flowers on tall stems are a sight for sore eyes in the summer garden. And if you’re anything like me, seeing something so beautiful makes you want more of it! Propagating them is a fantastic way to fill your garden, share with friends, or simply get that “wow” factor without breaking the bank. For beginners, I’d say dividing them is quite manageable. Growing them from seed is a whole other adventure, but for getting more of the same gorgeous plant, division is your friend.
When This Blooms Best for Propagation
You know, the absolute best time to get your hands dirty with Agapanthus propagation is after they’ve finished flowering, typically in the fall. The plant is starting to wind down its energy for the year, and separating divisions before it goes fully dormant helps them establish new roots without the strain of producing flowers or leaves. Spring, just as new growth is really taking off, can also work, but fall is my personal favorite for fewer setbacks.
What You’ll Want in Your Toolkit
Gathering your supplies is half the fun, right? Here’s what I usually have on hand:
- Sharp, clean pruning shears or a trowel: For making clean cuts and easing them apart.
- Good quality potting mix: Something that drains well is crucial. I often mix in perlite or grit for extra aeration.
- A well-draining pot or container: Clay pots are great because they breathe.
- Watering can with a fine rose: For gentle watering.
- Plant labels and a marker: So you don’t forget what you planted!
- (Optional) Rooting hormone: For an extra boost, especially if you’re a little nervous.
Getting More of Those Lovely Blues: Division
This is the most straightforward method for Agapanthus inapertus. Think of it as giving a mature plant a little haircut and a new lease on life!
- Gently Excavate: Start by carefully digging up the entire clump of Agapanthus. You want to get as much of the root system as possible. If it’s a really big clump, you might need to use your trowel or even a light spade to loosen it from the soil.
- Shake Away the Excess: Once it’s out of the ground, gently shake away as much of the old soil as you can. Take a look at the rhizomatous root system – you’ll see thick, fleshy roots.
- The Big Divide: Now for the exciting part! You’re looking for natural break points. You can often gently pull the clumps apart with your hands. If it’s a bit stubborn, use your sharp pruning shears or trowel to carefully cut through the rhizomes. You want each division to have a good portion of roots and at least one or two healthy-looking shoots or buds. Don’t be afraid to be thorough; these plants are tough!
- Plant Them Up: Prepare your pots with your loose potting mix. Plant each division so the top of the rhizome is just at or slightly below the soil surface. Give them a good watering to help settle the soil around the roots.
My “Secret Sauce” Tips
Here are a few things I’ve learned over the years that really make a difference:
- Don’t Be Delicate with the Roots (Too Much!): While you don’t want to manhandle them, Agapanthus roots are surprisingly robust. If you’re struggling to pull clumps apart, a clean cut is far better than tearing them awkwardly. A clean cut heals better and reduces the risk of disease.
- Give Them Space to Breathe: When you’re potting up your new divisions, don’t cram them in. They need room for their roots to grow and for air to circulate. Overcrowding can lead to rot.
- Patience is Truly a Virtue: Agapanthus divisions might not do a whole lot for a few weeks. They’re busy making friends with their new soil and setting up their root systems. Resist the urge to keep digging them up to “check” for roots! That’s the quickest way to stress them out.
Nurturing Your New Sprouts
Once your divisions are planted, keep them consistently moist but not waterlogged. You’ll want to check the soil regularly. The leaves might look a little droopy at first, which is normal. As they start to unfurl and look perky again, you know they’re settling in.
Keep an eye out for signs of rot. This usually looks like mushy, brown, or black roots and stems. If you see this, it’s usually a sign of too much moisture and poor drainage. You might need to gently lift the division, trim away any rot with clean shears, and repot it in fresh, drier soil.
And remember, these new divisions might take a season or two to bloom. Don’t be discouraged! They’re building strength.
So there you have it! Propagating Agapanthus inapertus through division is a wonderfully rewarding process. It’s a chance to connect with your plants on a deeper level and multiply that gorgeous garden display. Just remember to be patient, give them good drainage, and soon you’ll have a whole family of these stunning blue beauties. Happy gardening!
Resource:
https://identify.plantnet.org/k-world-flora/species/Agapanthus%20inapertus%20Beauverd/data