Hello, fellow plant lovers! Have you ever marveled at the architectural beauty of a Cycas silvestris, that stunning prehistoric-looking palm with its crown of glossy leaves? I know I have, for years! There’s something incredibly satisfying about bringing a new plant into the world from a piece of one you already adore. It’s a wonderful way to expand your collection, share with friends, or even just feel that deep connection to the natural world. Now, I won’t beat around the bush: propagating Cycas silvestris isn’t the absolute easiest plant for a brand-new beginner, but with a little patience and know-how, it’s absolutely achievable and incredibly rewarding. Don’t let that deter you!
The Best Time to Start
When it comes to coaxing new life from your Cycas silvestris, spring and early summer are your golden windows. This is when the plant is actively growing and has the most energy reserves to put into developing new roots. Look for a plant that’s showing signs of vigorous new leaf emergence. This tells you it’s healthy and ready to work its magic.
Supplies You’ll Need
Before we get our hands dirty, let’s gather our arsenal:
- Sharp, clean pruning shears or a very sharp knife: Essential for making clean cuts.
- Well-draining potting mix: I often use a blend of equal parts perlite, coco coir, and orchid bark. The key is excellent aeration.
- Rooting hormone powder (optional but helpful): Especially the kind with IBA (indole-3-butyric acid).
- Small pots or seedling trays: With drainage holes, of course!
- Plastic bags or a propagator: To create a humid environment.
- A spray bottle: For gentle misting.
- Gloves: If you’re sensitive to sap.
Propagation Methods
There are two main ways I’ve found success with Cycas silvestris:
1. Offsets (Pups): The Easiest Path
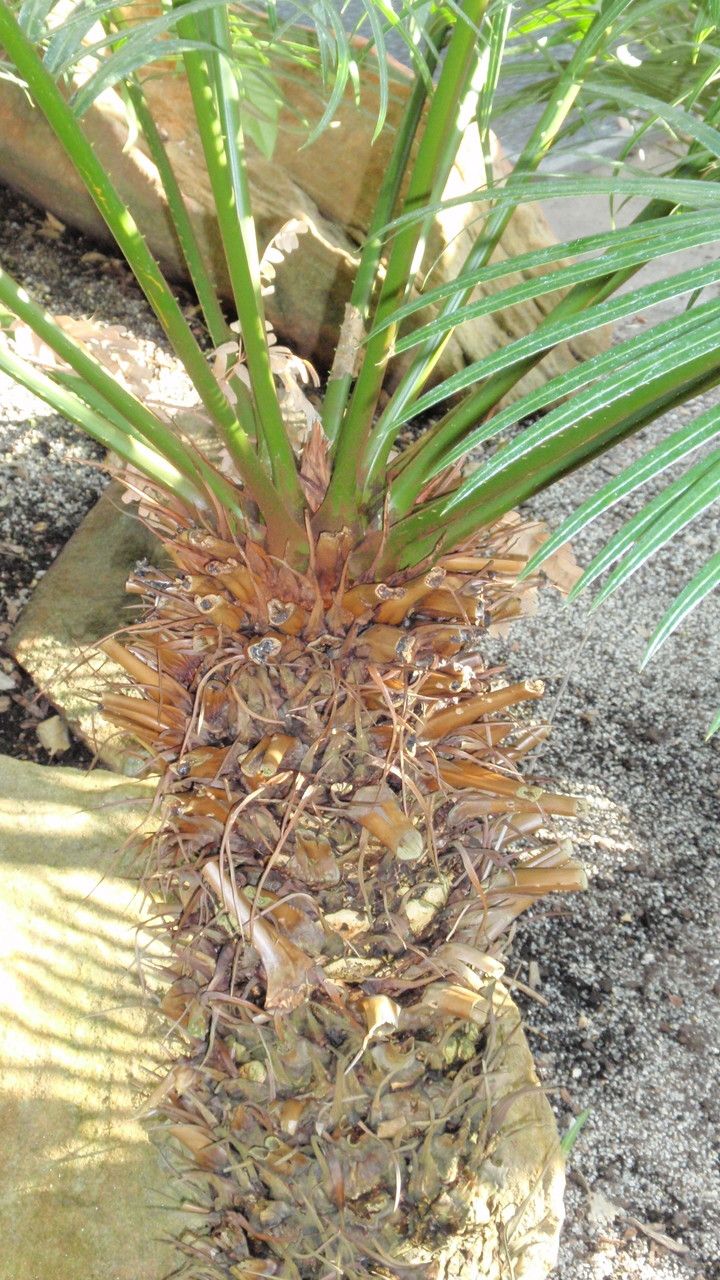
Many Cycas silvestris plants will produce small, baby plants, called offsets or pups, around the base. These are essentially miniature versions of the parent plant.
- Step 1: Wait until the offset is a decent size, at least a few inches tall, and ideally has a few leaves of its own.
- Step 2: Gently remove the offset from the parent plant. You might need to use your hands or a trowel to loosen the soil around it. If it’s stubbornly attached, use your clean pruning shears or knife to carefully sever the connection. Try to get a good portion of any developing roots with the offset.
- Step 3: Allow the cut surface of the offset to callus over for a day or two in a dry, shaded spot. This helps prevent rot.
- Step 4: Pot the callused offset in your well-draining potting mix. Don’t bury it too deeply; just enough so it stands upright.
- Step 5: Water sparingly initially, just enough to slightly moisten the soil. Place the pot in bright, indirect light and cover it with a plastic bag or put it in a propagator to maintain humidity.
2. Stem Cuttings (More Advanced)
This method is a bit trickier as Cycas silvestris doesn’t always readily form roots from leaf stems, but it’s worth a try if you have a robust parent plant.
- Step 1: Choose a healthy, mature stem with leaves.
- Step 2: Using your sharpest, cleanest tool, make a firm cut just below a leaf base, taking a section of the stem about 3-4 inches long. Ideally, include a small portion of the main stem if possible.
- Step 3: Remove all but the upper 2-3 leaves. This reduces water loss.
- Step 4: Dip the cut end into rooting hormone powder. Tap off any excess.
- Step 5: Insert the treated end into your well-draining potting mix, making sure it’s firm enough to stand upright. You might need to use a small stake to support it.
- Step 6: Water lightly and then follow steps 5 from the “Offsets” method: cover with a plastic bag or use a propagator and place in bright, indirect light.
The “Secret Sauce” (Pro Tips)
Here are a couple of things I’ve learned along the way that make a real difference:
- Don’t overwater! This is probably the biggest killer of new propagations. Cycas silvestris prefers to dry out slightly between waterings. When you do water, water thoroughly but let it drain completely. Soggy soil is a fast track to rot.
- Bottom heat is your friend for stem cuttings. While offsets are often happy at room temperature, stem cuttings can benefit immensely from gentle warmth from below. A seedling heat mat placed under the pot will significantly speed up root development.
Aftercare & Troubleshooting
Once you start to see signs of new growth on your offset or seedling, you’re in the home stretch!
- Gradually acclimate: As the new plant establishes, slowly begin to remove the plastic bag or vent your propagator over a week or two. This helps it adjust to normal humidity levels.
- Bright, indirect light is key for young plants. Direct sun can scorch tender new growth.
- Water when the top inch of soil feels dry. Continue to use your well-draining mix.
Now, what if things don’t go as planned? The most common culprit is rot. If your cutting or offset starts to look mushy, discolored, or smells foul, it’s likely rot. This is usually a result of too much moisture. Unfortunately, it’s often difficult to save a rotting Cycas silvestris. If you catch it very early, you can try taking a clean cutting from further up the stem, allowing it to callus, and starting again. For offsets, ensure they aren’t sitting in water.
A Encouraging Closing
Propagating plants, especially something as special as a Cycas silvestris, is a journey. There will be successes, and there might be a few lessons learned along the way. Be patient with yourself and with your new little plants. Watch them, learn from them, and most importantly, enjoy the process of nurturing new life. Happy growing!
Resource:
https://identify.plantnet.org/k-world-flora/species/Cycas%20silvestris%20K.D.Hill/data