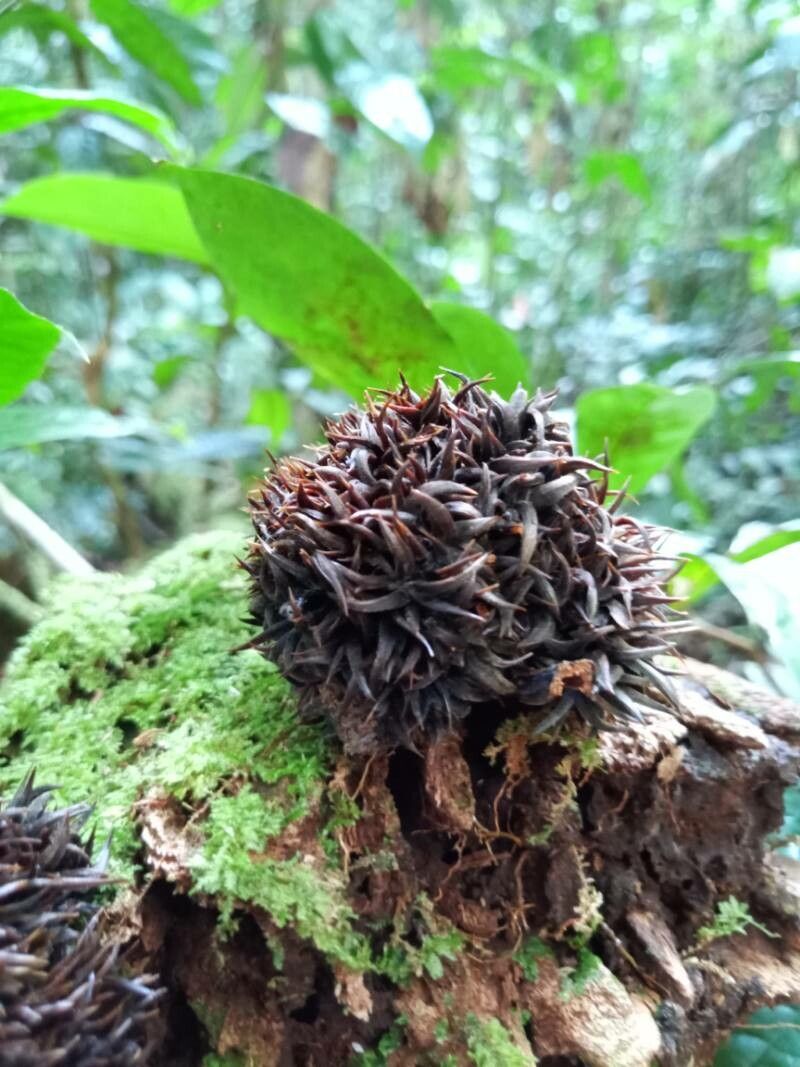
Oh, Castanopsis megacarpa! That’s a tree I’ve grown to adore over the years. Its beautiful, glossy leaves and that wonderful, robust structure make it a standout in any garden. And the reward of coaxing a brand new plant into existence from a piece of the parent? Pure gardening magic, if you ask me. Now, before you get too excited, I’ll be honest – Castanopsis megacarpa isn’t the absolute easiest plant to propagate for a complete beginner. It takes a little patience and attention to detail. But with this guide, you’ll be well on your way to success!
The Best Time to Start
For Castanopsis megacarpa, the sweet spot for taking cuttings is late spring to early summer, often when the new growth is still somewhat soft but has started to firm up a bit – we call this semi-hardwood. This is when the plant has plenty of stored energy to put into root development, and the days are long and warm enough to encourage good growth.
Supplies You’ll Need
Here’s what I always have handy when I’m propagating:
- Sharp pruning shears or a clean hobby knife: For making precise cuts.
- Rooting hormone powder or gel: This is a big help for encouraging root formation.
- Sterile propagation trays or small pots: About 4-6 inches deep is usually a good size.
- A well-draining potting mix: I like a blend of half peat moss or coco coir and half perlite or coarse sand. This ensures good aeration and prevents waterlogging.
- Plastic bags or a propagation dome: To create a humid environment.
- A spray bottle: For misting.
- Labels and a waterproof marker: To keep track of what you’ve planted.
- (Optional but recommended) A heat mat: To provide bottom warmth.
Propagation Methods: Stem Cuttings
This is generally the most successful method for Castanopsis megacarpa. Here’s how I do it:
- Select Your Cuttings: Look for healthy, vigorous stems that are about 6-8 inches long. Make your cut just below a leaf node, which is the little bump where leaves attach to the stem.
- Prepare the Cuttings: Gently remove the lower leaves, leaving just a few at the top. You can also trim any large leaves in half horizontally to reduce water loss through transpiration. If the stem is particularly woody, you can make a small slit on the bottom few inches of the stem to expose more surface area for rooting.
- Apply Rooting Hormone: Dip the cut end of the stem into your rooting hormone powder or gel. Tap off any excess.
- Plant Your Cuttings: Fill your pots or trays with the moistened propagation mix. Make a hole with a pencil or your finger and gently insert the cut end of the cutting, firming the soil around it.
- Water and Cover: Water gently to settle the soil. Then, place the potted cuttings into a plastic bag (sealed with a twist tie or rubber band) or cover with a propagation dome. This creates that all-important humid microclimate.
- Provide Light and Warmth: Place the tray in a bright spot, but out of direct, scorching sunlight. If you have a heat mat, place the tray on it. This bottom heat can significantly speed up root development.
The “Secret Sauce” (Pro Tips)
Now, for a couple of things that have made all the difference for me:
- Keep ‘Em Dry (at the node): If you try water propagation, which can work but is trickier for this plant, never, ever let the leaves touch the water. Rot will set in faster than you can say “oops!” It’s the same principle with soil – good drainage is key.
- The Power of Bottom Heat: I cannot stress enough how much bottom heat helps. Castanopsis megacarpa roots are stimulated by warmth coming from below. It mimics nature and gives those nascent roots the encouragement they need to emerge.
Aftercare & Troubleshooting
Once your cuttings are planted, the real waiting game begins. I like to mist the inside of the plastic bag or propagation dome every few days to maintain humidity. Keep an eye on the soil moisture; it should be consistently damp, but never soggy.
The first sign of success? You’ll start to see new leaf growth at the tip of the cutting. This usually takes anywhere from 4 to 12 weeks, sometimes longer. Don’t despair if there’s no visible growth for a while; the roots may be forming underneath. To check for roots without disturbing them too much, you can give a very gentle tug. If you feel resistance, you’ve got roots!
Now, for the sad part – troubleshooting. The most common issue is rot. If your cuttings turn black and mushy, that’s a sure sign of too much moisture and not enough airflow. In this case, it’s best to discard them and try again, making sure your mix is more well-draining and perhaps using a bit less water. Lack of root development can sometimes mean the cuttings weren’t viable, the conditions weren’t right, or they just needed more time.
A Encouraging Closing
Propagating can feel like a bit of a gamble sometimes, and that’s okay! Nature has its own pace. Be patient with your Castanopsis megacarpa cuttings. Celebrate the little victories, learn from any setbacks, and most importantly, enjoy the process of nurturing new life. Happy gardening!
Resource:
https://identify.plantnet.org/k-world-flora/species/Castanopsis%20megacarpa%20Gamble/data