Oh, hello there, fellow plant lover! I’ve been happily digging in the dirt for about two decades now, and one of the absolute joys is sharing the wonderful world of plants with you. Today, we’re going to dive into the delightful process of propagating Prostanthera incisa, also known as the cut-leaf mint bush.
My Love Affair with Mint Bush
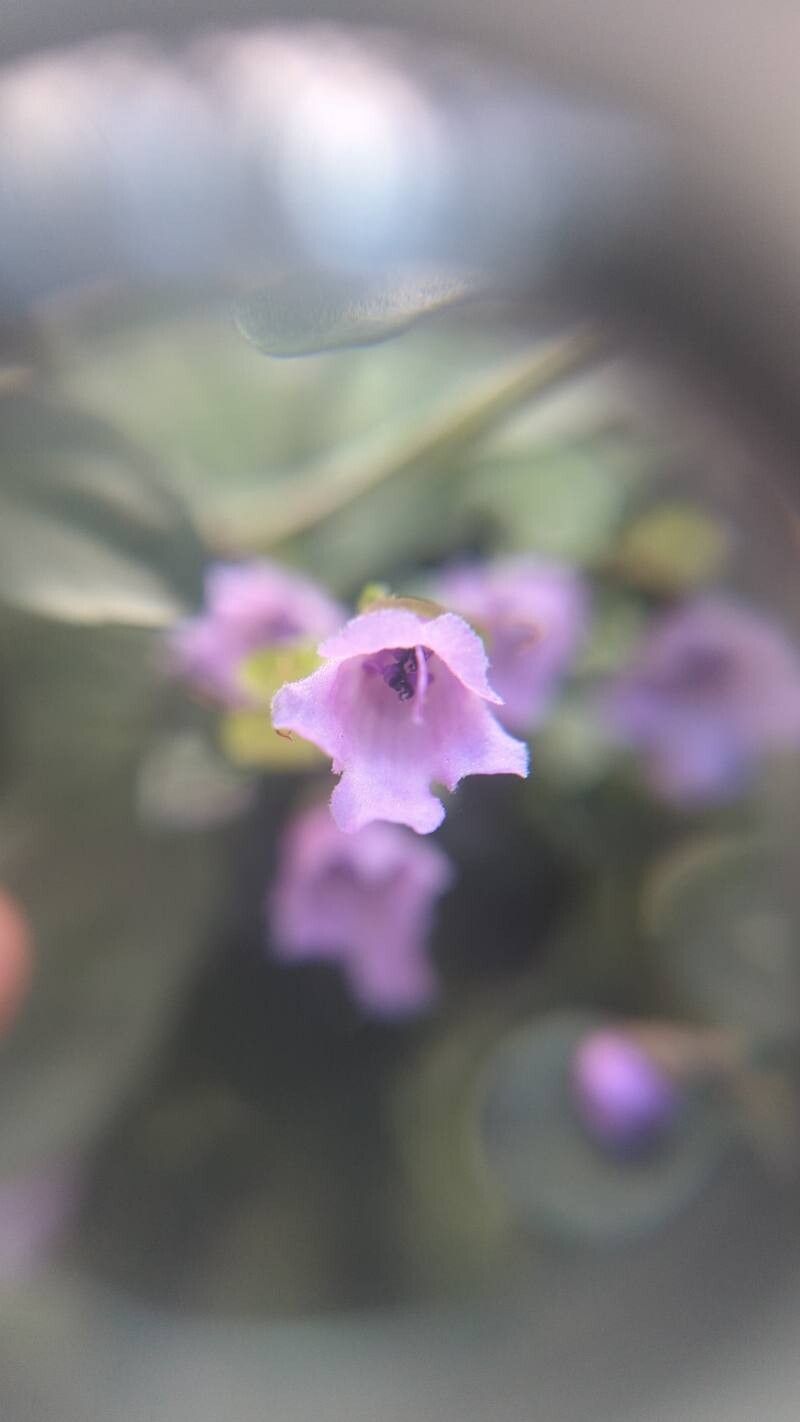
If you haven’t met Prostanthera incisa, let me introduce you. Imagine delicate, deeply lobed leaves that, when brushed, release the most heavenly minty fragrance. Add to that lovely little purple or white blooms in spring and early summer, and you’ve got a winner for any sunny spot in your garden. Propagating this beauty is particularly rewarding because you get to multiply that wonderful scent and those charming flowers. Now, about it being easy or challenging for beginners? I’d say it’s moderately easy. With a little attention to detail, you’ll be success-ful!
When to Get Your Hands Dirty
The absolute best time to try your hand at propagating mint bush is in late spring or early summer. This is when the plant is actively growing but hasn’t yet entered its most vigorous flowering stage. You’ll want to look for semi-hardwood cuttings. These are stems that have started to firm up a bit but are still flexible enough to root. Think of it as a stem that’s gone from being brand new and floppy to grown-up and sturdy, but not yet woody and stiff.
Your Mint Bush Propagation Toolkit
Gathering your supplies beforehand makes the whole process so much smoother. Here’s what I always have on hand:
- Sharp Pruning Shears or a Craft Knife: Clean cuts are crucial for preventing disease and encouraging rooting.
- Rooting Hormone: While not strictly essential for every plant, I find it gives the cuttings a real boost, especially for fussier ones. A good powder or gel will do.
- Well-Draining Potting Mix: A mix of perlite, vermiculite, and peat moss (or coco coir for a more sustainable option) works wonders. I often use a 50/50 mix for my cuttings.
- Small Pots or Trays: Clean pots with drainage holes are a must. Small seedling pots or even reused yogurt cups with holes poked in the bottom are perfect.
- Plastic Bags or a Small Greenhouse: This creates a humid environment, which is key for cuttings until they establish roots.
- Watering Can with a Fine Rose: Gentle watering is essential.
- Labels and a Pen: To remember what you planted and when!
Let’s Get Cutting: Mastering Propagation
The most reliable way to propagate Prostanthera incisa for me has been through stem cuttings. It’s straightforward and gives you a great chance of success.
- Taking Your Cuttings: Head to your healthy mint bush on a pleasant late spring or early summer morning. Using your sharp pruning shears or knife, take cuttings that are about 10-15 cm (4-6 inches) long. Make your cut just below a leaf node (where the leaves attach to the stem). Remove the lower leaves, leaving just a few at the top. This reduces water loss and prevents leaves from rotting in the soil.
- Preparing the Cutting: If you’re using rooting hormone, dip the cut end of the stem into the powder or gel, tapping off any excess. This might sound like a small step, but it really helps to kickstart root development.
- Potting Up: Fill your clean pots or trays with your well-draining potting mix. Make a small hole in the center with your finger or a pencil. Gently insert the prepared cutting into the hole, ensuring it’s firm enough to stand upright. Firm the soil around the base of the cutting.
- Creating the Humid Environment: Water the pot gently. Then, the crucial step: cover the pot with a plastic bag or pop it into a small propagation tray with a lid. This traps moisture and keeps the humidity high, which is exactly what those cuttings need to prevent drying out before they can form roots.
My “Secret Sauce” for Mint Bush Success
After years of trial and error, I’ve picked up a few tricks that really make a difference when propagating mint bush.
- “Crowning” Your Cuttings: I like to call it “crowning” the cutting. That is, don’t let the leaves at the top of your cutting touch the plastic bag. If they do, they’re prone to mildew and rot. You can use little stakes, toothpicks pushed into the soil, or even gently tie the bag higher to create a dome. This simple step has saved many a cutting for me.
- The Bottom Heat Boost: While not strictly necessary in warmer climates, if you’re propagating indoors or during a cooler spell, a little bottom heat can work wonders. A propagation mat placed under your pots will gently warm the soil, encouraging root growth much faster. It’s like giving your cuttings a warm hug!
- Don’t Overwater, but Keep Them Moist: It’s a delicate balance! You want the soil to be consistently moist, but never soggy. Soggy soil is a one-way ticket to rot. I usually check the moisture by feeling the weight of the pot or touching the surface of the soil. If it feels dry, it’s time for a gentle watering.
Nurturing Your New Green Shoots and What to Watch For
Once your cuttings have taken hold and you start seeing new growth (this can take anywhere from 4-8 weeks, sometimes longer), it’s time to start acclimating them.
- Gradually Introduce Air: Start by removing the plastic bag for short periods, gradually increasing the time each day. This helps them adjust to the drier air of your home or garden.
- Light and Love: Once they’re getting more air, place them in a bright spot, but avoid direct, harsh sunlight for the first few weeks. They’ve been in a protected environment and can get scorched.
- Troubleshooting is Part of the Fun: The most common issue you’ll face is rot. If a cutting turns black and mushy, sadly, it’s likely gone. This is usually a sign of too much moisture and not enough air circulation. Another sign of failure is a cutting that simply wilts and never shows signs of life – often this means it just didn’t form roots. Don’t be disheartened! Propagation is an experiment. Just try again with fresh cuttings and perhaps a slight adjustment to your technique.
Be Patient, and Enjoy the Journey!
Growing new plants from cuttings is such a fulfilling experience. It’s a wonderful way to connect with nature, multiply your favorite plants, and share them with friends. Remember to be patient; sometimes cuttings take their sweet time. Enjoy the process, learn from each attempt, and before you know it, you’ll have a whole collection of fragrant mint bushes to enjoy! Happy gardening!
Resource:
https://identify.plantnet.org/k-world-flora/species/Prostanthera%20incisa%20R.Br./data