Hello, fellow plant enthusiasts! I’m so excited to dive into the world of Aspidosperma australe with you today. This gem of a plant, with its gorgeous glossy leaves and elegant form, brings such a wonderful touch of the tropics to any space. And you know what’s even more rewarding than admiring one? Growing your own from cuttings! It’s a process that feels like a little bit of magic, and I’m here to guide you through it. Is it for absolute beginners? Well, let’s say it’s a wonderfully achievable project with just a little attention to detail.
The Best Time to Start
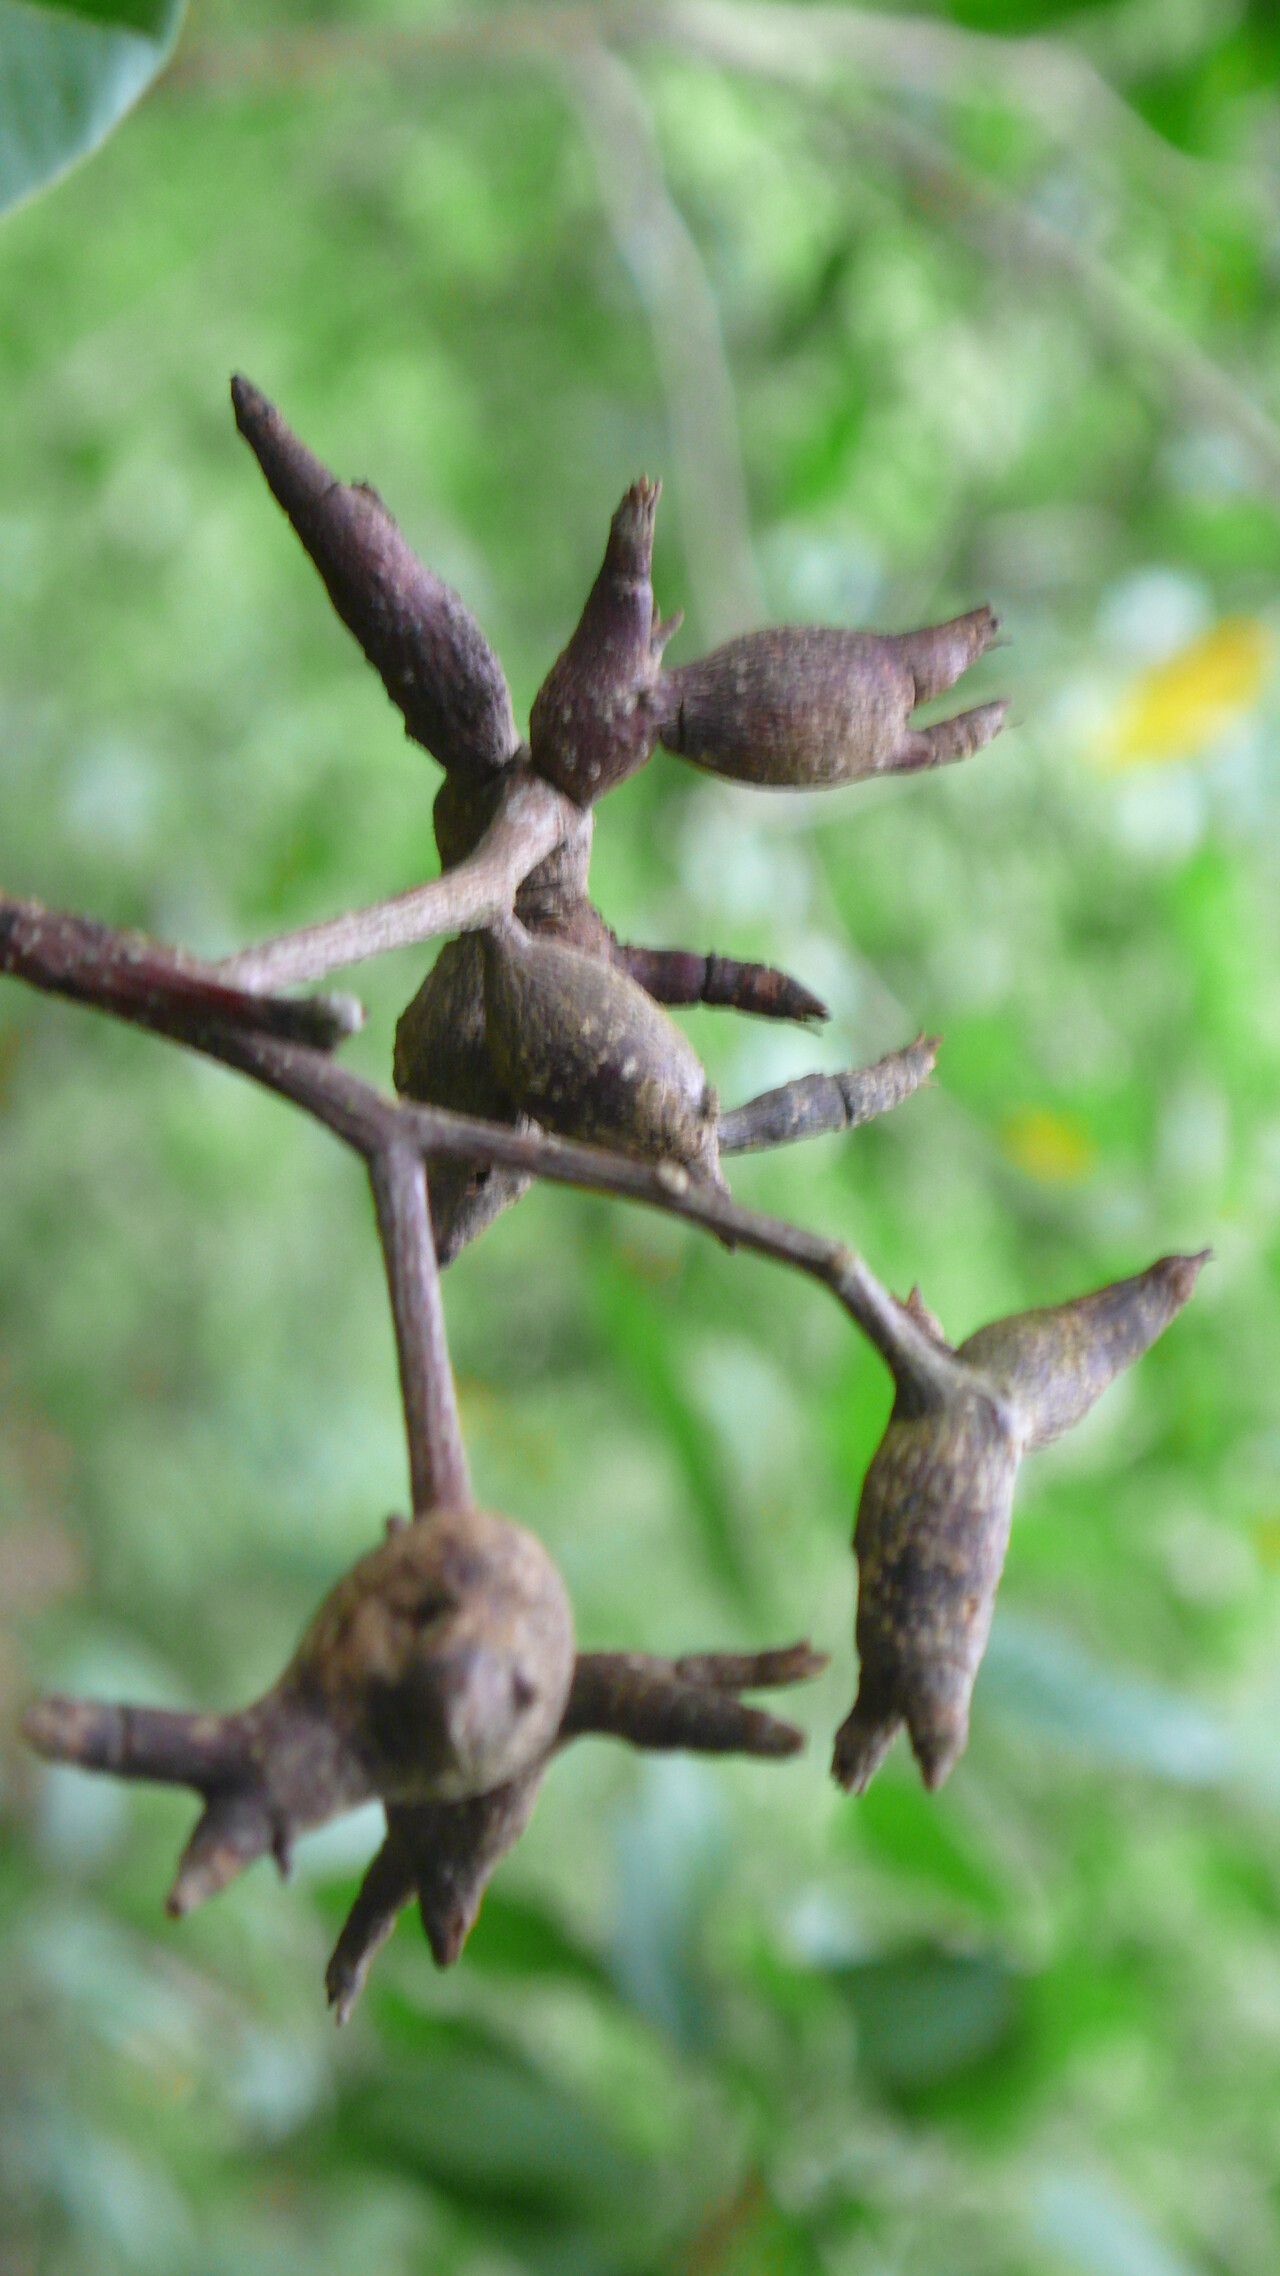
Timing is everything in the garden, and for propagating Aspidosperma australe, the sweet spot is late spring through early summer. This is when the plant is in its active growth phase. You’ll find that cuttings taken during this period are brimming with energy, making them much more likely to root successfully. Look for new, but firm, growth – not the super soft, floppy new shoots, but also not the old, woody stems.
Supplies You’ll Need
Here’s a little kit of goodies to have on hand:
- Sharp, clean pruning shears or a razor blade: We want a clean cut to prevent disease.
- Rooting hormone (optional, but recommended): Look for one with IBA (indole-3-butyric acid). It’s like a little boost for your cutting.
- Well-draining potting mix: I love a mix of equal parts perlite and peat moss, or a good quality succulent or cactus mix will work wonderfully.
- Small pots or propagation trays: Clean ones, please! About 4-6 inches deep is good.
- Clear plastic bags or a propagation dome: This traps humidity, which is crucial.
- Water: For watering and, if you choose that method, for rooting.
- Labels and a permanent marker: Trust me, you’ll thank yourself later for remembering what you planted where!
Propagation Methods
Let’s get our hands dirty! Stem cuttings are generally the most successful and easiest route for Aspidosperma australe.
Stem Cuttings
- Selection is Key: Find a healthy stem on your mature Aspidosperma. You’re looking for a section that’s about 4-6 inches long and has at least two or three sets of leaves.
- The Cut: Using your sharp tools, make a clean cut just below a leaf node. This is where the magic happens for rooting.
- Prepare the Cutting: Gently remove the lower leaves from your cutting, leaving just the top two or three sets of leaves. This prevents them from rotting in the soil or water.
- Rooting Hormone (Optional): If you’re using rooting hormone, lightly dip the cut end of the stem into the powder, tapping off any excess.
- Planting: Fill your clean pot with your chosen well-draining mix. Make a small hole in the center with your finger or a pencil.
- Insert the Cutting: Gently push the cut end of the stem into the hole, ensuring it’s about an inch or two deep. Firm the soil gently around the stem to provide support.
- Water Gently: Water the potting mix thoroughly but gently. You want it moist, not soggy.
- Create a Humid Environment: Place the pot inside a clear plastic bag, puffing it up with air before sealing, or cover it with a propagation dome. This creates a mini-greenhouse effect. Place it in a spot with bright, indirect light.
Water Propagation (An Alternative)
If you prefer to watch your roots grow, water propagation is an option.
- Follow steps 1-3 from the stem cuttings method.
- Place Cuttings in Water: Place the prepared cuttings in a clean glass or jar filled with room-temperature water. Make sure the leaf nodes are submerged.
- Change Water Regularly: Change the water every few days to keep it fresh and prevent bacterial growth.
- Location: Place the jar in bright, indirect light.
The “Secret Sauce” (Pro Tips)
Now for a couple of my tried-and-true tricks that really make a difference:
- Bottom Heat is Your Friend: If you have a seedling heat mat, place your pots on it. This gentle warmth encourages root development from below, dramatically speeding up the process. It’s like a little spa treatment for your cuttings!
- Don’t Let Leaves Touch: Whether in soil or water, ensure that no leaves touch the potting mix or sit directly in the water. Any part submerged will be prone to rot. Trim them if needed.
Aftercare & Troubleshooting
Once you see signs of roots – either by gently tugging on the cutting and feeling resistance, or by seeing them emerge from the drainage holes (in soil) or through the glass (in water) – it’s time for a little adjustment.
- Acclimatization: For cuttings that have been in a bag or under a dome, gradually introduce them to less humid conditions. Open the bag a little each day for about a week, or lift the dome for increasing periods. This prevents shock.
- Transplanting (from water): Once your water-rooted cuttings have roots about 1-2 inches long, gently transplant them into your well-draining potting mix. They can be sensitive at this stage, so HANDLE WITH CARE.
- Watering: Continue to water moderately. Allow the top inch of soil to dry out slightly between waterings, especially once the plant is established.
- Signs of Trouble: The most common issue is rot. If your cutting turns brown, mushy, or smells off, it’s likely rotted. This is often due to overwatering, poor drainage, or a lack of air circulation. Don’t be discouraged; it happens! Simply discard the affected cutting and try again.
Keep Growing!
Propagating plants, especially something as beautiful as Aspidosperma australe, is all about patience and observation. Sometimes it takes a few tries, and that’s perfectly okay! Each attempt is a learning experience. Celebrate the successes, learn from the challenges, and most importantly, enjoy the journey of nurturing life. Happy propagating!
Resource:
https://identify.plantnet.org/k-world-flora/species/Aspidosperma%20australe%20Müll.Arg./data