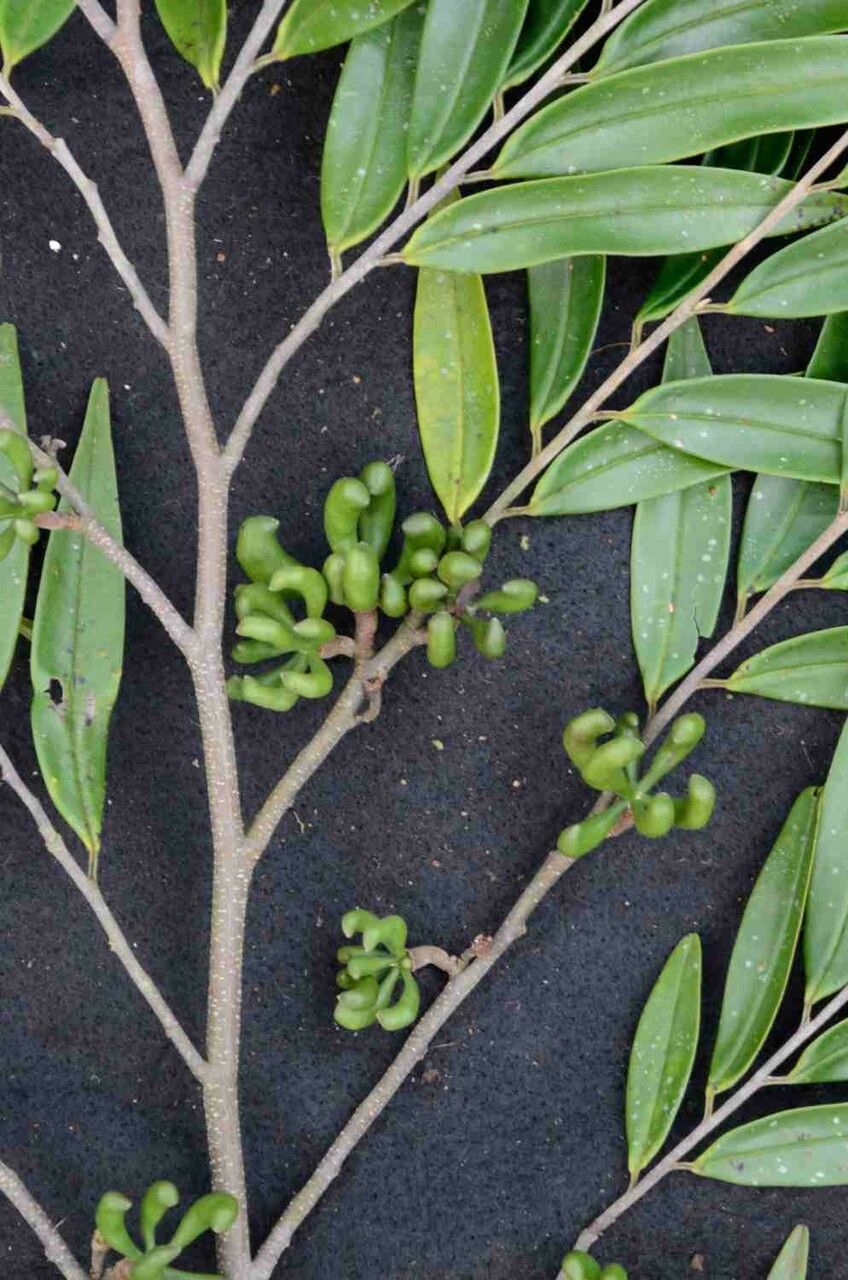
Hello, fellow plant lovers! I’m so excited to talk to you today about a truly special tree: Xylopia brasiliensis, often known as the Brazilian Pepper Tree or even Xylopia for short. If you’re drawn to plants with lush foliage, a beautiful, somewhat wild character, and the satisfaction of creating new life from a beloved parent, then propagating this beauty is absolutely for you. It has this wonderful, almost tropical vibe, and watching a tiny piece of it grow into its own is just incredibly rewarding. Now, I won’t lie; Xylopia brasiliensis can be a little finicky for absolute beginners, but with a bit of care and attention, you can definitely achieve success. Let’s dive in!
The Best Time to Start
For the highest chance of success with Xylopia brasiliensis, I always aim for late spring to early summer. This is when the plant is in active growth. You’ll find that cuttings taken at this time have the most energy to put into developing roots. Think of it like harvesting when the fruit is perfectly ripe – that’s when it’s got the most potential.
Supplies You’ll Need
Gathering your tools beforehand makes the whole process much smoother. Here’s what you’ll want:
- Sharp Pruning Shears or a Craft Knife: Clean cuts are essential for preventing disease and encouraging rooting.
- Rooting Hormone: This isn’t strictly mandatory, but it gives your cuttings a significant boost. I like to use a powder or gel formula.
- Sterile Potting Mix: A good blend for cuttings is crucial. I usually go for a perlite-heavy mix (about 50/50 perlite and peat moss or coco coir). It provides excellent drainage, which is vital.
- Small Pots or Seedling Trays: Make sure they have drainage holes!
- Plastic Bags or a Clear Propagator Lid: To create a humid microclimate.
- Watering Can with a Fine Rose or a Spray Bottle: Gentle watering is key.
Propagation Methods
Xylopia brasiliensis is best propagated from stem cuttings. Here’s how I do it:
- Select Your Cuttings: On a healthy, vigorous Xylopia plant, look for semi-hardwood stems. These are stems that are no longer soft and green but haven’t yet become completely woody and hard. They should be about 4-6 inches long. You can gently bend a stem; if it snaps cleanly rather than just bending, it’s likely in that perfect semi-hardwood stage.
- Make the Cut: Using your sterilized pruning shears or knife, make a clean cut just below a leaf node (where a leaf attaches to the stem). Remove the lower leaves, leaving just a few at the top.
- Prepare the Cutting: Lightly dip the cut end into your rooting hormone. Gently tap off any excess.
- Plant Your Cuttings: Fill your small pots or trays with your prepared potting mix. Make a small hole with your finger or a pencil.
- Insert the Cutting: Carefully place the hormone-coated end of the cutting into the hole and gently firm the soil around it. Aim to have at least one leaf node buried in the soil.
- Water Gently: Water thoroughly until you see water drain from the bottom of the pot.
- Create a Humid Environment: Place the pots inside a clear plastic bag, forming a mini-greenhouse, or cover them with a clear propagator lid. Make sure the leaves don’t touch the sides of the bag, as this can cause rot.
The “Secret Sauce” (Pro Tips)
Here are a couple of tricks I’ve learned over the years that really make a difference:
- Bottom Heat is Your Friend: If you have a heat mat, placing your propagation tray on it can significantly speed up root development. Xylopia loves a bit of warmth from below, mimicking natural soil temperatures.
- Watch for Condensation, Not Soggy Soil: You want to see a bit of condensation forming on the inside of your plastic bag or propagator lid – that’s a good sign of humidity. However, if the soil looks waterlogged, open the bag or lid for a few hours to allow it to dry out slightly. Overwatering is the quickest way to lose a cutting.
Aftercare & Troubleshooting
Once your cuttings are rooted, you’ll start to see new leaf growth emerging. This is the magic moment!
- Acclimate Gradually: Once roots have formed (you can gently tug on a cutting – if there’s resistance, it’s rooted), it’s time to gradually acclimatize them. Start by opening the plastic bag or propagator lid for a few hours each day, slowly increasing the duration over a week or two. This helps them adjust to drier air.
- Move to Larger Pots: Once they’re happy with regular room humidity, you can transplant them into slightly larger pots with a free-draining potting mix.
- Troubleshooting – Rot is the Enemy: The most common issue you’ll face is rot. If a cutting turns black and mushy, it’s usually due to too much moisture and not enough air circulation. If you see any signs of rot, remove the affected cutting immediately to prevent it from spreading. Ensure your soil drains well and don’t overwater. Sometimes, a cutting just doesn’t take, and that’s okay too. It’s part of the learning process!
A Little Nurturing, A Lot of Reward
Propagating Xylopia brasiliensis takes a bit of patience, and not every cutting will make it. That’s perfectly normal! The joy of watching tiny roots emerge and new shoots unfurl is truly special. Be gentle, observe your cuttings, and trust in the process. Soon, you’ll have your very own baby Xylopia trees ready to grace your garden or patio. Happy propagating!
Resource:
https://identify.plantnet.org/k-world-flora/species/Xylopia%20brasiliensis%20Spreng./data